 by
by In this OpenCV and Python tutorial, we explain how to capture video frames from a camera or a webcam and display them as a video on a computer screen. In this video tutorial, we use a simple USB webcam. However, everything explained in this video tutorial can be generalized to other camera types. The YouTube video accompanying this webpage tutorial is given below.
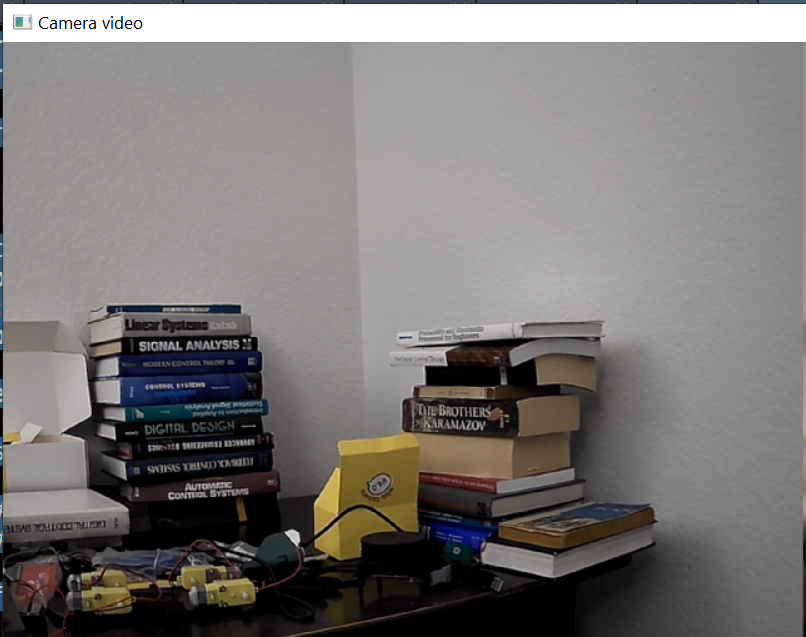
Here is a snapshot of the camera video captured by the Python script that we explain in the sequel.
The first step is to import the necessary libraries, create a video capture object for grabbing the frames, and double-check if the camera is opened or not.
import cv2

# here, we create a video capture object
# the argument can either be the device index if we are taking images from
# a camera or the name of the video file, if we are taking images from a
# video file
# if only a single camera is connected, then the index is 0
# the second camera can be selected by specifyng the index of 2, etc.

camera = cv2.VideoCapture(0)

# double check if we are able to open the camera
if (camera.isOpened()):
    print("The camera is successfully opened")
else:
    print("Could not open the camera")
First, we import OpenCV. Then, with
camera = cv2.VideoCapture(0)
We create a video capture object. The input argument of the constructor function VideoCapture is either a camera device index if we are taking images by using a camera, or the name of a video file if we are loading a video from a file. If only a single camera is connected, then the index number is 0. On the other hand, if for example two cameras are connected and we want to use the second one, then the index should be 1. In our case, only a single camera is connected, and consequently, the index is equal to 0. The output of “cv2.VideoCapture(0)” is the video capture object that we call “camera”. This object is used later on in the Python code. After we create the video capture object, we double check if the camera is open and properly connected by using the function “camera.isOpened()”.
The following while loop captures camera video images and displays them on the computer screen.
# read the frames from the camera and display
# them on the computer screen

while True:
    # capture the frame
    success,frame=camera.read()

    if not success:
        print("Not able to read the frame. End.")
        break

    # display the camera image
    cv2.imshow('Camera video',frame)

    # stop using the camera and displaying the video by pressing 'c'
    # change this part as you wish

    if cv2.waitKey(1) == ord('c'):
        break
# release the capture
# and close all the windows
camera.release()
cv2.destroyAllWindows()
Inside of the while loop, we read the camera frames by using the function “read()”
success,frame=camera.read()The first output of the function read() is a Boolean variable that indicates the success or failure of the image capture process. The second output is the image in the OpenCV BGR (Blue, Green, and Red ) image format. We display the camera image by using the function cv2.imshow()
    # display the camera image
    cv2.imshow('Camera video',frame)
Next, with the following simple code block, we ensure that the while loop is broken if the user presses the keyboard key “c”. Without this block the code will infinitely. Finally, we stop the image reading process and close the display window:
camera.release()
cv2.destroyAllWindows()