 by
by In this OpenCV and Python tutorial, we explain
- How to capture video from a camera or webcam in OpenCV and Python.
- How to save a captured camera video to file in OpenCV and Python.
We explain how to save the recorded video in popular video file formats, such as AVI and MP4. Before reading this tutorial, it is a good idea to go over our previous tutorials:
- How to Capture Video Frames from a Camera or Webcam in OpenCV and Display Video on a Computer Screen.
- How To Capture Camera Frames in OpenCV and Apply an Image Filter in Real Time and Display Video
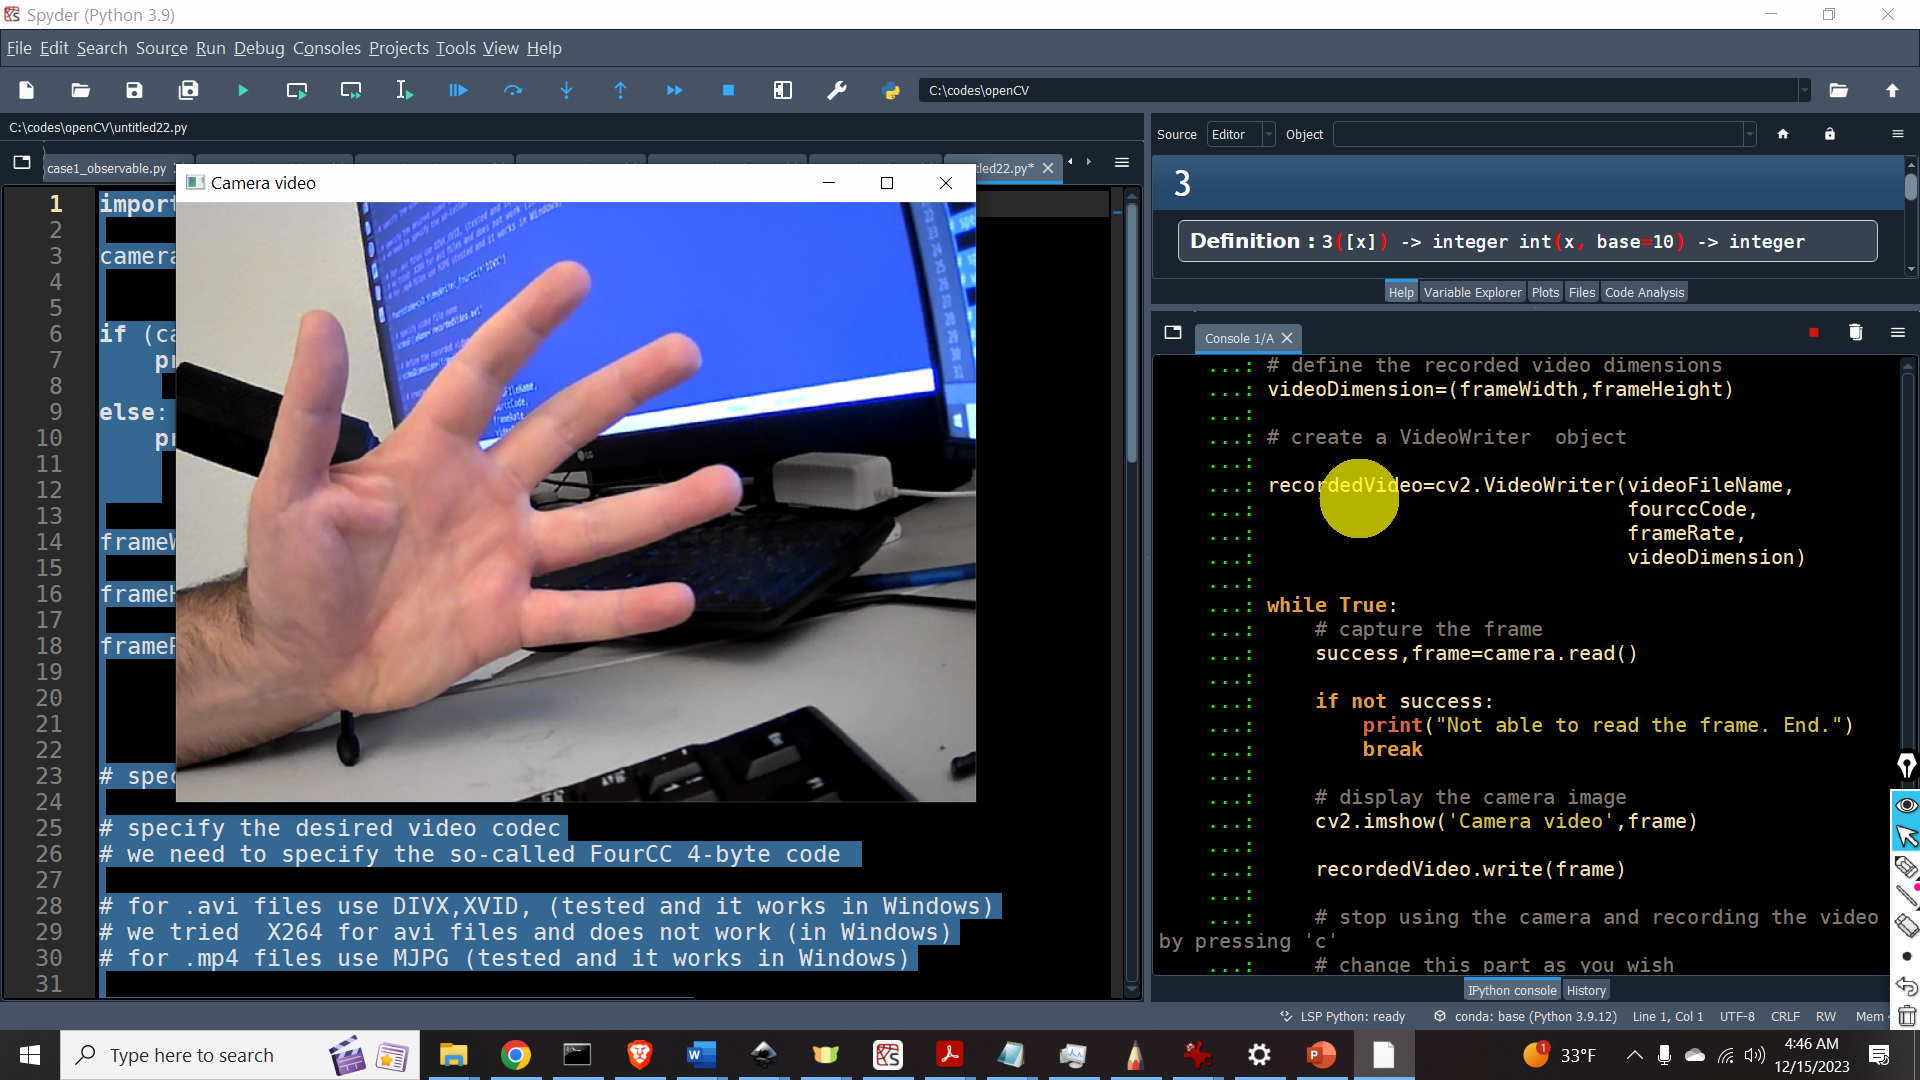
The figure given below shows a snapshot of the recorded video.
The YouTube video accompanying this webpage is given below.
How to Save Camera Video to File in OpenCV and Python
First, we import OpenCV and create a Video Capture object. Then, we extract the camera properties, such as the frame width, height, and rate:
import cv2

# create a Video Capture object
# specify the index of the camera device
# if you have only a single camera, the index is 0
camera=cv2.VideoCapture(0)


# double check if we are able to open the camera
if (camera.isOpened()):
    print("The camera is successfully opened")
else:
    print("Could not open the camera")

# get the frame width, height,and frameRate
# we need to specify the correct flags

frameWidth=int(camera.get(cv2.CAP_PROP_FRAME_WIDTH))
frameHeight=int(camera.get(cv2.CAP_PROP_FRAME_HEIGHT))

# get the frame rate
frameRate=int(camera.get(cv2.CAP_PROP_FPS))
The function “cv2.VideoCapture(0)” creates a VideoCapture object called “camera”. The input 0 means that we want to use a camera with an index of 0. If for example, we would have two cameras attached to our computer, then by specifying the index of 1, we would select the second camera. We extract frame width, frame height, and frame rate from our camera by using the flags: “CAP_PROP_FRAME_WIDTH”, “CAP_PROP_FRAME_HEIGHT”, and “CAP_PROP_FPS”.
To actually record the camera video, we need to create a VideoWriter object. We create the VideoWriter object by using the function “cv2.VideoWriter()”. This function has four input arguments that we need to specify:
- The first input of “cv2.VideoWriter()” is the video file name with the proper extension, such as “.avi” or “.mp4”, that specifies the file format.
- The second input of “cv2.VideoWriter()” is the FourCC code. This code specifies the video codec that we want to use. For example, to save the file as “.avi” type the FourCC code can be “DIVX” or “XVID”. On the other hand, if we want to create an mp4 file, you would typically use the FourCC code “MJPG”. We tested these FourCC codes on a Windows machine.
- The third input of “cv2.VideoWriter()” is the frame rate of the video that we want to record. We extracted the frame rate from our camera in the previous Python script.
- The fourth input of “cv2.VideoWriter()” is a tuple with two entries specifying the width and height that we want to record. We extracted this information from our camera in the previous Python script.
There are also other inputs of “cv2.VideoWriter()”. However, we do not need to specify them in this tutorial and we use the default parameters.
The following script specifies the FourCC code, video filename, video dimensions, and video frame rate. Finally, it creates a VideoWriter object called “recordedVideo”.
# specify the video properties

# specify the desired video codec
# we need to specify the so-called FourCC 4-byte code

# for .avi files use DIVX,XVID, (tested and it works in Windows)
# we tried  X264 for avi files and does not work (in Windows)
# for .mp4 files use MJPG (tested and it works in Windows)

fourccCode=cv2.VideoWriter_fourcc(*'DIVX')

# specify video file name
videoFileName='recordedVideo.avi'

# define the recorded video dimensions
videoDimension=(frameWidth,frameHeight)

# create a VideoWriter  object

recordedVideo=cv2.VideoWriter(videoFileName,
                              fourccCode,
                              frameRate,
                              videoDimension)
The following script records camera frames, displays them on the screen, and saves them to the specified video file. After the user presses the “c” keybord key, the recording and saving process will stop and VideoCapture and VideoWriter objects will be released, and all the windows will be closed.
while True:
    # capture the frame
    success,frame=camera.read()

    if not success:
        print("Not able to read the frame. End.")
        break

    # display the camera image
    cv2.imshow('Camera video',frame)

    # write the frame to the file
    recordedVideo.write(frame)

    # stop using the camera and recording the video by pressing 'c'
    # change this part as you wish

    if cv2.waitKey(1) == ord('c'):
        break
# release the capture
# and close all the windows
recordedVideo.release()
camera.release()
cv2.destroyAllWindows()
To read frames from the camera, we use the function “camera.read()”. To display the images (frames) on the computer screen, we use “cv2.imshow(‘Camera video’,frame)”. To save the frame to the specified file, we use “recordedVideo.write(frame)”.