 by
by In this Linux and Ubuntu tutorial, we explain how to capture a screenshot in Linux/Ubuntu. The main motivation for creating this tutorial comes from the fact that you will often need to take screenshots of your code if you are developing a program and at the same time you are writing a scientific report or a graduate thesis. Also, I created this tutorial since I often switch between Windows and Linux, and often forget how to properly take screenshots in Linux. We will learn how to take screenshots of
- Complete screen
- Section of the screen
- Currently active window
The YouTube video accompanying this tutorial is given below.
First approach: Using Keyboard Keys
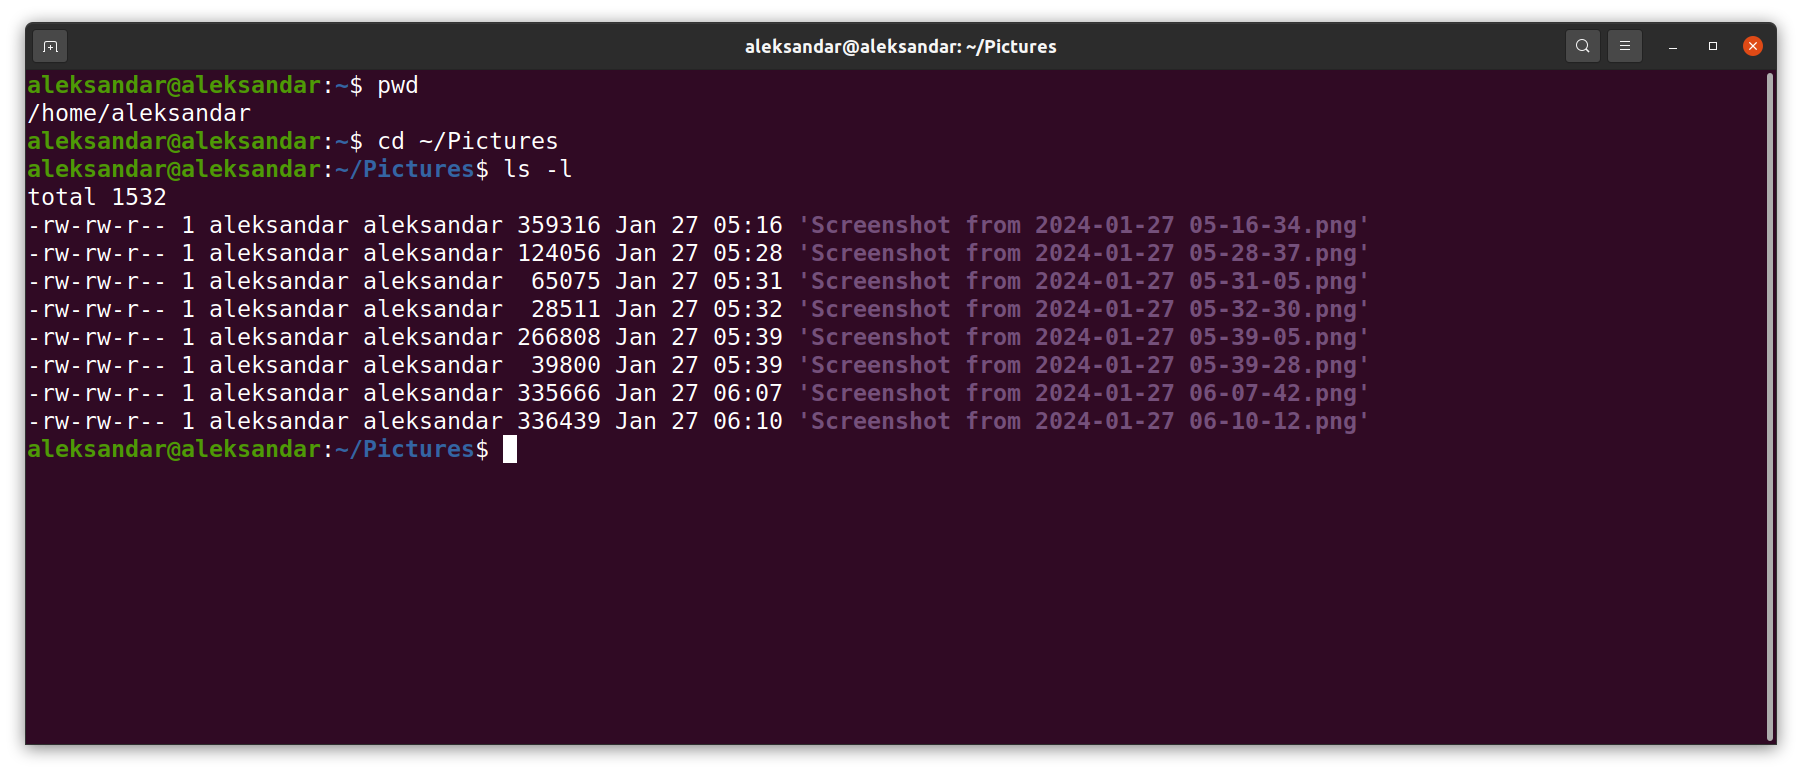
The first approach is to press the [PrtSc] or Print Screen keyboard key. The operating system will generate an image file. Usually, the generated file is in the PNG form. In our case, we get this image
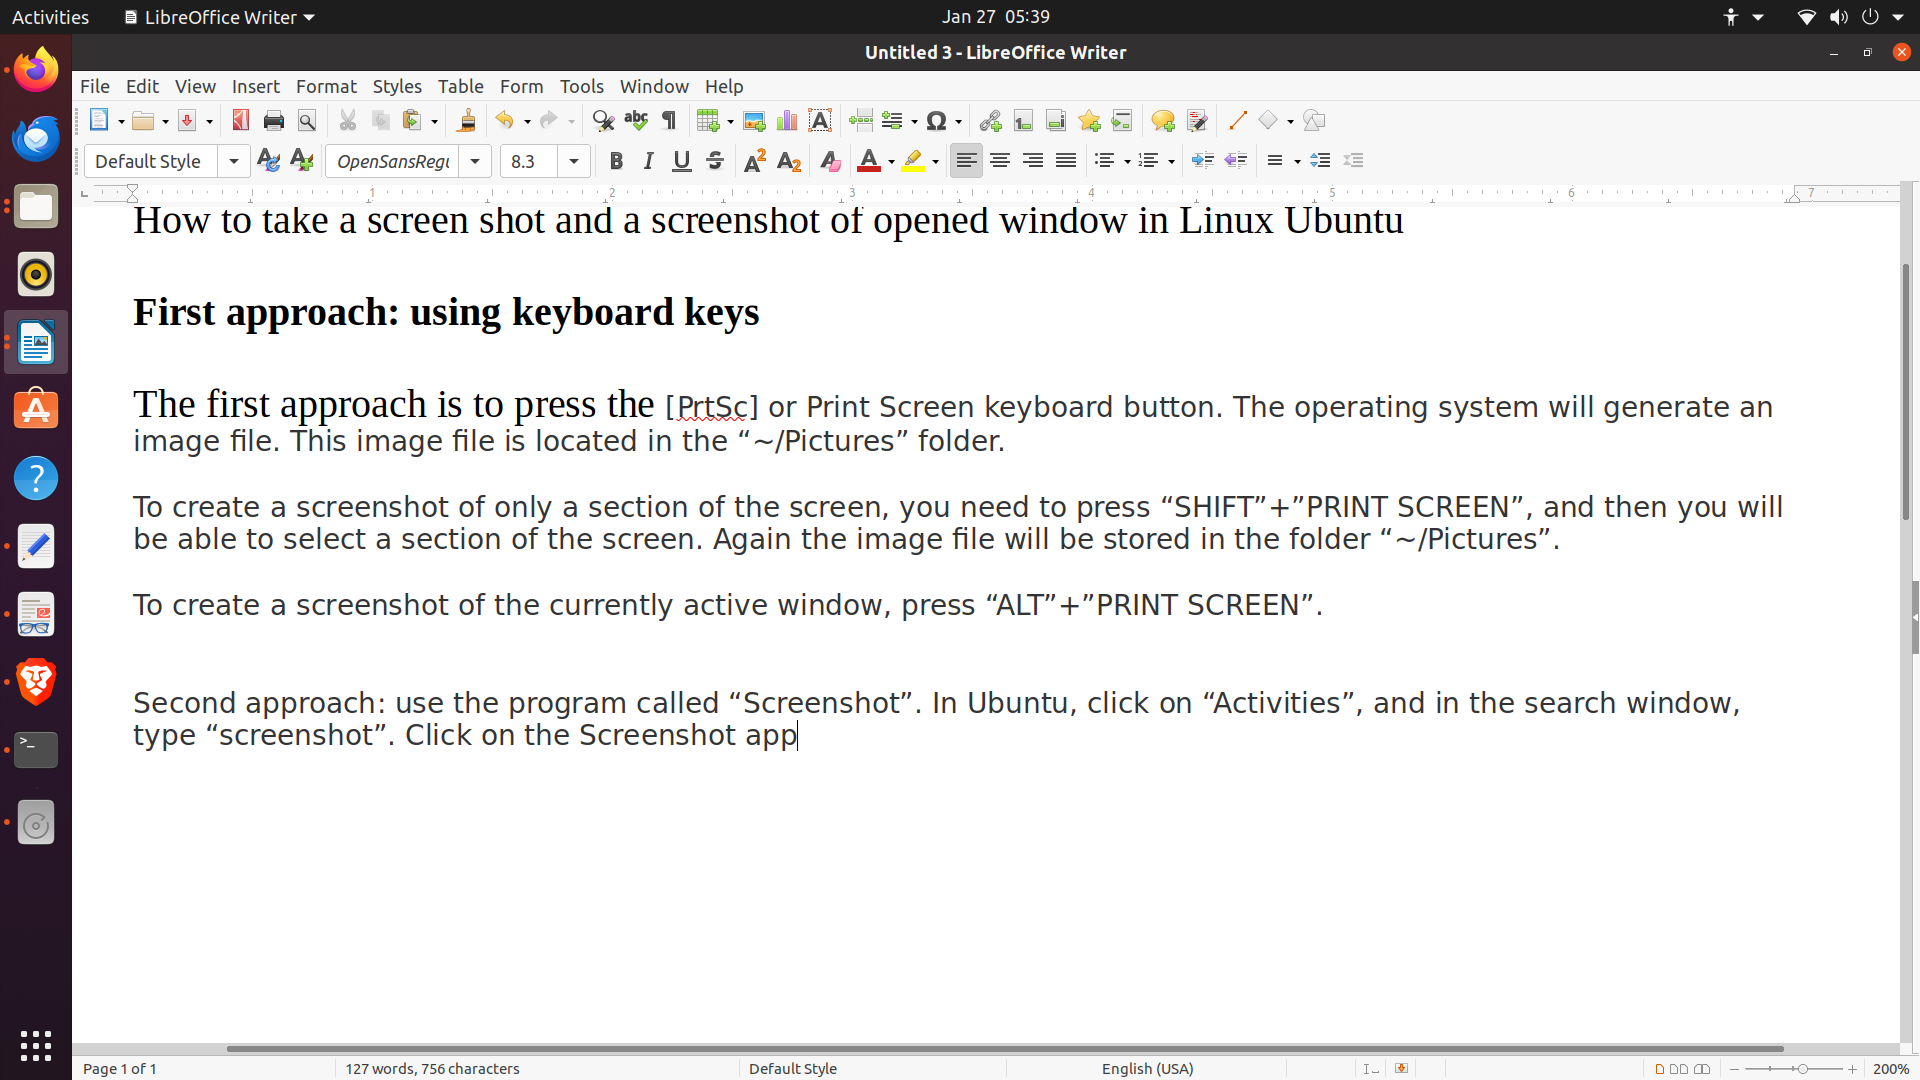
This image file is located in the “~/Pictures” folder.
To create a screenshot of only a section of the screen, you need to press “SHIFT”+”PRINT SCREEN”, and then you will be able to select a section of the screen. Again the image file will be stored in the folder “~/Pictures”.
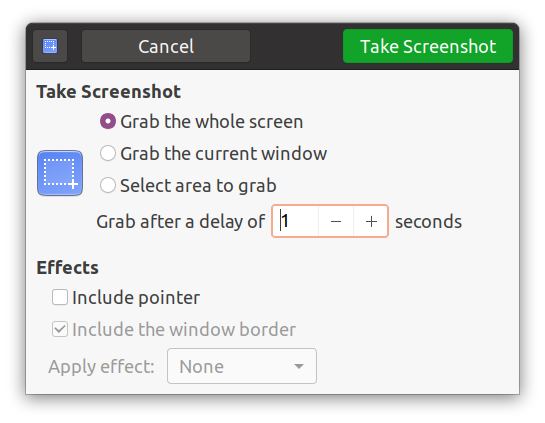
Second approach: use the program called “Screenshot”
In Ubuntu, click on “Activities”, and in the search window, type “screenshot”. Click on the Screenshot app and select the screen recording option.
Third approach: use the program called “Gimp”
In Ubuntu, there is a nice program called GIMP. GIMP stands for “GNU Image Manipulation Program”. It is a very useful program for image manipulation. Click on File, and click on “Screenshot”, and the window will open.