 by
by In this robotics, mechatronics, and Robot Operating System (ROS) tutorial, we explain how to install and use a Lidar in Raspberry Pi. In particular, we are using Slamtec RPLIDAR A1M8, and we are using Raspberry Pi version 4 with 4 gigabytes of RAM. The operating system installed on Raspberry Pi is the Ubuntu MATE Linux version that is installed on top of the Ubuntu 20.04 Server. The Ubuntu MATE Linux distribution is a lightweight version of Ubuntu suitable for computers with limited resources such as Raspberry Pi. We are using ROS version 1 Noetic, and we are running the standard ROS package for this Lidar.
Before explaining how to install and run lidar on Raspberry Pi, we have to mention the following. It took us several days to test different Linux distributions in order to figure out which one would NOT clog and overload the Raspberry Pi 4 microcontroller, such that we could run a ROS lidar node. The main issue is that the standard Ubuntu versions (20 and 22) will consume all the Raspberry Pi 4 resources and cannot run ROS smoothly. Consequently, we need to use lightweight Linux distributions. Issues/Conclusions:
- As the tutorial and the accompanying YouTube video clearly show, the combination of Ubuntu Server and Ubuntu Mate will work, and can run the lidar ROS test node.
- We were not able to install ROS on the native Raspberry Pi OS.
- Standard Ubuntu 20 and 22 will not work due to the high demand for computational resources.
- We also tested the combination of Ubuntu Server and Xubuntu-desktop and it works.
- In the future, we will try to install Ubuntu an external USB SSD disk, and to run the lidar ROS node from there. Probably, SSD disks are faster than Micro SD cards.
The YouTube tutorial accompanying this webpage is given below.
Lidar Installation
First, we need to emphasize that we are using the combination of Ubuntu Server 20.04 and on top of that we installed Ubuntu Mate desktop. In this way, we are able to save computational resources.
STEP 1: Create the workspace, clone the package, and build the workspace and package
First, source the ROS environment
source /opt/ros/noetic/setup.bashCreate the workspace and clone the Lidar package from the GitHub repository:
mkdir -p ~/lidar_ws/src

cd ~/lidar_ws/src

git clone https://github.com/Slamtec/rplidar_ros
Build the workspace
cd ~/lidar_ws/
catkin_make
Source the compiled package
source ~/lidar_ws/devel/setup.bashSTEP 2: Run the Lidar Node and RViz
Connect the Lidar to the USB port. Set the USB permissions
ls -la /dev | grep ttyUSB0

sudo chmod 666 /dev/ttyUSB0
Open a new terminal and run the roscore program (ROS master program that runs in the background)
source /opt/ros/noetic/setup.bash

roscore
Then, in the original (first) terminal type
roslaunch rplidar_ros view_rplidar_a1.launchThis will bring up RViz and display the lidar readings. The result is shown in the image below.
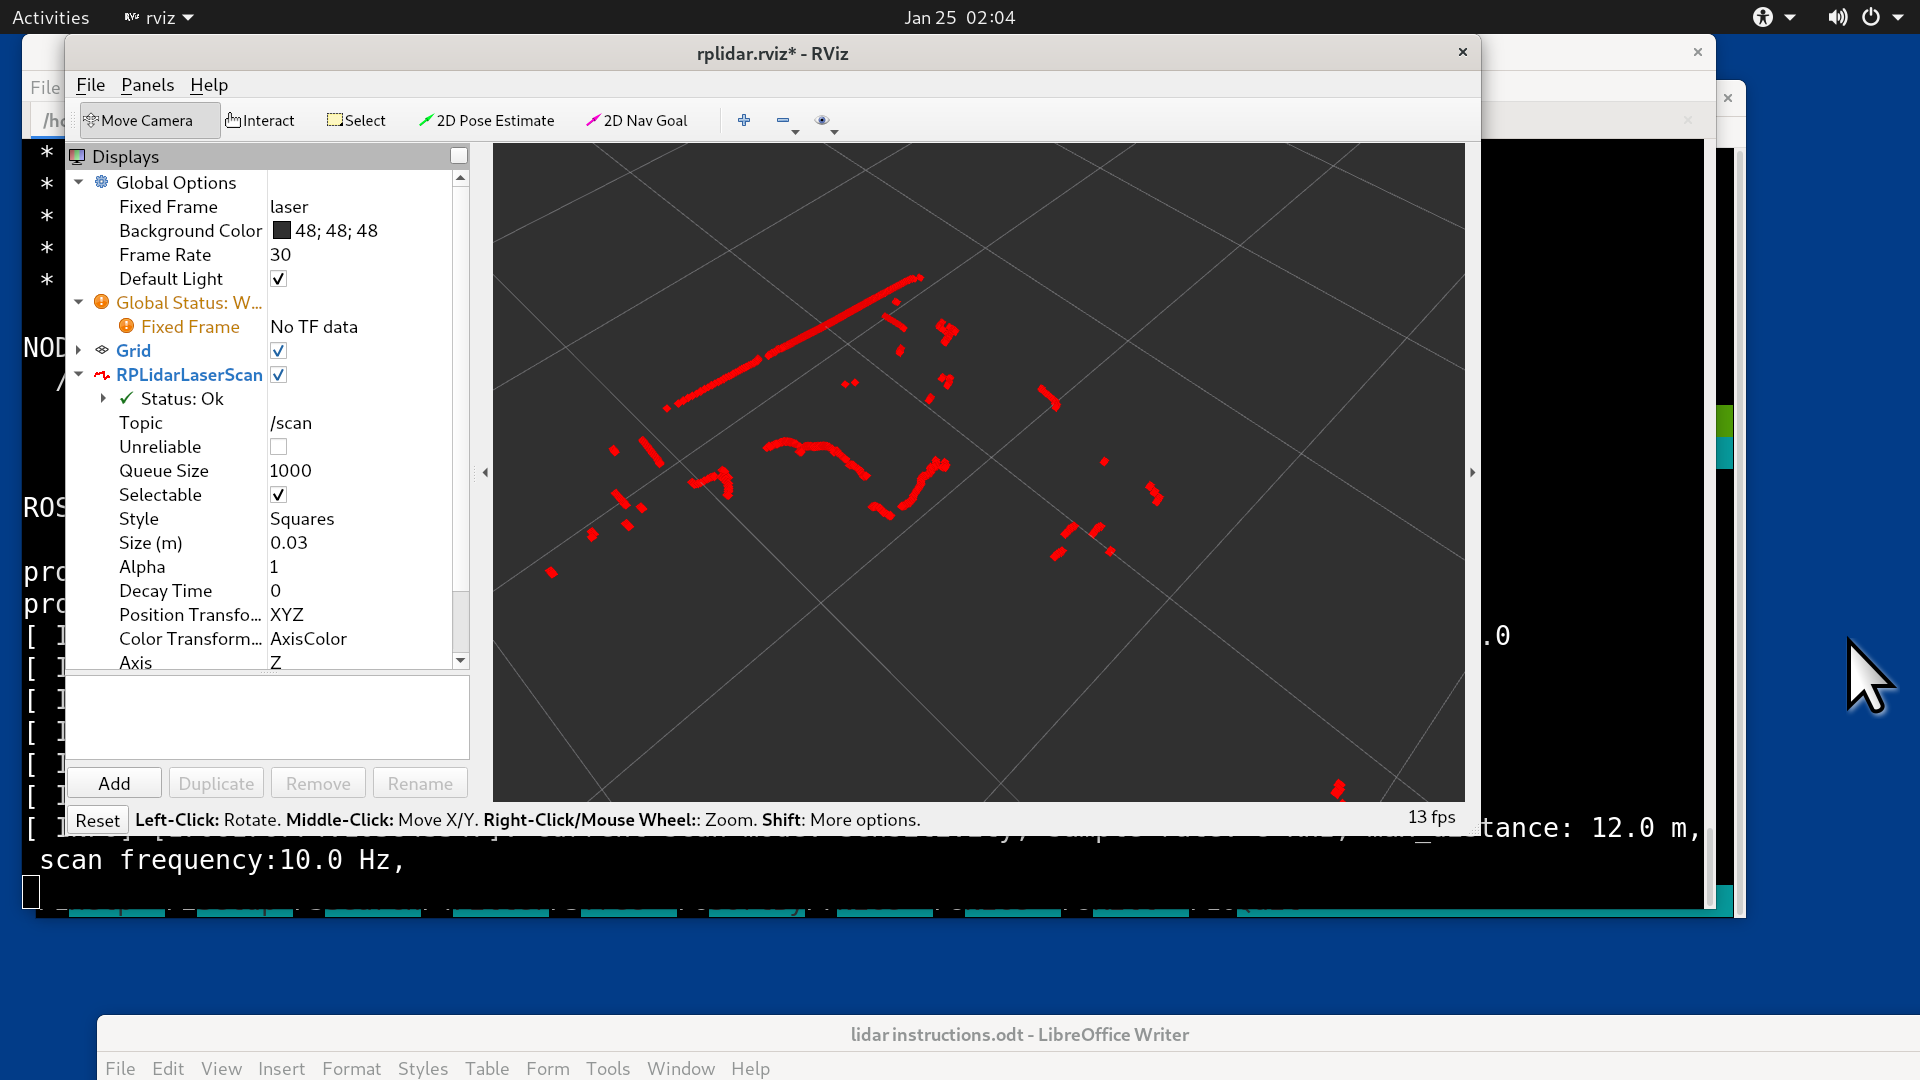
This graph shows the Lidar scan of the room in which the lidar is located. The red dots are points of the surfaces that reflect the laser beam.