 by
by In this Large Language Model (LLM) tutorial, we explain how to install and use Llama 3.1 in Python and Windows. This is the second version of the tutorial where we do not use Anaconda. Instead, we just use basic Python and a command prompt. That is, we will use ordinary Python virtual environments to install Llama 3.1, instead of using Anaconda/Conda virtual environments. We will thoroughly explain all the steps you need to perform in order to properly install and use Llama in Python on your local computer. The complete installation process might take more than an hour, so prepare yourself. The YouTube video accompanying this tutorial is given below.
Background information
Llama is a family of LLMs released by Meta AI (Formerly Facebook). The newest version of Llama is Llama 3.1, and according to the tests it outperforms other LLMs. Also, smaller models can be run locally on a computer. By the end of this tutorial, you will be able to write a Llama script in Python on your local machine, and the script will be able to provide you with intelligent and AI-generated answers.
Software and Hardware Prerequisites
- GPU. I am using NVIDIA GeForce RTX 3090. It takes less than 10 seconds to run a Lamma 3.1 model on this GPU. The model has around 8B parameters. However, you can also run Llama on CPU if you know how to optimize it (this is not difficult).
- You will need the recent version of Python. In my case it is Python 12.4. Also, make sure that Python is inside of the Windows path, such that you can run it from a command prompt. You can freely install Python from the official webpage.
- You also need to have Git installed on your system, such that you can clone remote packages and projects. You can freely install Git.
- You will need Visual Studio With C++ Community 2022 (or a similar version). If you do not install it before installing PyTorch (PyTorch is necessary for Llama 3.1), you will not be able to run PyTorch, and you will experience some issues with DLL files. Visual Studio With C++ Community 2022 is completely free and you can download it from the official webpage.
Installation Procedure
STEP 1: Create a HuggingFace Account and Download/Clone Llama 3.1 source files and models from Huggingface.
Go the the Hugging Face website, and sign up for the account, and login.
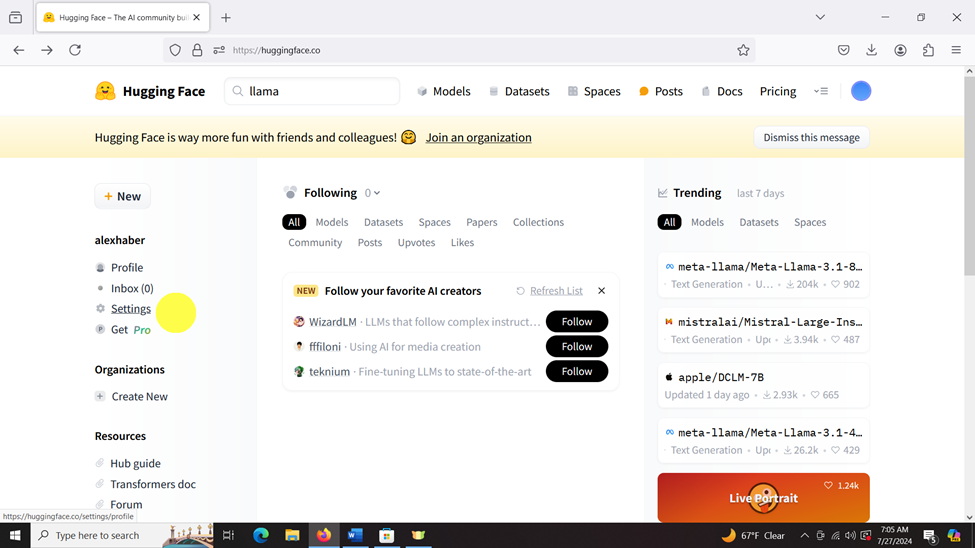
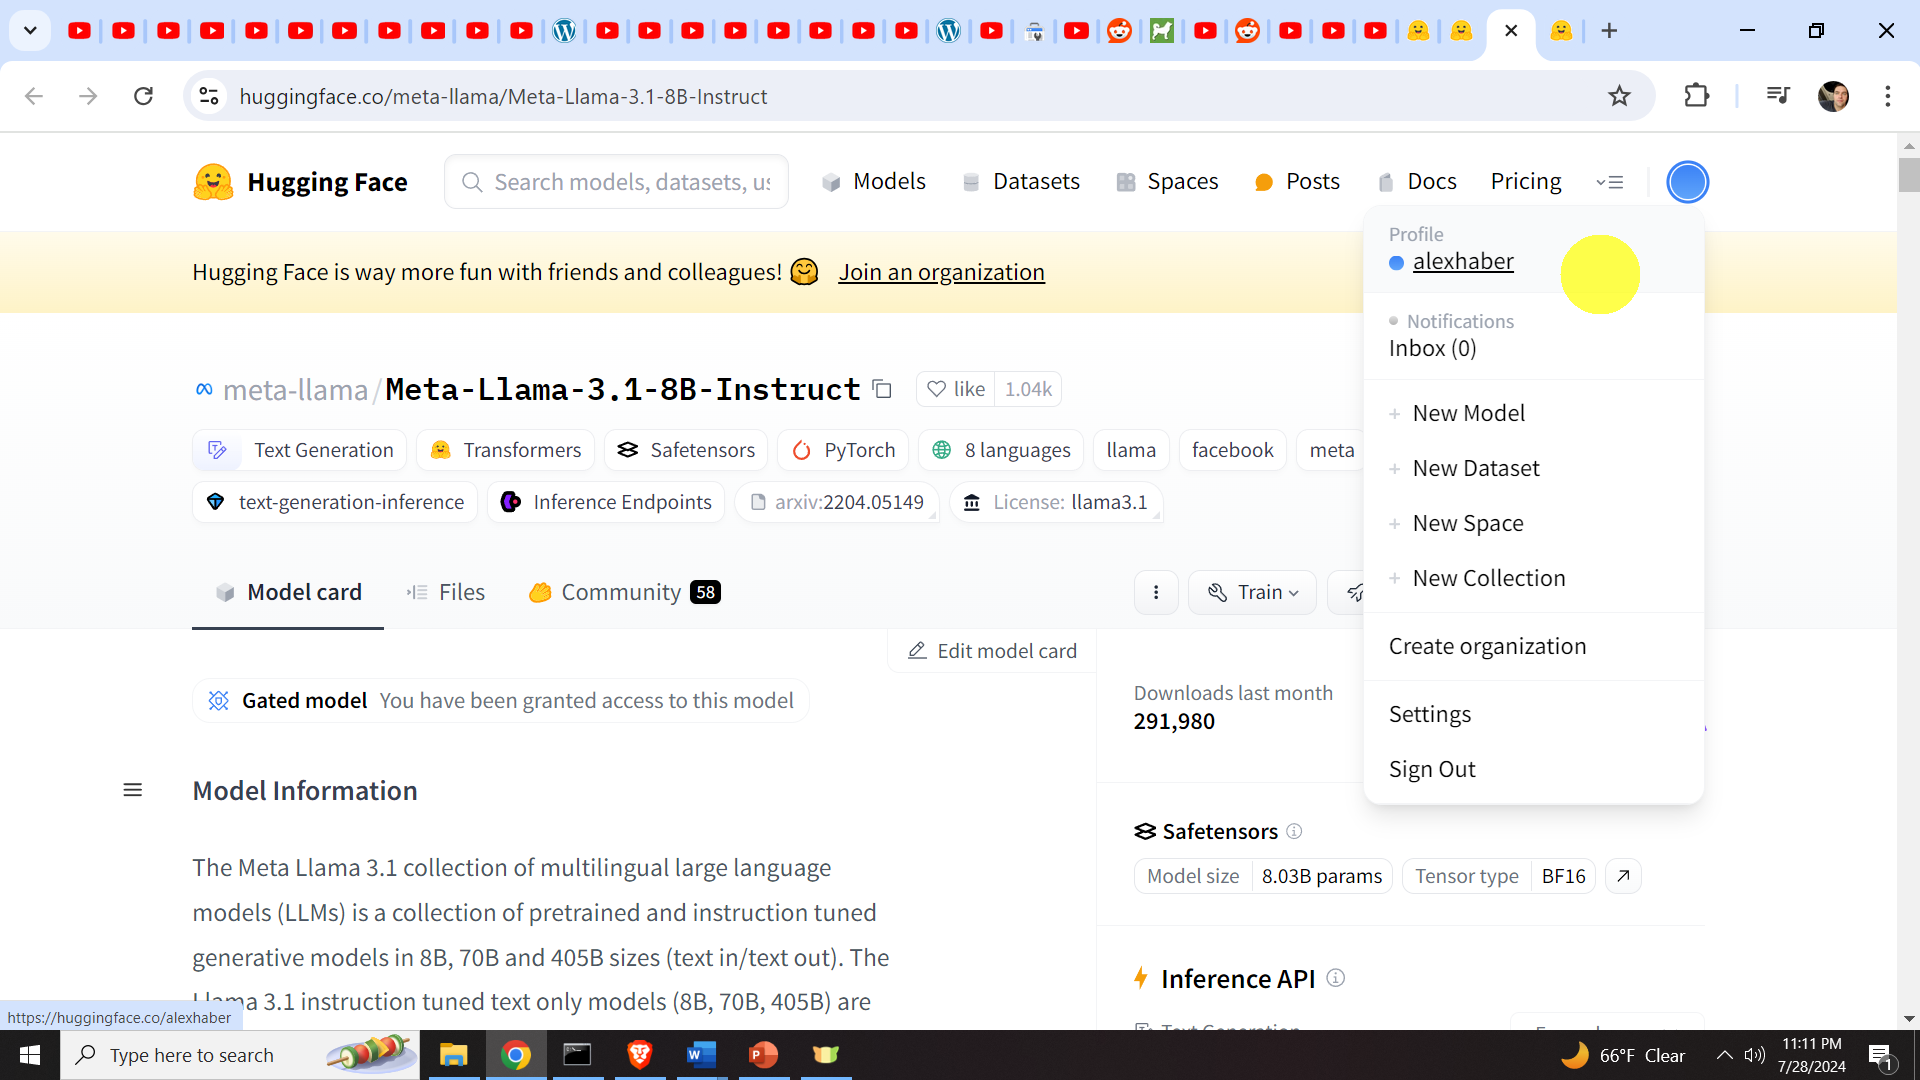
After you log in, you need to create a token to download the model. First, click on settings
Then, click on Access Tokens, and then “Create a New token”
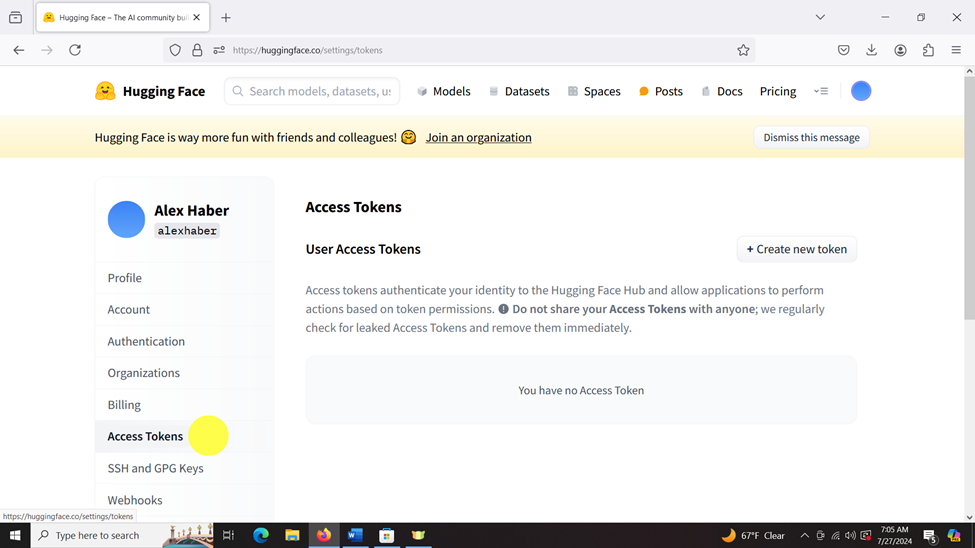
Then, click on Create new token.

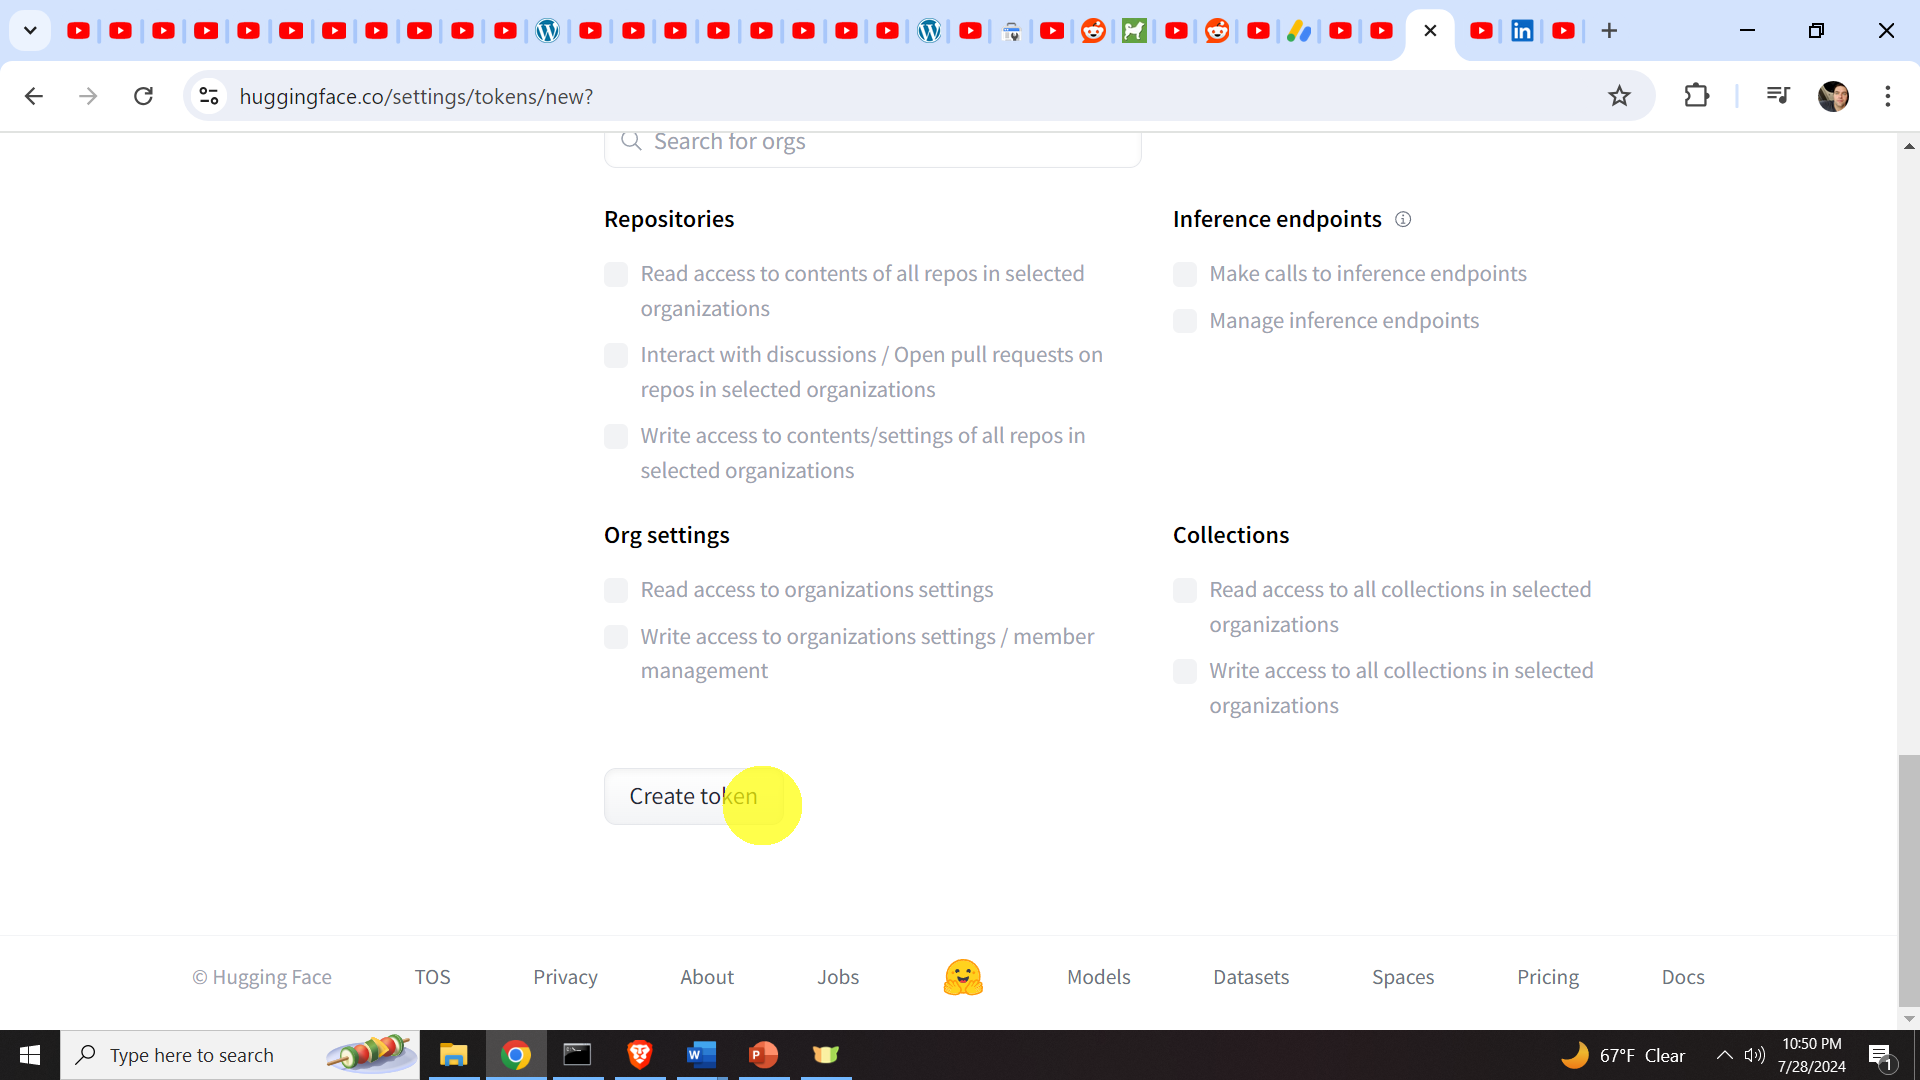
After that give the name to your token
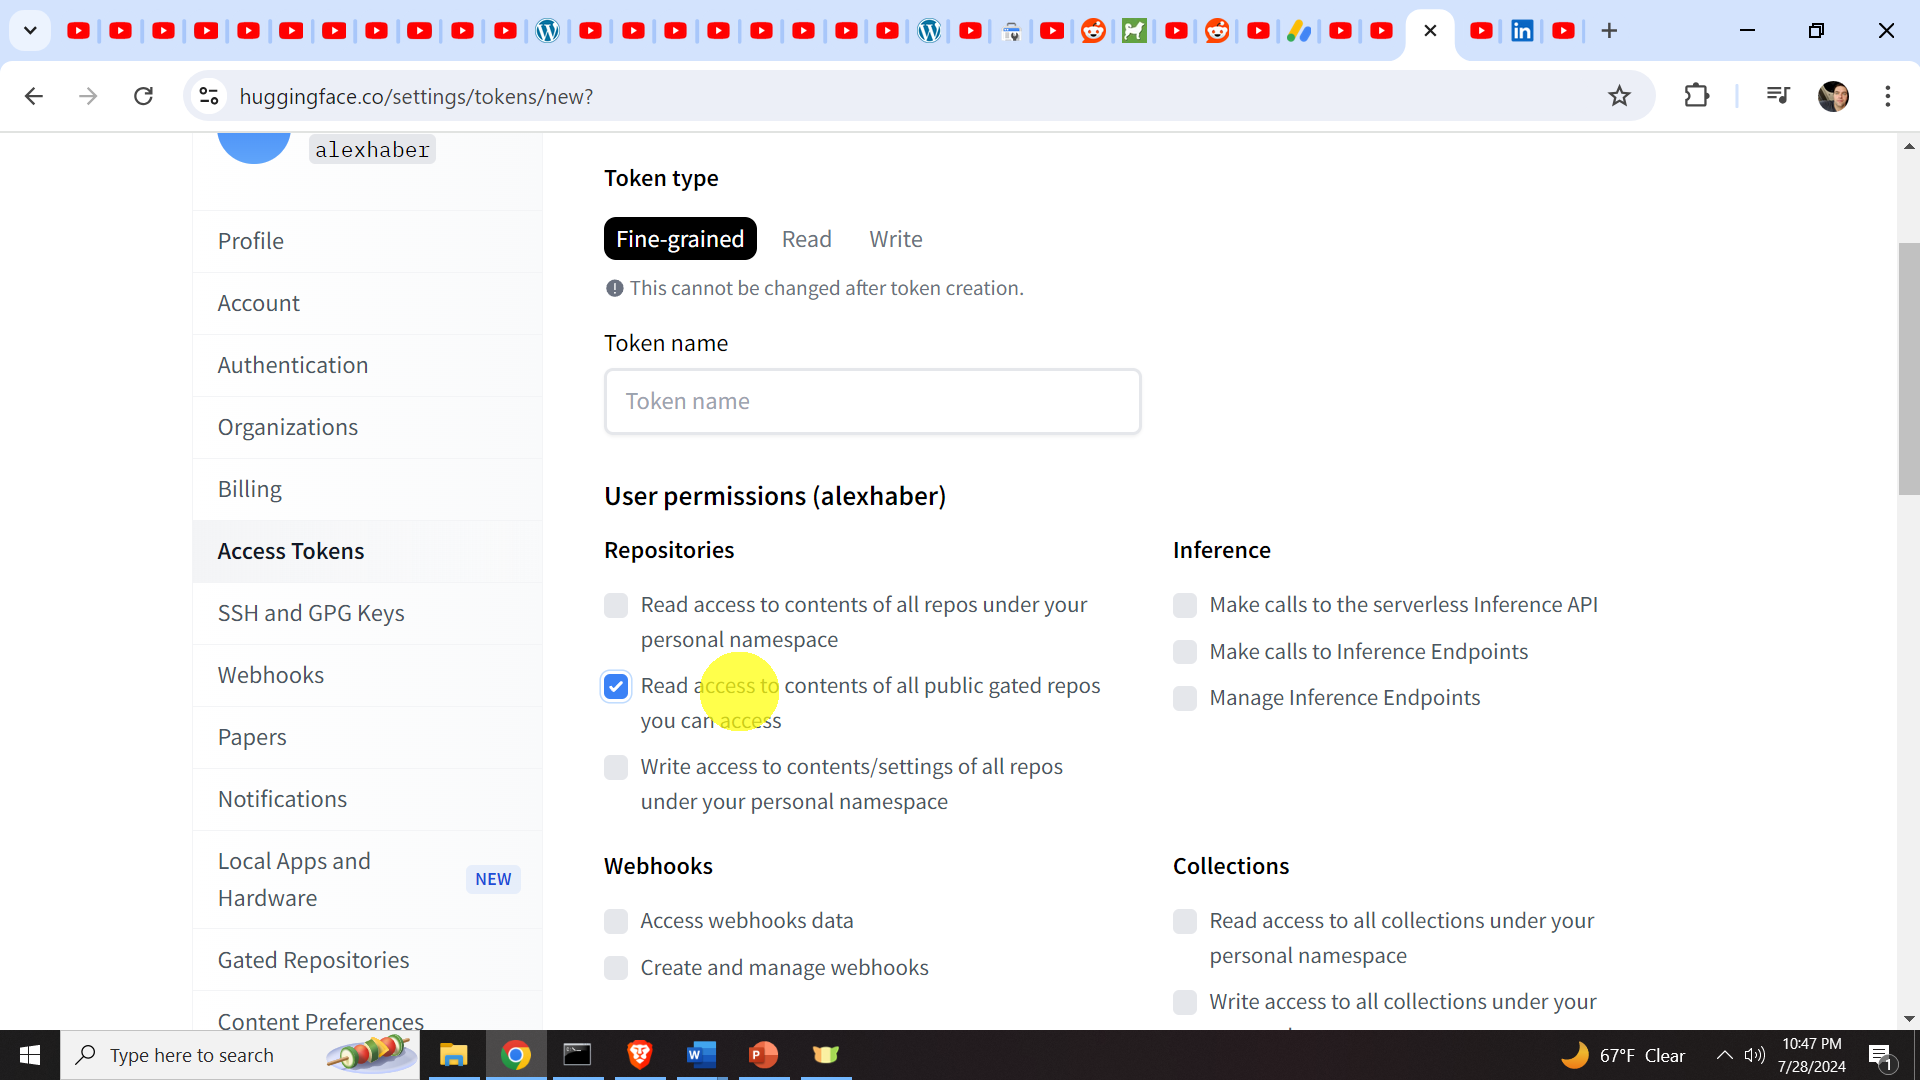
and make sure that the option
“Read access to contents of all public gates repos you can access”
is selected. After that, at the bottom of the page, click on Create Token. A new token will be created and you have to copy and paste this token to another text file and keep it confidential.
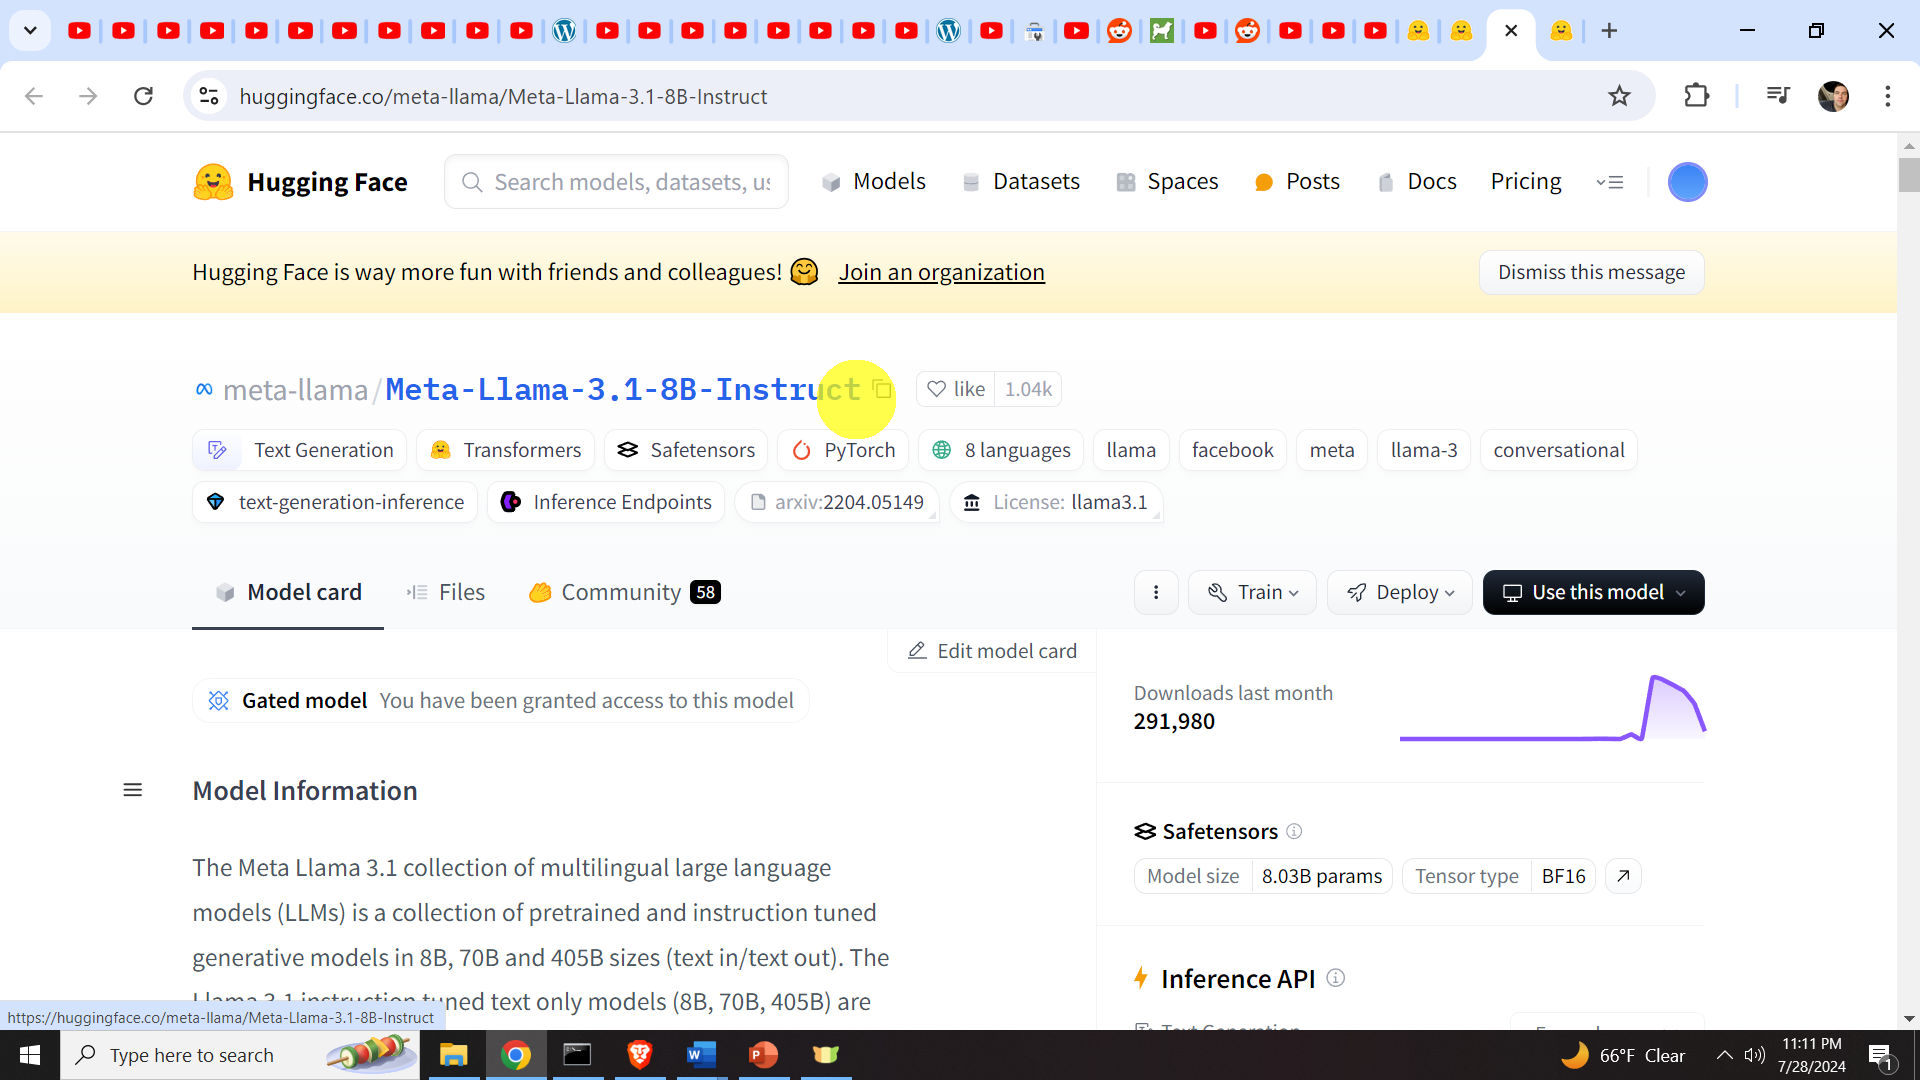
The next step, is to access the Llama 3.1 model. We do that by searching in the menu “Search models, datasets,..” for “Meta-Llama-3.1-8B-Instruct” or some other model. In this tutorial, we will use a model with 8B parameters, there are also larger models out there, so feel free to explore them.

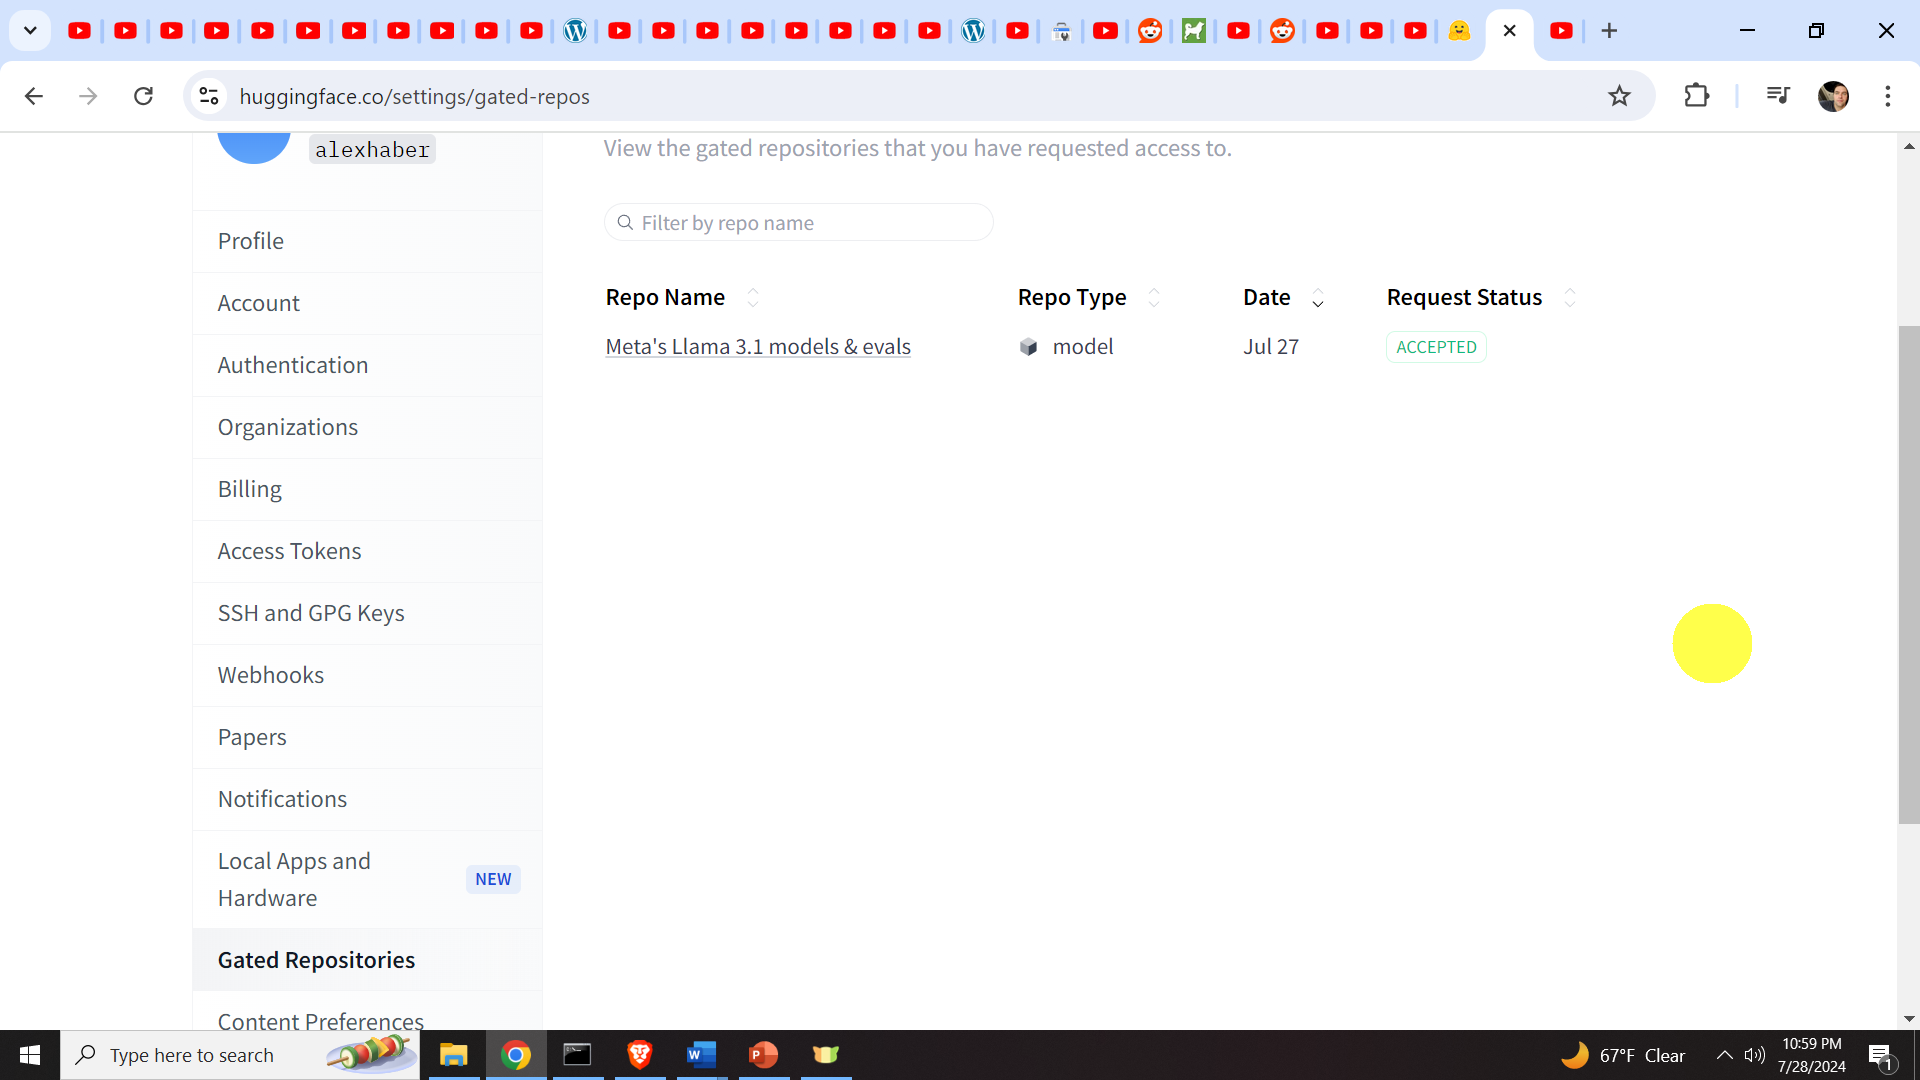
Click on the Llama model, then a new menu will appear, where you will have to enter your information, and after that you will have to officially ask for access. After that, the access will not be immediately be granted. You have to wait 10-15 minutes to obtain the access. You can check the status of your Request by clicking on the top right corner of the page (circle, your account), then on settings, then on “Granted Repositories”. After the request is approved you should see Request Status changes to accepted.
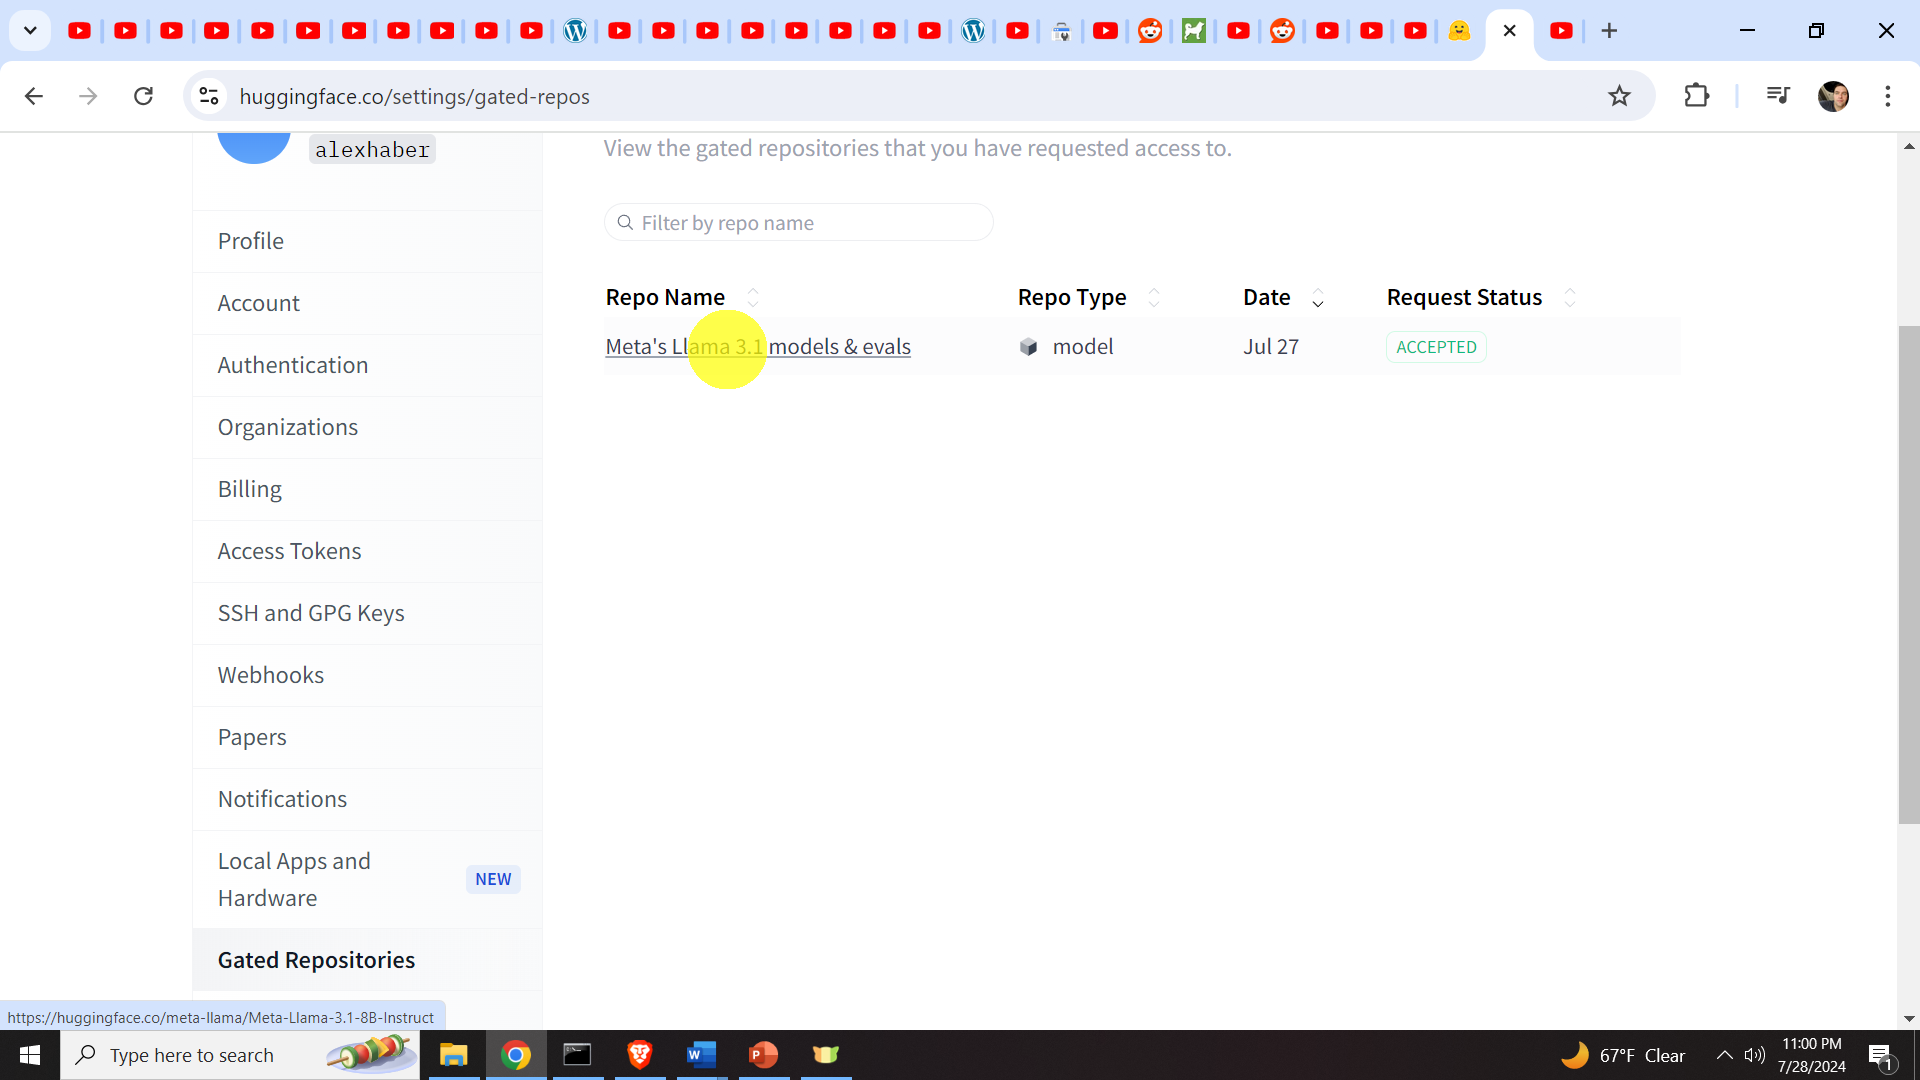
Once this is done, you can click on Llama 3.1 repository name
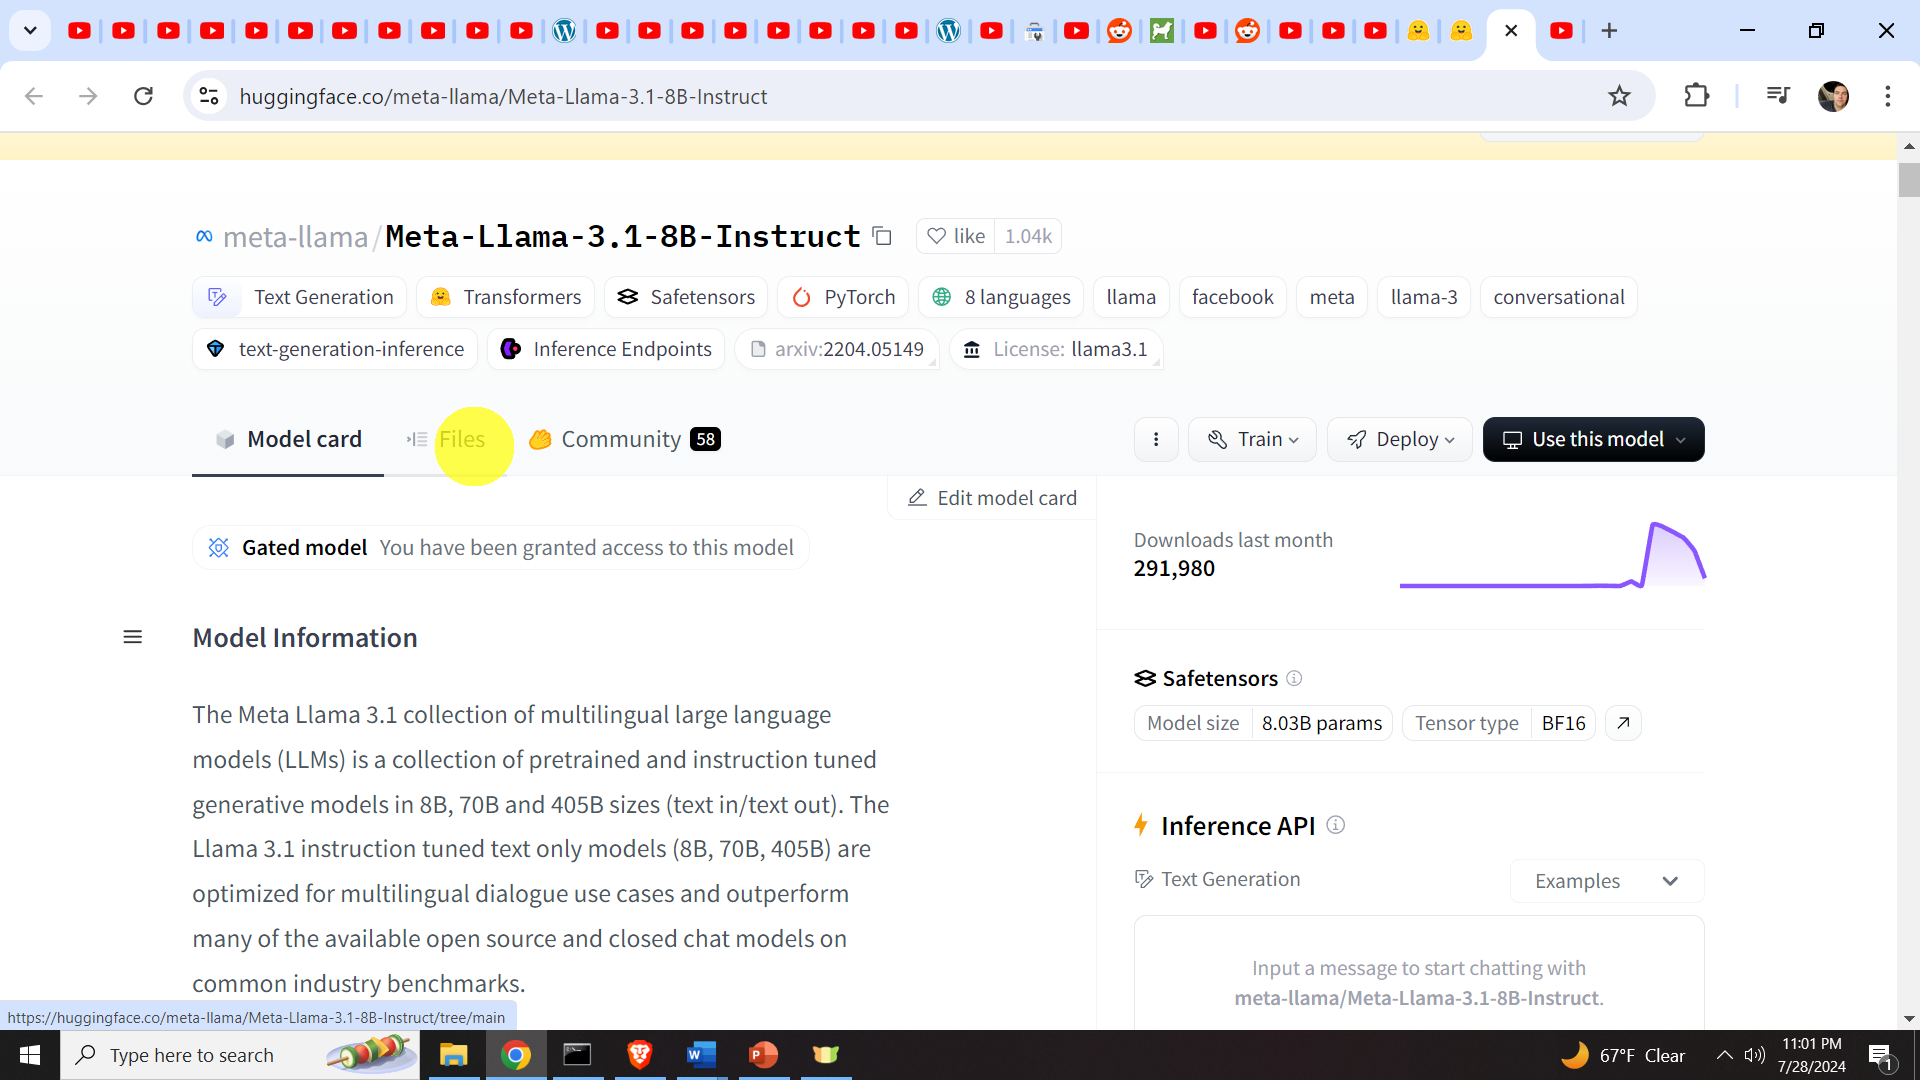
After that, you will be diverted to the main page of Llama 3.1, where you can inspect the model by clicking on File.
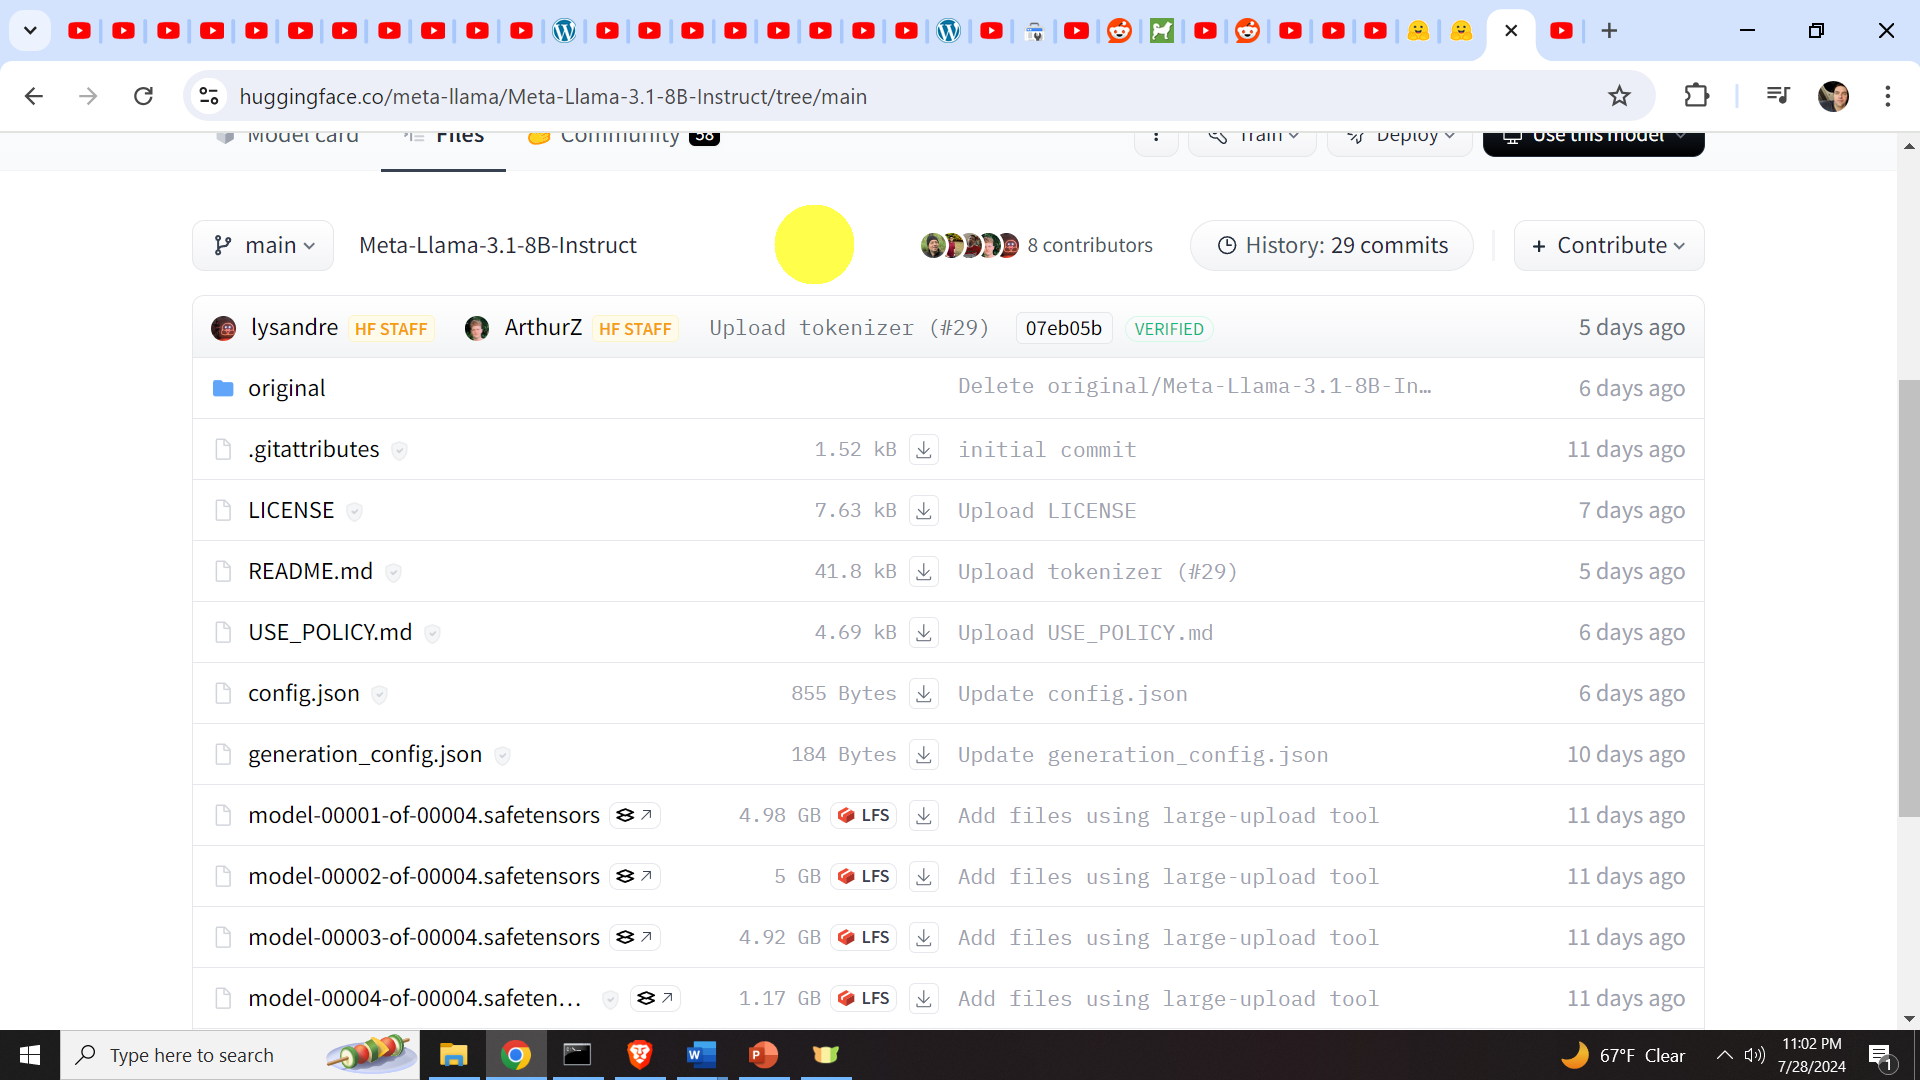
after that, you will be diverted to the repository page that looks similar to the GitHub repository page.
Our next task is to download this repository. First, we need to make a workspace folder for our Llama installation and our Python virtual environment. We do that as follows. First, open a Command Prompt in windows, and type
cd\
mkdir codes
cd codes
mkdir llama31
cd llama31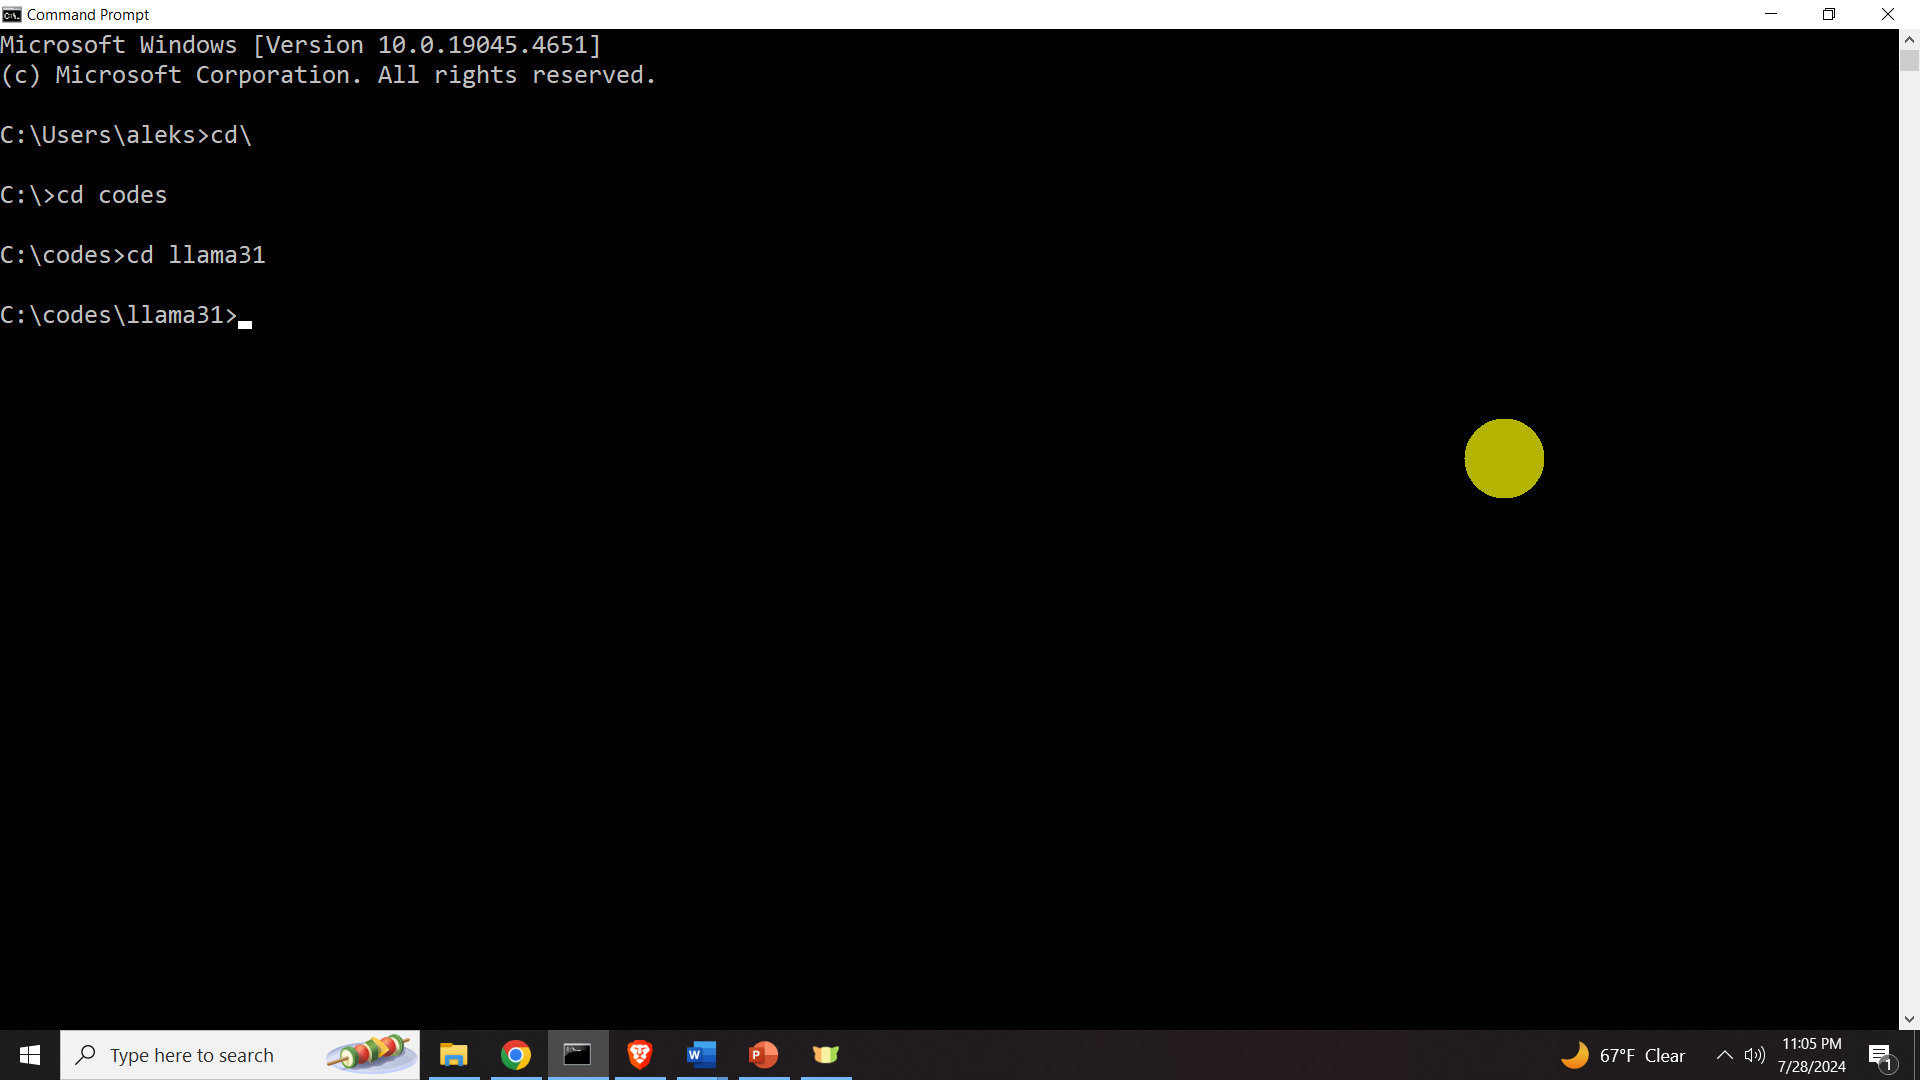
In this folder, we need to clone the Llama 3.1 repository from the Hugging Face website. We do that by executing the clone command:
git clone https://<Hugging Face Username>:<Hugging Face Username Token>@huggingface.co/<Relative Path to the MODEL>In the above command, the angle brackets are erased. Relative Path to the Model is shown below.
Your username can be found as shown below.
You also need to insert the token you generated. Consequently, in my case the command should look like this (with a wrong token):
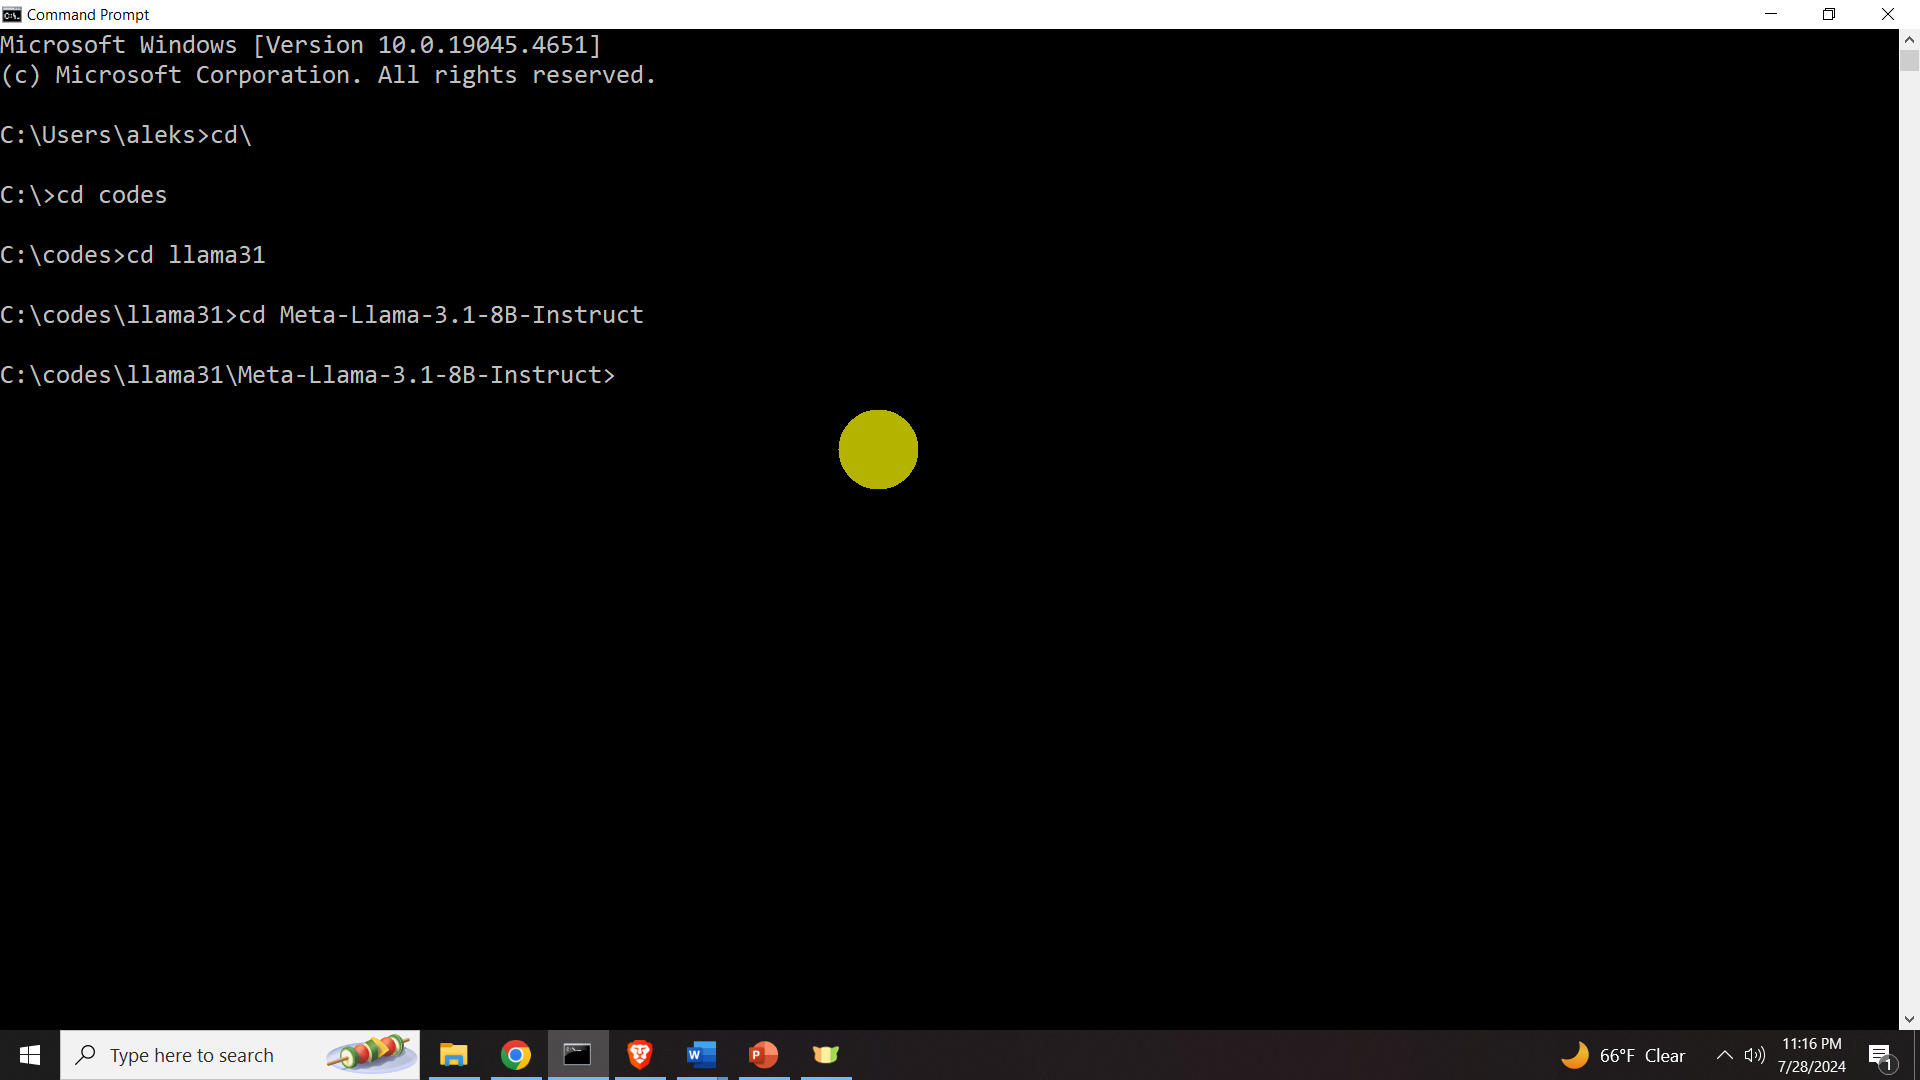
git clone https://alexhaber:sdaadadadas@huggingface.co/meta-llama/Meta-Llama-3.1-8B-InstructAfter you execute this command, it might take at least 30 minutes do download all the files. You are downloading more than 20GB of model files, so be patient.
STEP: Create Python Environment and Install the Necessary Packages
Wait until the model is downloaded/cloned. Make sure that you are in the model folder that is created after cloning the remote repository. The path should be like this
Then, in this folder create and activate the python virtual environment like this \
python -m venv env1
env1\Scripts\activate.bat
You should be now in the virtual environment called “env1”
Then, let us install the necessary packages. Go to the official website of PyTorch https://pytorch.org/get-started/locally/ , and from the table shown below select your options (we will use CUDA 11.8, however, you can also try some other CUDA version). Here it is very important to select the CUDA version since we want to make sure that PyTorch with GPU support is installed. After that copy and execute the automatically generated installation command shown below.
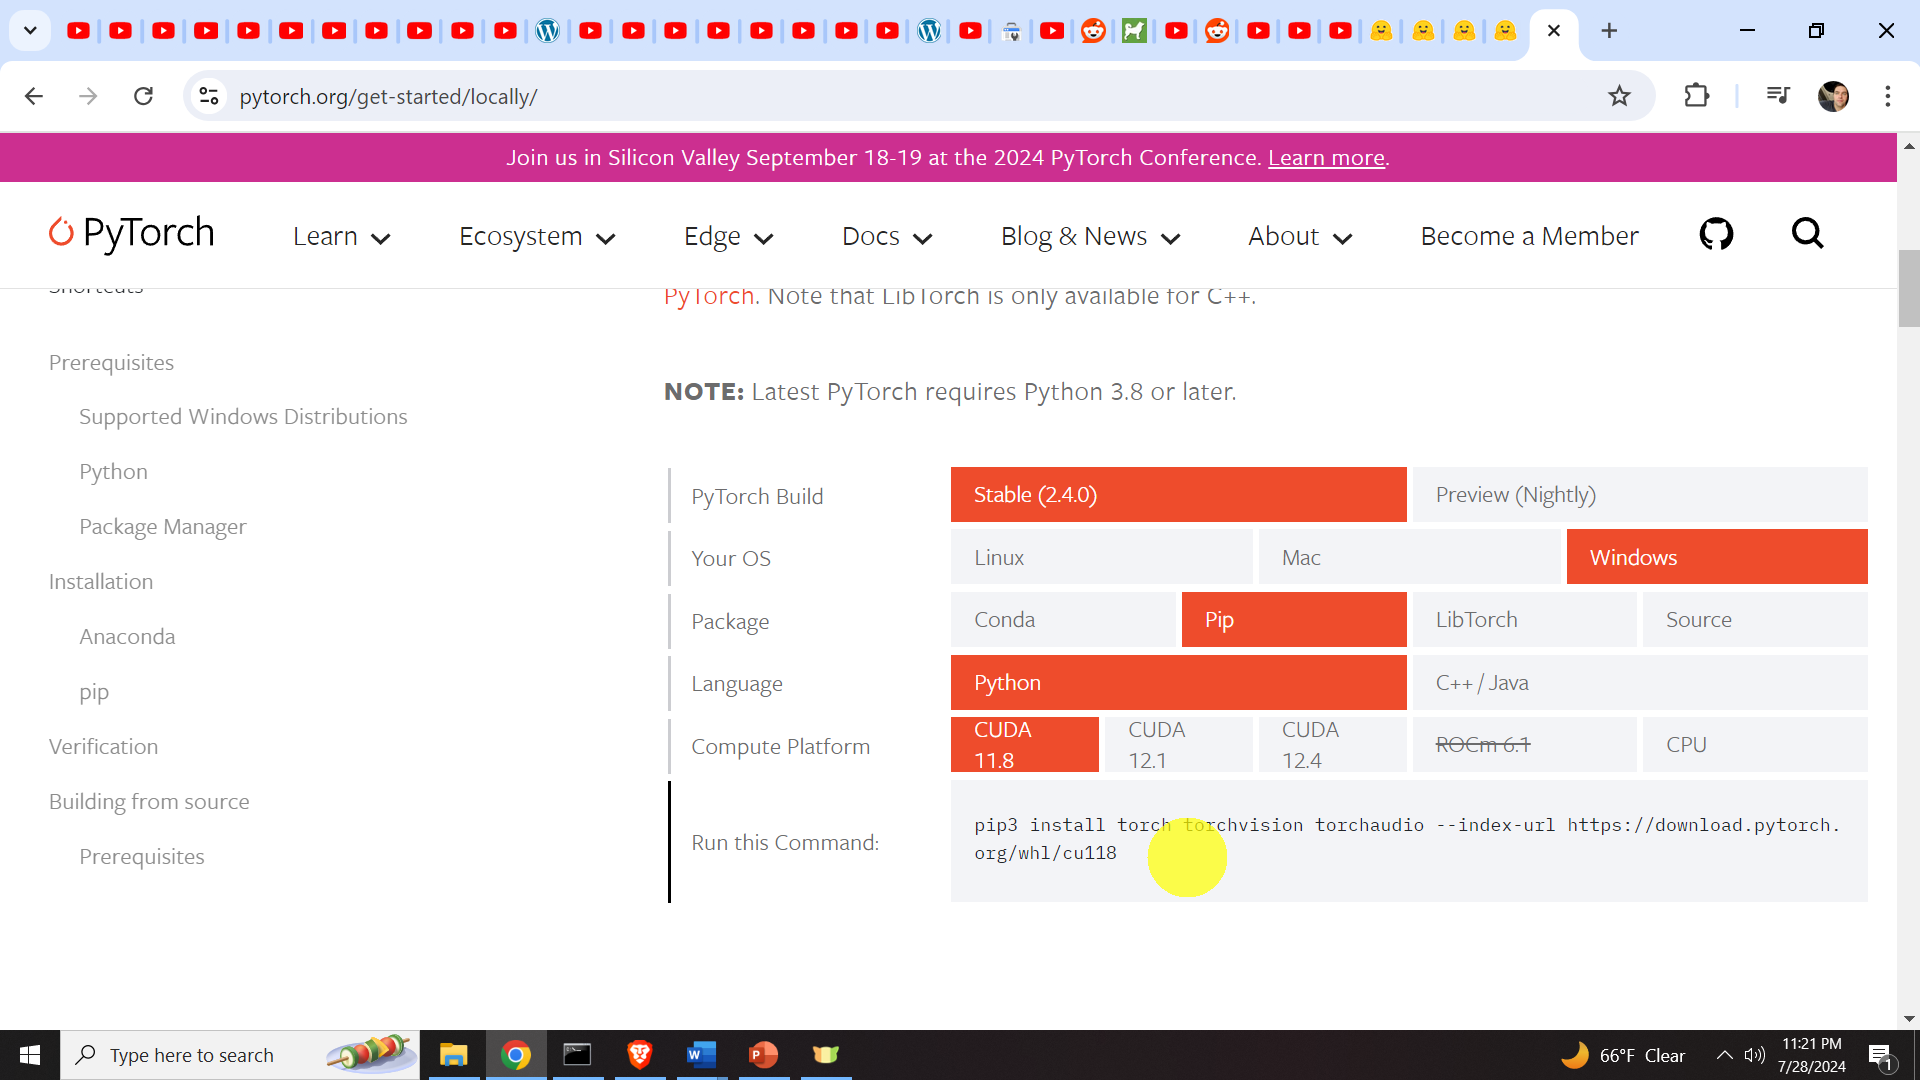
pip3 install torch torchvision torchaudio --index-url https://download.pytorch.org/whl/cu118After that sequentially install the following packages in the active virtual environment
pip install huggingface_hub
pip install transformers
pip install accelerate
After this, we are ready run our demo code.
Run Demo Example
While you are still in the created virtual environment, create a simple Python file like this
notepad test1.pyAnd enter the code given below.
from transformers import pipeline
import torch

model_id = "C:\\codes\\llama31\\Meta-Llama-3.1-8B-Instruct"
pipe = pipeline(
    "text-generation",
    model=model_id,
    model_kwargs={"torch_dtype": torch.bfloat16},
    device="cuda",)

messages = [   {"role": "user", "content": "What is a transfer function"},]

outputs = pipe( messages,
    max_new_tokens=256,
    do_sample=False,)

assistant_response = outputs[0]["generated_text"][-1]["content"]
print(assistant_response)
You can ask your question in the messages dictionary similar to what we did. Then, save this file, and go back to the terminal window. And execute the file by typing
python test1.pyand Llama should start without any problem.