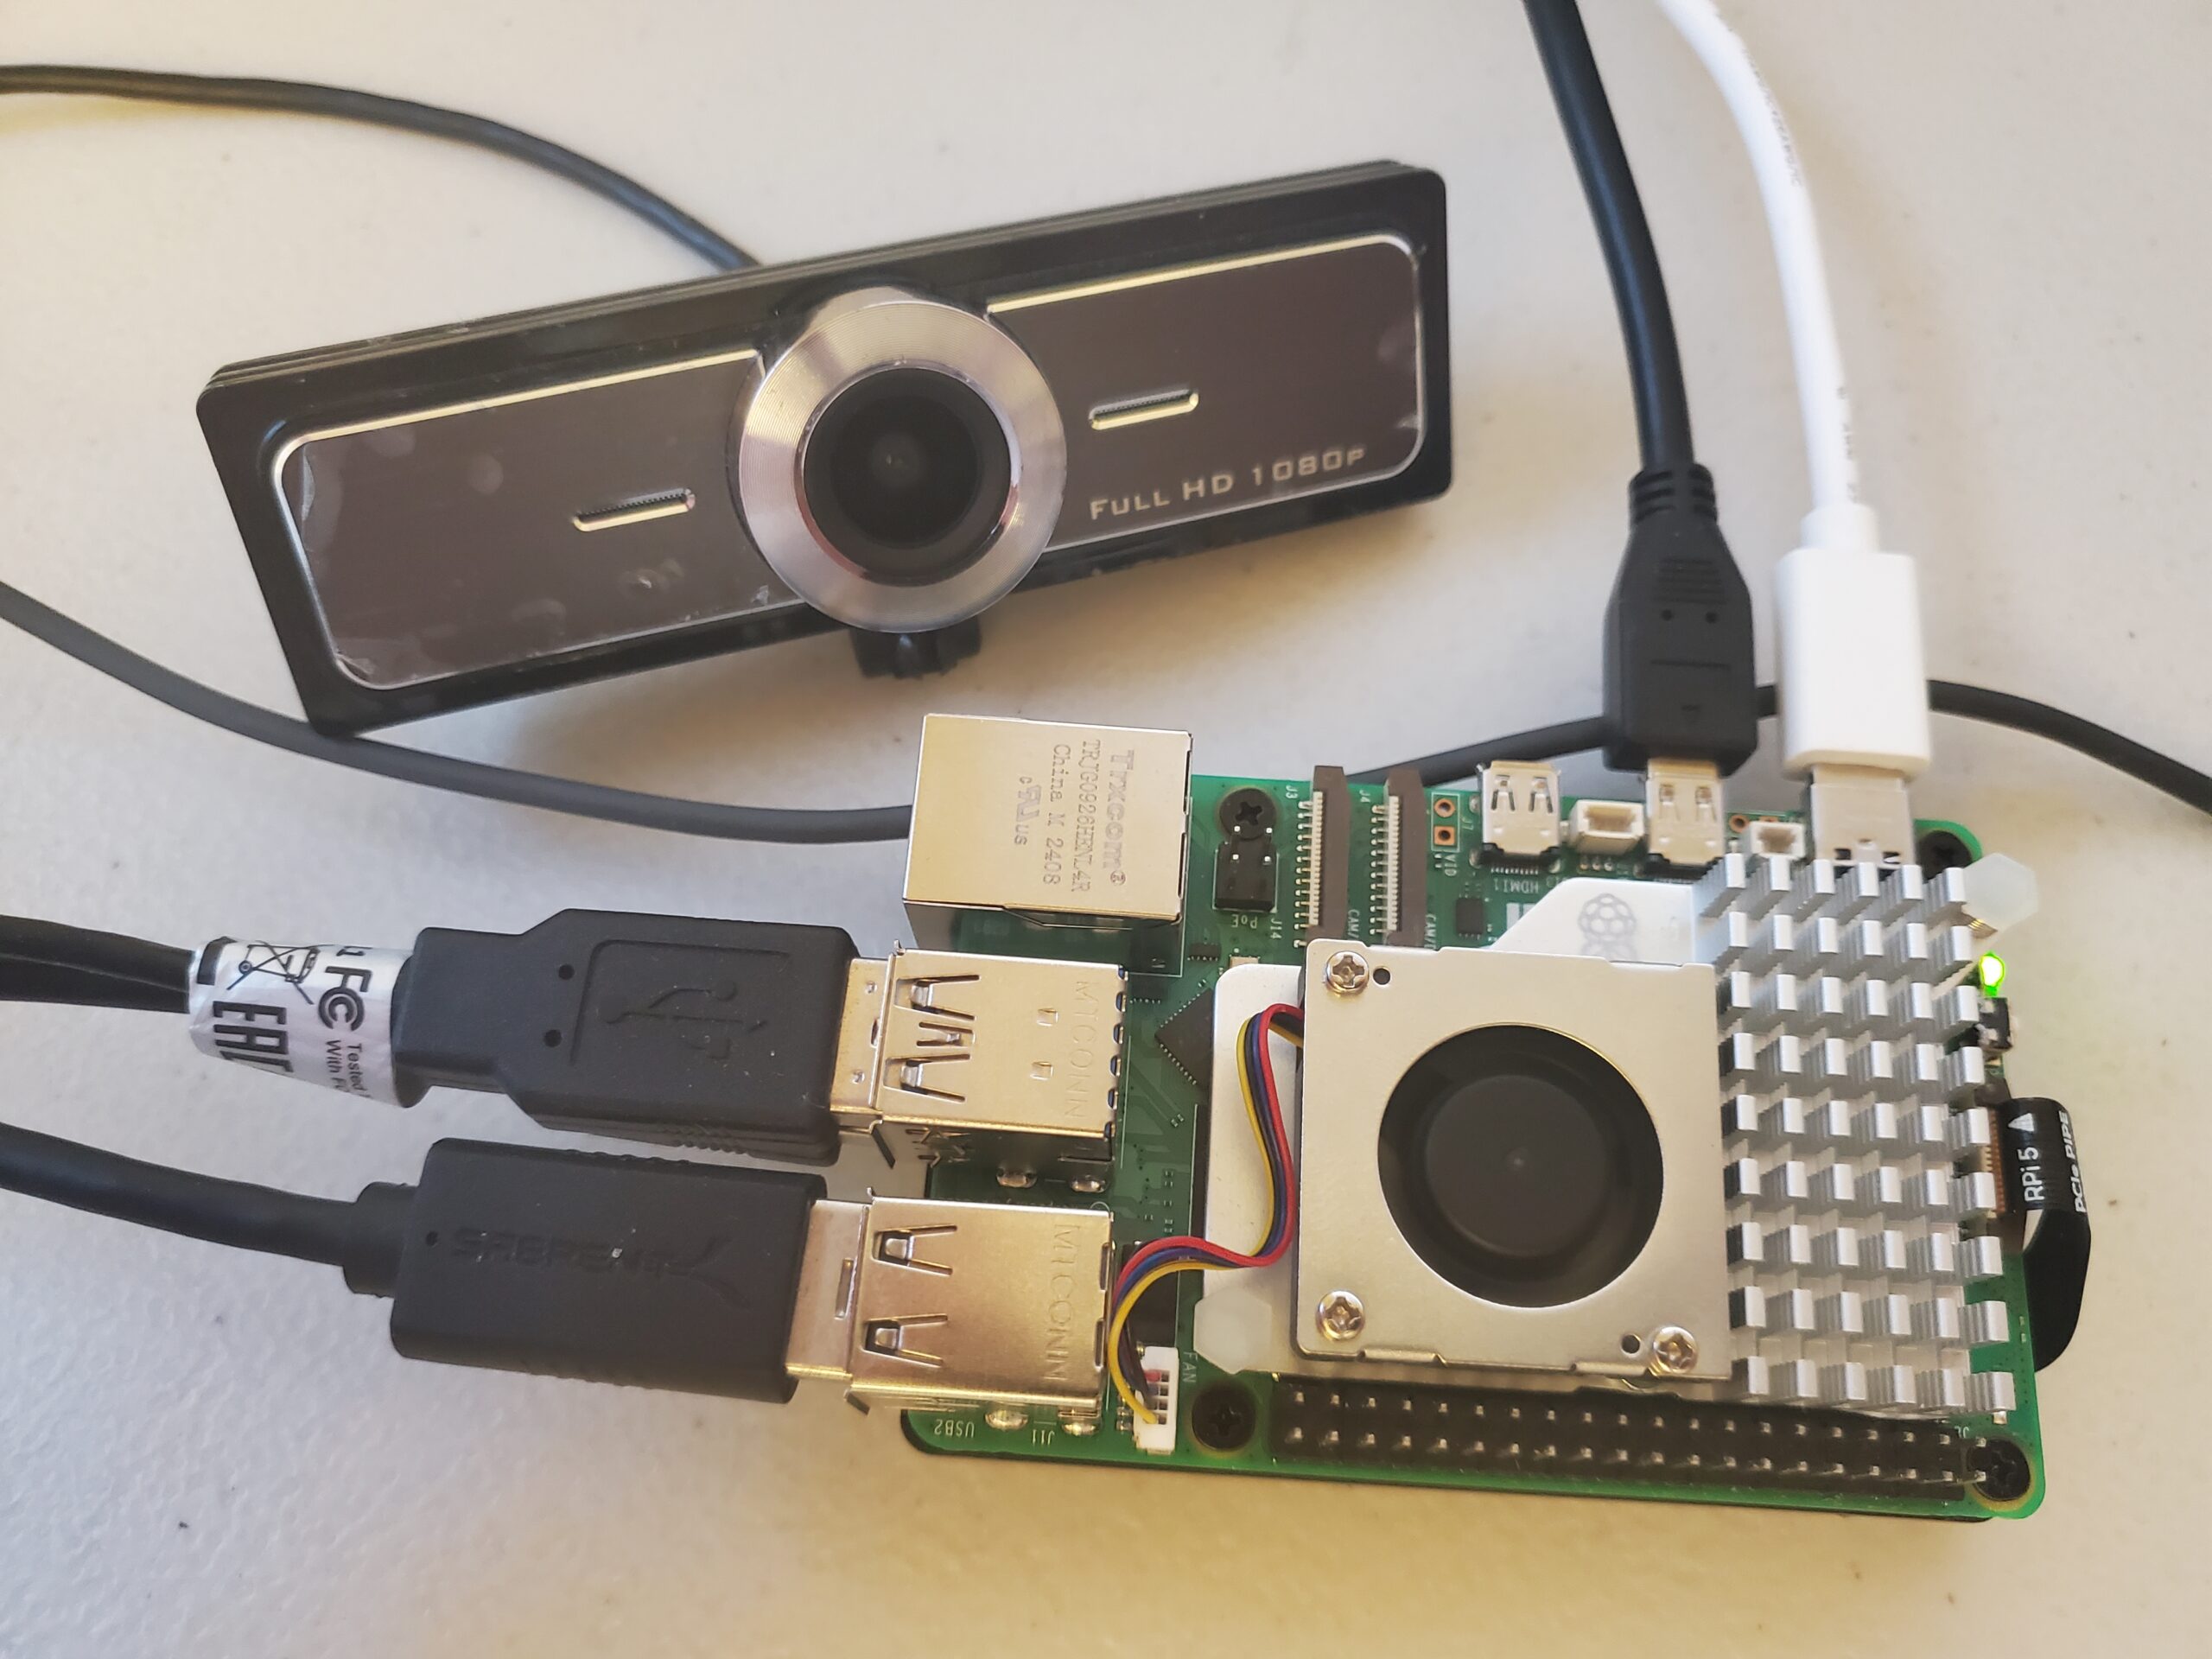
In this tutorial, we explain how to install and use OpenCV on Raspberry Pi 5 and Linux Ubuntu. For those of you who are not familiar with OpenCV, OpenCV contains a collection of algorithms that serve as the backbone for image processing and computer vision algorithms. Many computer vision libraries integrate OpenCV and use OpenCV algorithms. One example is the YOLO computer vision framework.

OpenCV is very important for robotics and mechatronics applications. On the other hand, Raspberry Pi 5 is a low-cost computer and computing platform that is powerful enough to run control, estimation, signal processing, machine learning, and computer vision algorithms. As such, it is a good platform for developing and testing robotic and mechatronics systems.
To follow and implement this tutorial, you need the following prerequisites:
- Raspberry Pi 5 with at least 4GB RAM. Ideally, you should use Raspberry Pi 5 with 8 GB RAM.
- Linux Ubuntu 24.04 installed on Raspberry Pi 5. We have created a separate tutorial explaining how to install Linux Ubuntu on Raspberry Pi 5. Link will be provided in the description below this video.
- USB camera
- Python 3.12 comes as an integral part of Linux Ubuntu 24.04. Consequently, you do not need to install Python.
The YouTube tutorial explaining how to install and use OpenCV and USB cameras on Raspberry Pi is given below.
Installation procedure
First, we need to verify that we have the correct operating system and verify that the camera is working. Open the terminal (command prompt) and type:
lsb_release -aIf Linux Ubuntu is installed, the output should look like this
No LSB modules are available.
Distributor ID:	Ubuntu
Description:	Ubuntu 24.04.1 LTS
Release:	24.04
Codename:	noble
Then, we need to verify that the Linux Ubuntu can recognize the USB camera. In the command prompt type this:
sudo dmesg | grep -i "Camera"the output should look similar to this
[    1.394635] usb 4-1: Product: HD Web Camera
[    1.394639] usb 4-1: Manufacturer: HD Web Camera
[    1.394642] usb 4-1: SerialNumber: Ucamera001
[    3.932501] usb 4-1: Found UVC 1.00 device HD Web Camera (05a3:9331)
[  287.721538] usb 4-1: Product: USB_Camera
[  287.735123] usb 4-1: Found UVC 1.00 device USB_Camera (0458:708c)
Then, we need to test the camera by either using the default camera program called Snapshot or Cheese. Test if Snapshot can read the camera images and videos (see the YouTube tutorial). If Snapshot is not working install Cheese:
sudo apt update && sudo apt upgrade
sudo apt install snapd
sudo snap install cheese
Start Cheese, and see if the camera is working (see the YouTube tutorial). Next, we need to check the camera number
ls /dev/ |grep videoYou should see several lines containing “video0”, “video1”, etc. The USB camera is most likely “video0”. We need the number 0.
Then, install a simple editor called gedit:
sudo apt-get install geditYou can use this editor to create and edit Python files.
The next step is to create a Python virtual environment. First of all, in the command prompt make sure that Python is installed by checking the Python version
python3 --versionThen, make sure that the command for creating virtual environments is installed
sudo apt install python3.12-venvThen, create the workspace folder, create, and activate the Python virtual environment:
cd ~
mkdir testCamera
cd testCamera

python3 -m venv env1
source env1/bin/activate
To install OpenCV, type this
pip install opencv-pythonThen, create a Python file by either using gedit or VSCode and type the following code inside
import numpy as np
import cv2

camera = cv2.VideoCapture(0)

if (camera.isOpened()):
    print("The camera is successfully opened")
else:
    print("Could not open the camera")


while True:

    success,frame=camera.read()

    if not success:
        print("Not able to read the frame. End.")
        break


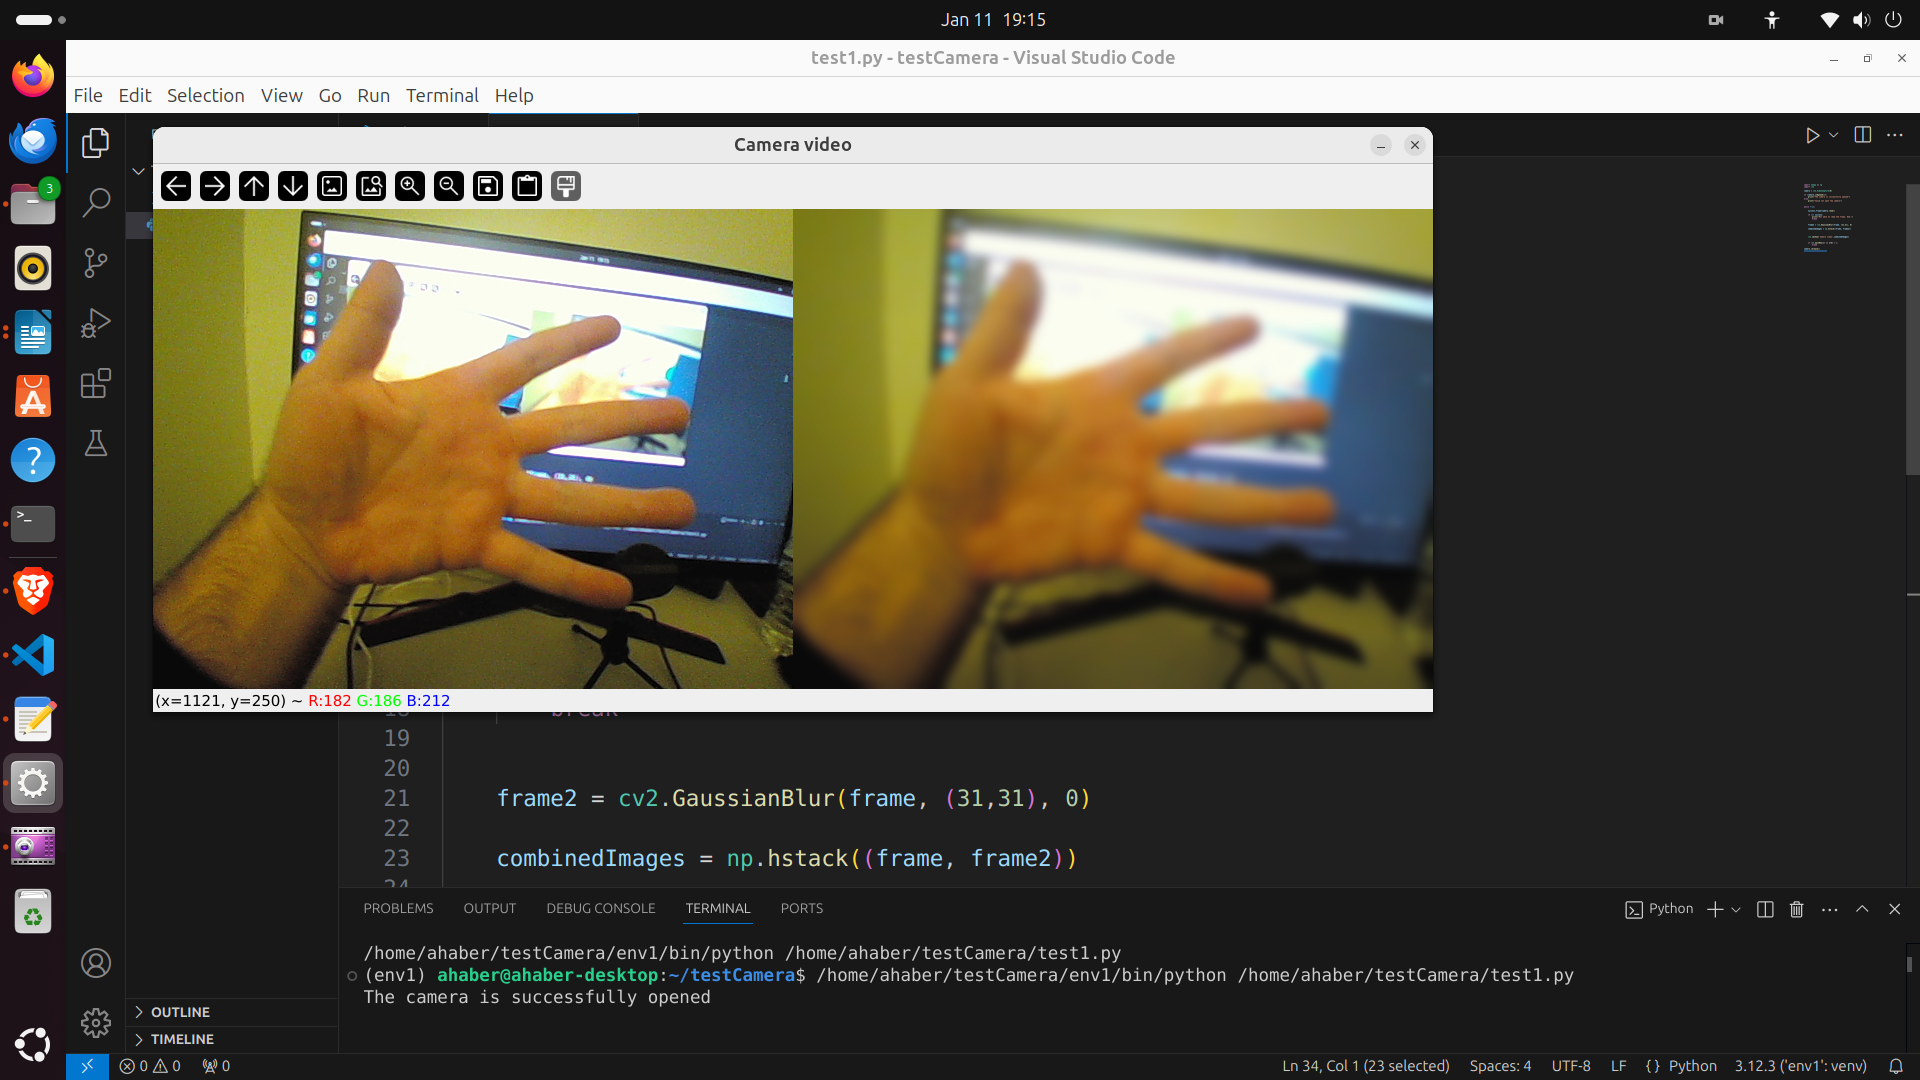
    frame2 = cv2.GaussianBlur(frame, (31,31), 0)

    combinedImages = np.hstack((frame, frame2))


    cv2.imshow('Camera video',combinedImages)


    if cv2.waitKey(1) == ord('c'):
        break

camera.release()
cv2.destroyAllWindows()
This code will start the OpenCV, capture images, process them, and display videos on the computer screen.
