 by
by What is explained in this tutorial: In this tutorial, we explain how to create, modify, and erase Conda or Anaconda virtual environments on Linux Ubuntu. The material presented in this tutorial is very important for disciplined Python software development on Linux Ubuntu.
Motivation: A lot of people who are starting to learn Python tend to install packages by using pip install without worrying too much about reproducibility of their code, package versions, package version conflicts, and the fact that by often calling pip install in the base Python environment (default Python environment) they might change the package versions and dependencies that might render some other code non-functional.
Creating a Conda virtual environment and installing all the packages in this virtual environment is a proper way of addressing these and similar problems. In fact, it is a standard Python programming practice to first create a Python virtual environment (either by using native Python environments or Anaconda), and then install all the packages.
The YouTube tutorial is given below.
First, you have to make sure that Conda or Anaconda are installed on your system. To install them, follow this tutorial. Secondly, you need to verify the installation. To do that, open a terminal and type
condaIf conda is installed on your system, you should get a description of all conda commands. Let us create a test folder
cd ~
mkdir testConda
cd testConda
Inside of this folder let us create our first Anaconda virtual environment. The general syntax for the Anaconda virtual environments is
conda create --name <my-env>For example, to create a Conda virtual environment called “my_first”, type this
conda create --name my_first
You will be asked to confirm the creation and press “y”. To activate the environment, you need to type this
conda activate my_first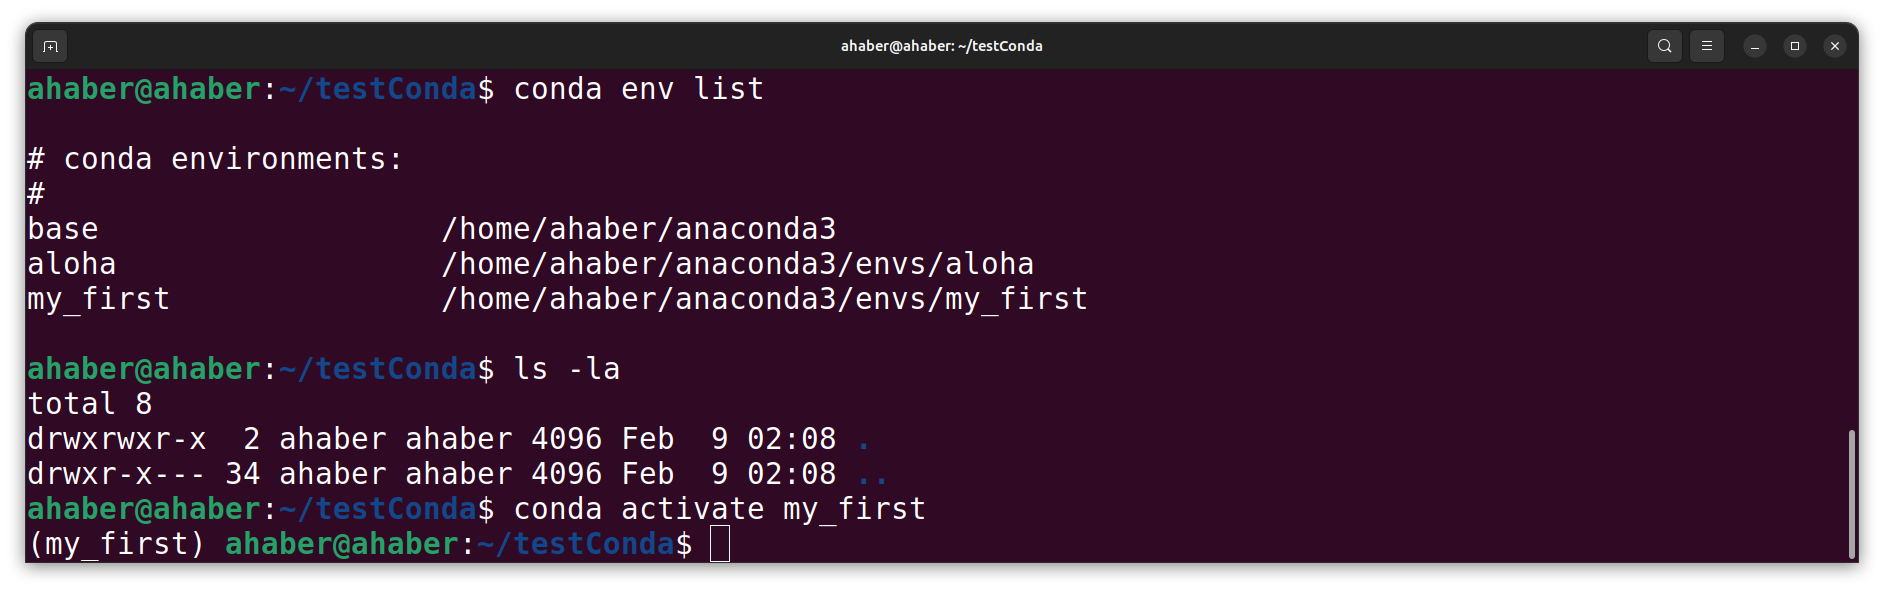
The next step is to install the packages. Whenever you can, try to install packages in a Conda virtual environment with “conda install”. Sometimes it is not possible to install some packages using conda install. Then you need to install the packages using the standard Python command pip install. Note that you will also need to install pip since it does not come by default with a newly created Anaconda environment.
To search for a package in a Conda virtual environment, type this:
conda search scypi
conda search numpy
You will see a list of all packages. To install a package, type this
conda install scipy
conda install numpy
To install a specific package version, type this
conda install curl=8.9.1
To check all the installed packages in the current virtual environment, type this
conda listHowever, sometimes you need to install packages by using pip install. First make sure that pip is installed by typing this
conda install pip
Then, you can also list some of the packages by using pip list
pip listNext, let us write a simple program and execute it inside of the environment
sudo nano test1.pyThe code should look like this
import numpy as np

A=np.matrix([[1,2],[3,4]])
B=np.matrix([[0,-1],[1,0]])

C=np.matmul(A,B)

print(C)
Before we execute this code, let us make sure that we are running the python interpreter inside of the virtual environment. To do that, type this
which pyhon3The output should look like this:
/home/ahaber/anaconda3/envs/my_first/bin/python3This means that we are executing the Python interpreter inside of the virtual environment.
To run the Python file, type this
python3 test1.pyNext, let us deactivate the environment. To do that, type this
conda deactivateNext, let us learn how to erase the environment. You can do that automatically or manually. To do that automatically, let us run this command that will list all the environments
conda env list# conda environments:
#
base /home/ahaber/anaconda3
aloha /home/ahaber/anaconda3/envs/aloha
my_first /home/ahaber/anaconda3/envs/my_first
To remove a specific environment, you need to type this:
conda remove --name <name of the environment> --allFor example, to remove the environment called my_first, you need to type this
conda remove --name my_first --allTo verify that the environment was removed, you need to type this
conda info --envsor
conda env listFinally, let us learn how to create a Conda environment with a specific Python version. To do that, we need to type this
conda create -n myenv python=3.9Here, we are creating a conda environment with the Python version 3.9. To verify that the correct Python version is installed type this
conda activate myenv

python3 --version
And you should get the Python version 3.9. Next, let us deactivate and erase
conda deactivate

conda env list
conda remove --name myenv --all

conda env list