 by
by In this machine-learning and large language model (LLM) tutorial, we explain how to install and run locally NVIDIA’s Llama-3.1-Nemotron-Nano-8B-v1 LLM on a Windows computer. This model is derived from the Llama 3.1 model, and the purpose of this model is for RAG and tool-calling applications. The YouTube tutorial is given below.
How to install and run NVIDIA’s Llama-3.1-Nemotron-Nano-8B-v1 Large Language Model on Windows
Before installing this model, it is important to first install
- NVIDIA CUDA Toolkit 12.4.
- Python 3.12.X (where X can be any number). Note that PyTorch will not work on Windows with Python 3.13.X. Consequently, you need to install Python 3.12 or an older version.
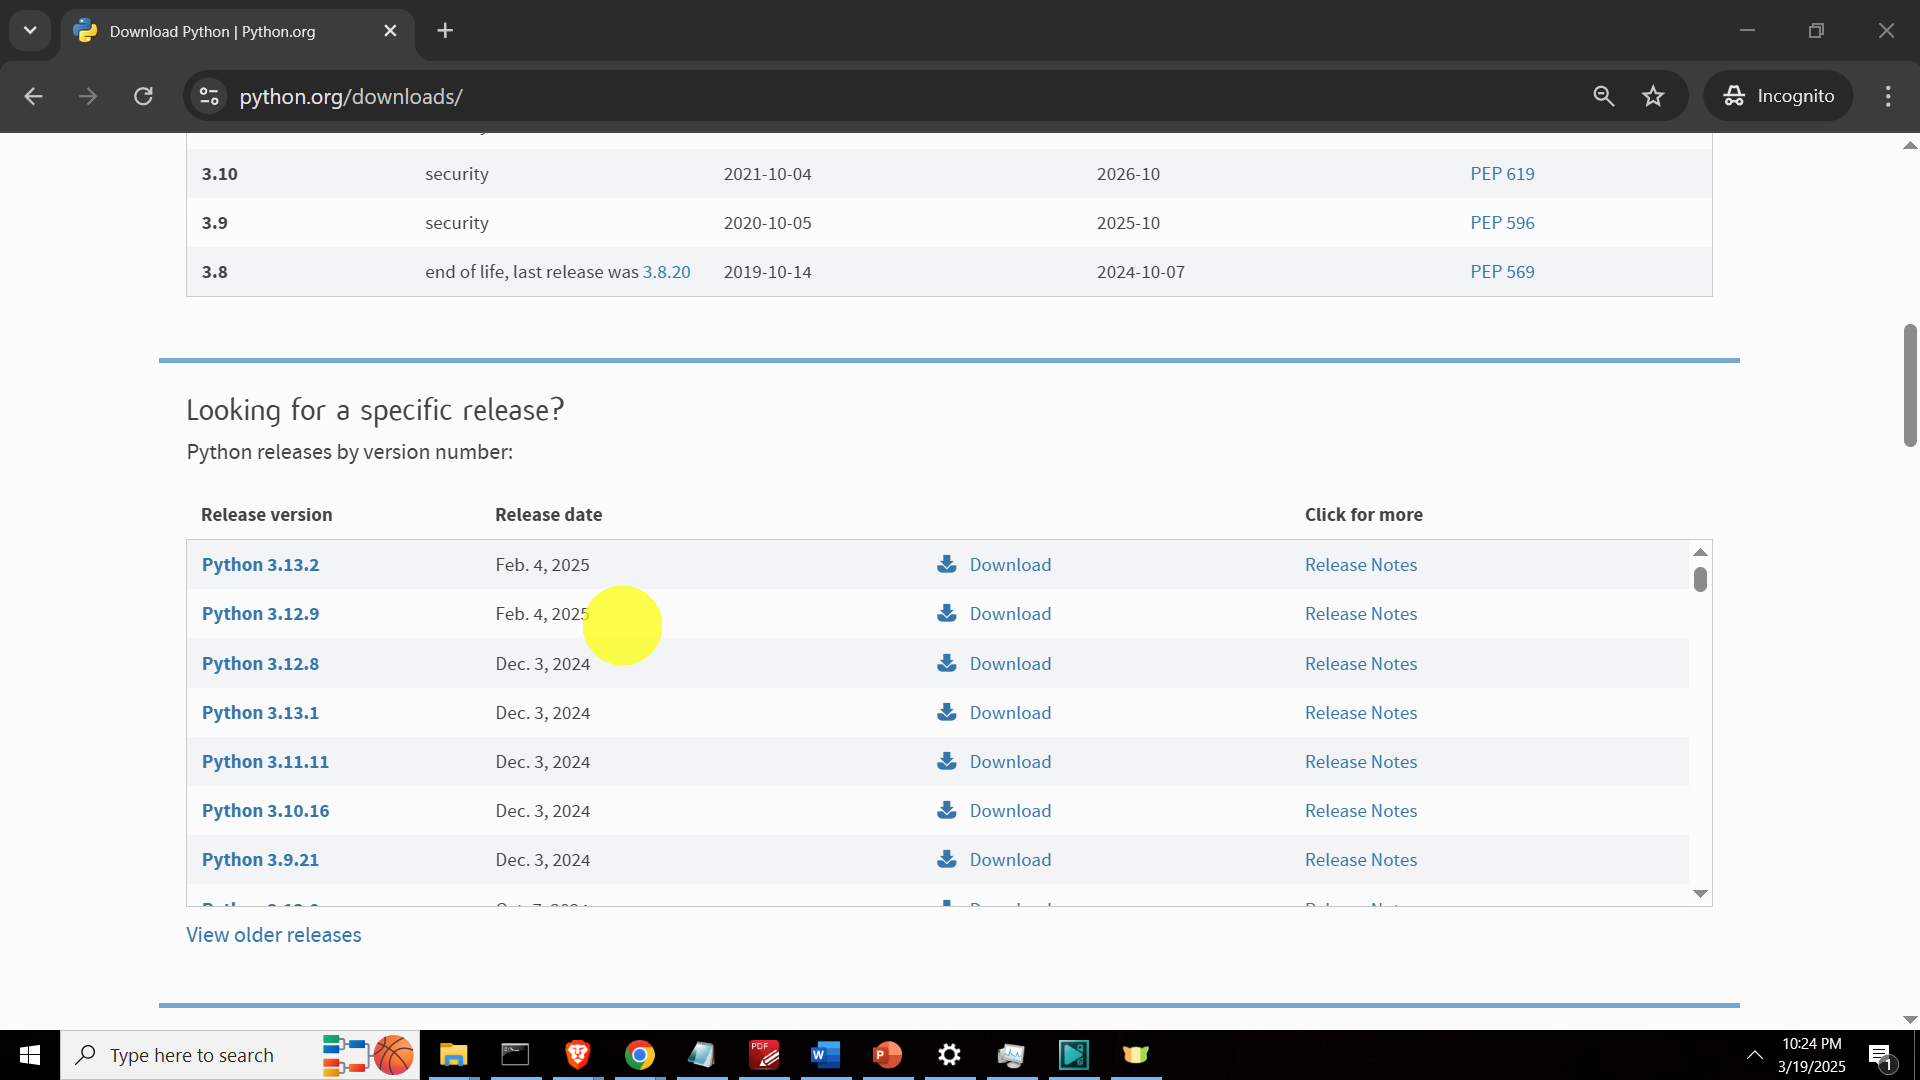
The next step is to open a Command Prompt in Windows and verify that the CUDA Toolkit and Python are properly installed. To do that, type in the Command Prompt:
nvcc --version
python --version
This should return the NVIDIA NVCC compiler version (installed with NVIDIA CUDA Toolkit) and Python version. You should see CUDA 12.3 and Python 3.12.X (where X can be any number).
Next, we need to create a workspace folder and create a Python virtual environment. Workspace folder:
cd\
mkdir testModel
cd testModel
Create and activate the Python virtual environment
python -m venv env1
env1\Scripts\activate.bat
Install the necessary libraries. First, we need to install PyTorch with the CUDA support. Go to this website, and use the selection table to generate the installation command given below the figure.
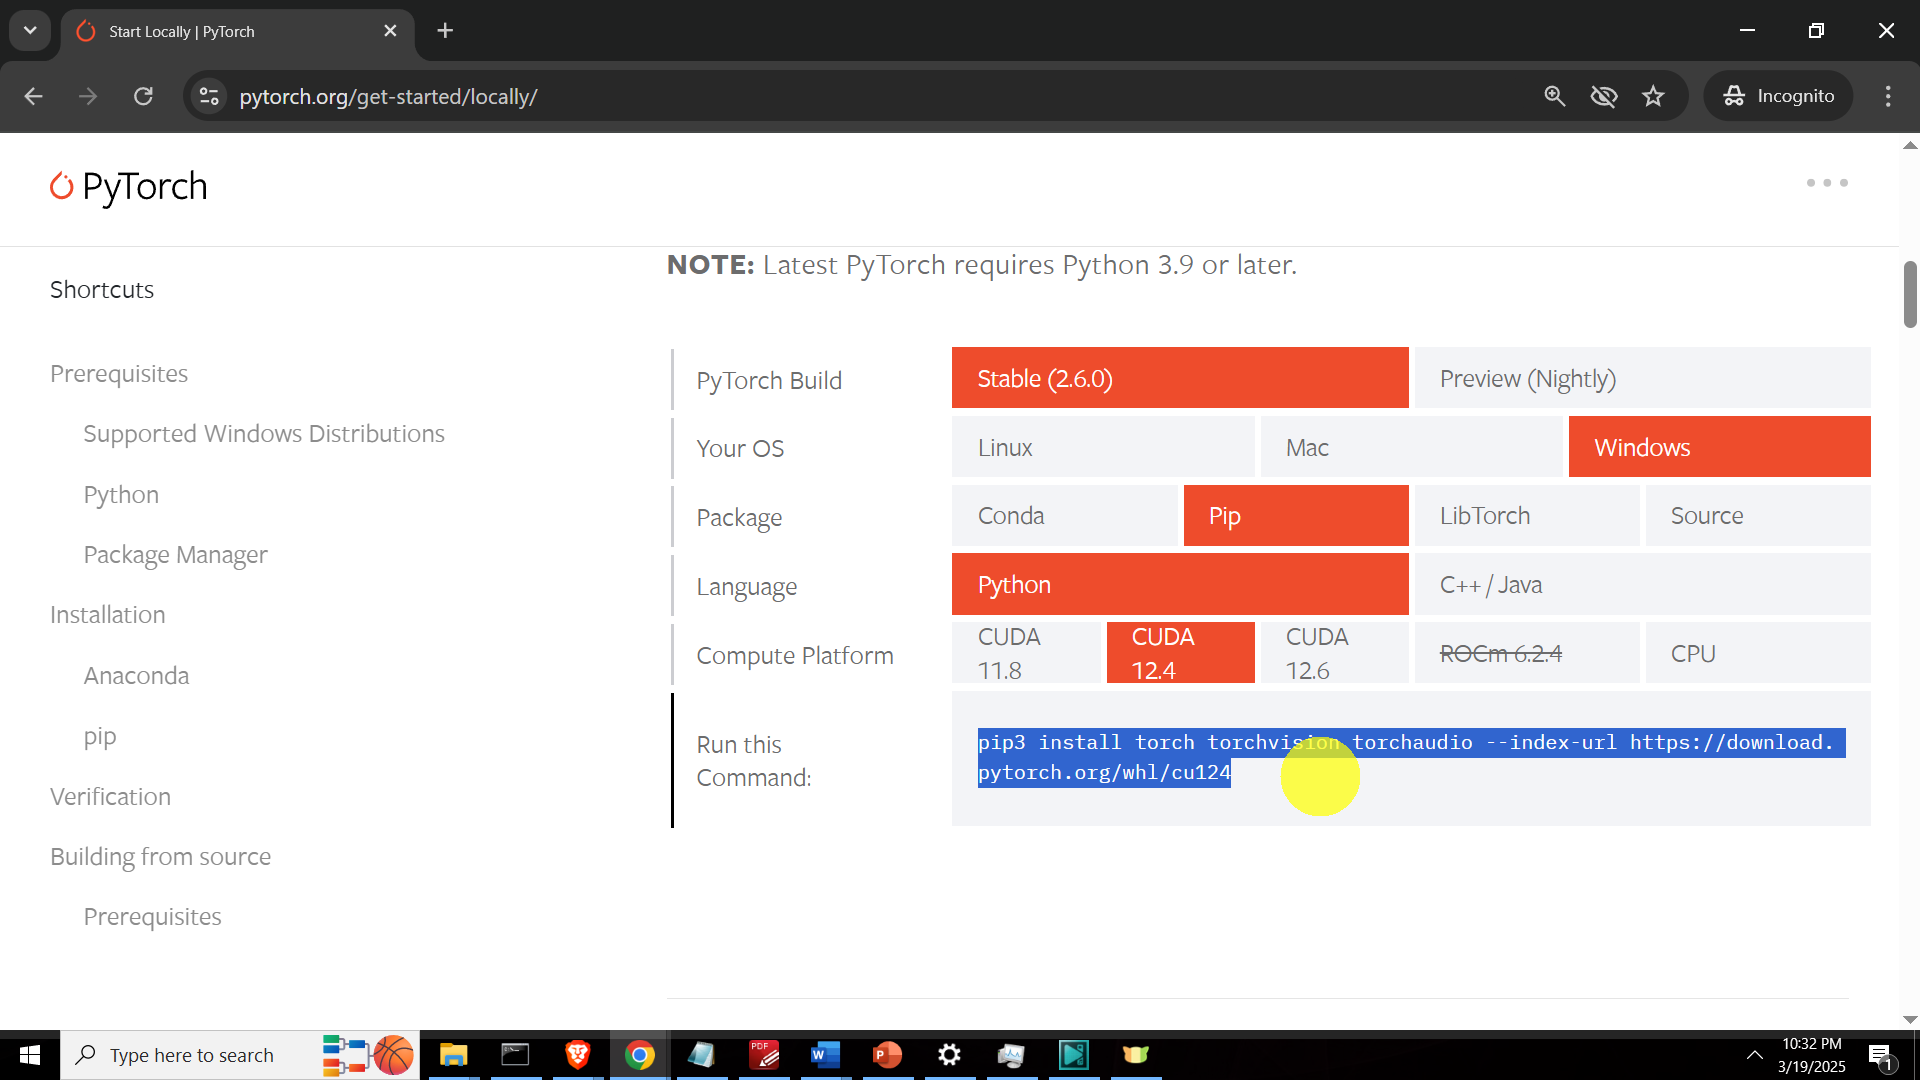
The installation command for PyTorch is
pip3 install torch torchvision torchaudio --index-url https://download.pytorch.org/whl/cu124Next, we need to install the Huggingface library, as well as the Transformers and Accelerate libraries:
pip install huggingface_hub
pip install transformers
pip install accelerate
After installing these libraries, write and execute the following test code:
import torch
import transformers

model_id = "nvidia/Llama-3.1-Nemotron-Nano-8B-v1"
model_kwargs = {"torch_dtype": torch.bfloat16, "device_map": "auto"}
tokenizer = transformers.AutoTokenizer.from_pretrained(model_id)
tokenizer.pad_token_id = tokenizer.eos_token_id

pipeline = transformers.pipeline(
   "text-generation",
   model=model_id,
   tokenizer=tokenizer,
   max_new_tokens=32768,
   temperature=0.6,
   top_p=0.95,
   **model_kwargs
)

# Thinking can be "on" or "off"
thinking = "on"

print(pipeline([{"role": "system", "content": f"detailed thinking {thinking}"}, {"role": "user", "content": "Solve x*(sin(x)+2)=0"}]))
Make sure that you execute this code in the created Python virtual environment. When you run this code for the first time, the model weights will be downloaded from the Hugginface website. Next time you run this code, the model will be automatically loaded form the local disk.