 by
by In this machine learning and Windows Subsystem for Linux (WSL) tutorial, we explain how to correctly install the NVIDIA CUDA Toolkit and NVIDIA CUDA Compilers (NVCC) on WSL. NVIDIA CUDA Toolkit is necessary for installing and compiling PyTorch and other machine-learning libraries and programs. Consequently, you need to have it before you can start working or install locally machine learning algorithms. The YouTube tutorial is given below.
Installation of NVIDIA CUDA Toolkit on WSL
First of all, if you do not have WSL installed on your system, you can easily install it by opening a Windows PowerShell program in the administrator mode, and by typing this
wsl --installafter that you will need to restart your computer. On the other hand, if you have WSL on your computer, you need to update it. To do that, open a terminal and type this
wsl --updateWSL will come with the default Linux Ubuntu distribution (24.04). Start Linux Ubuntu.
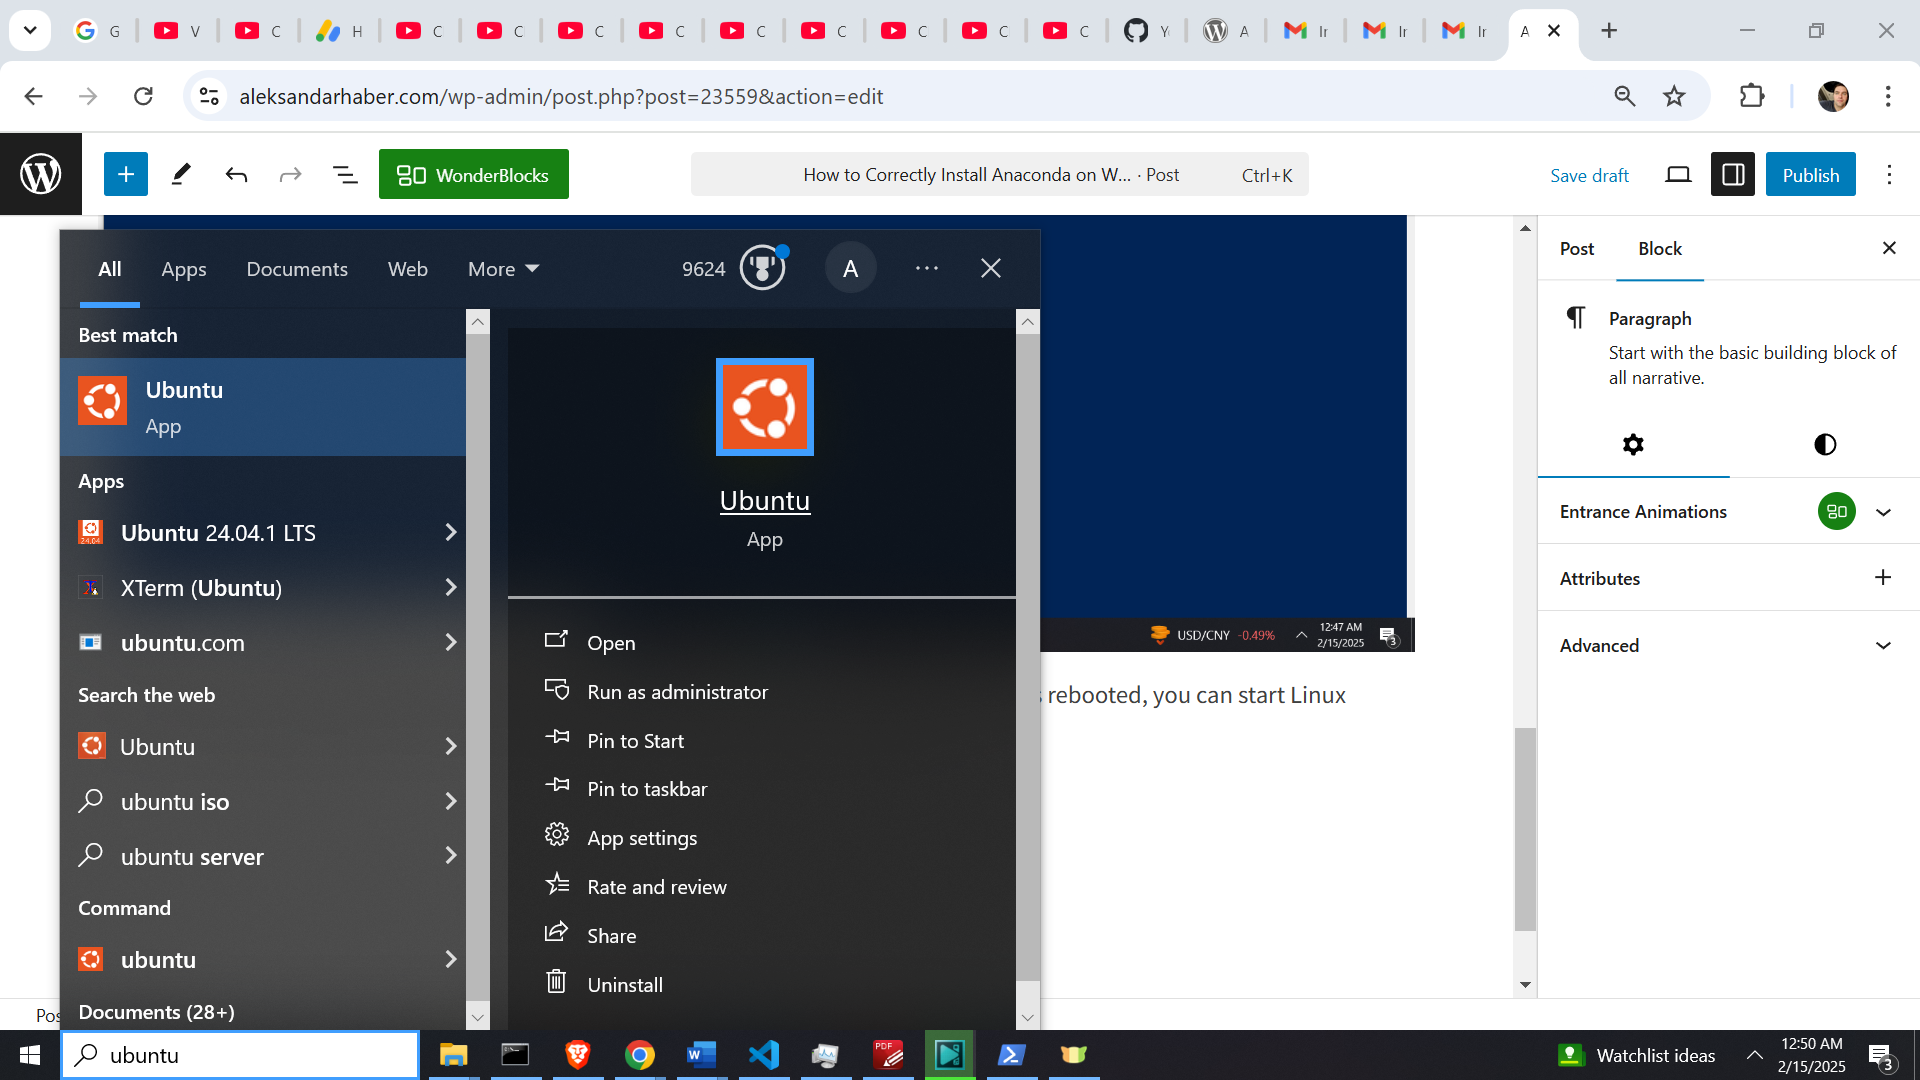
Then, you need to type the following
sudo apt-key del 7fa2af80Then, you need to go to the official NVIDIA CUDA website whose link is given here and make the following selections
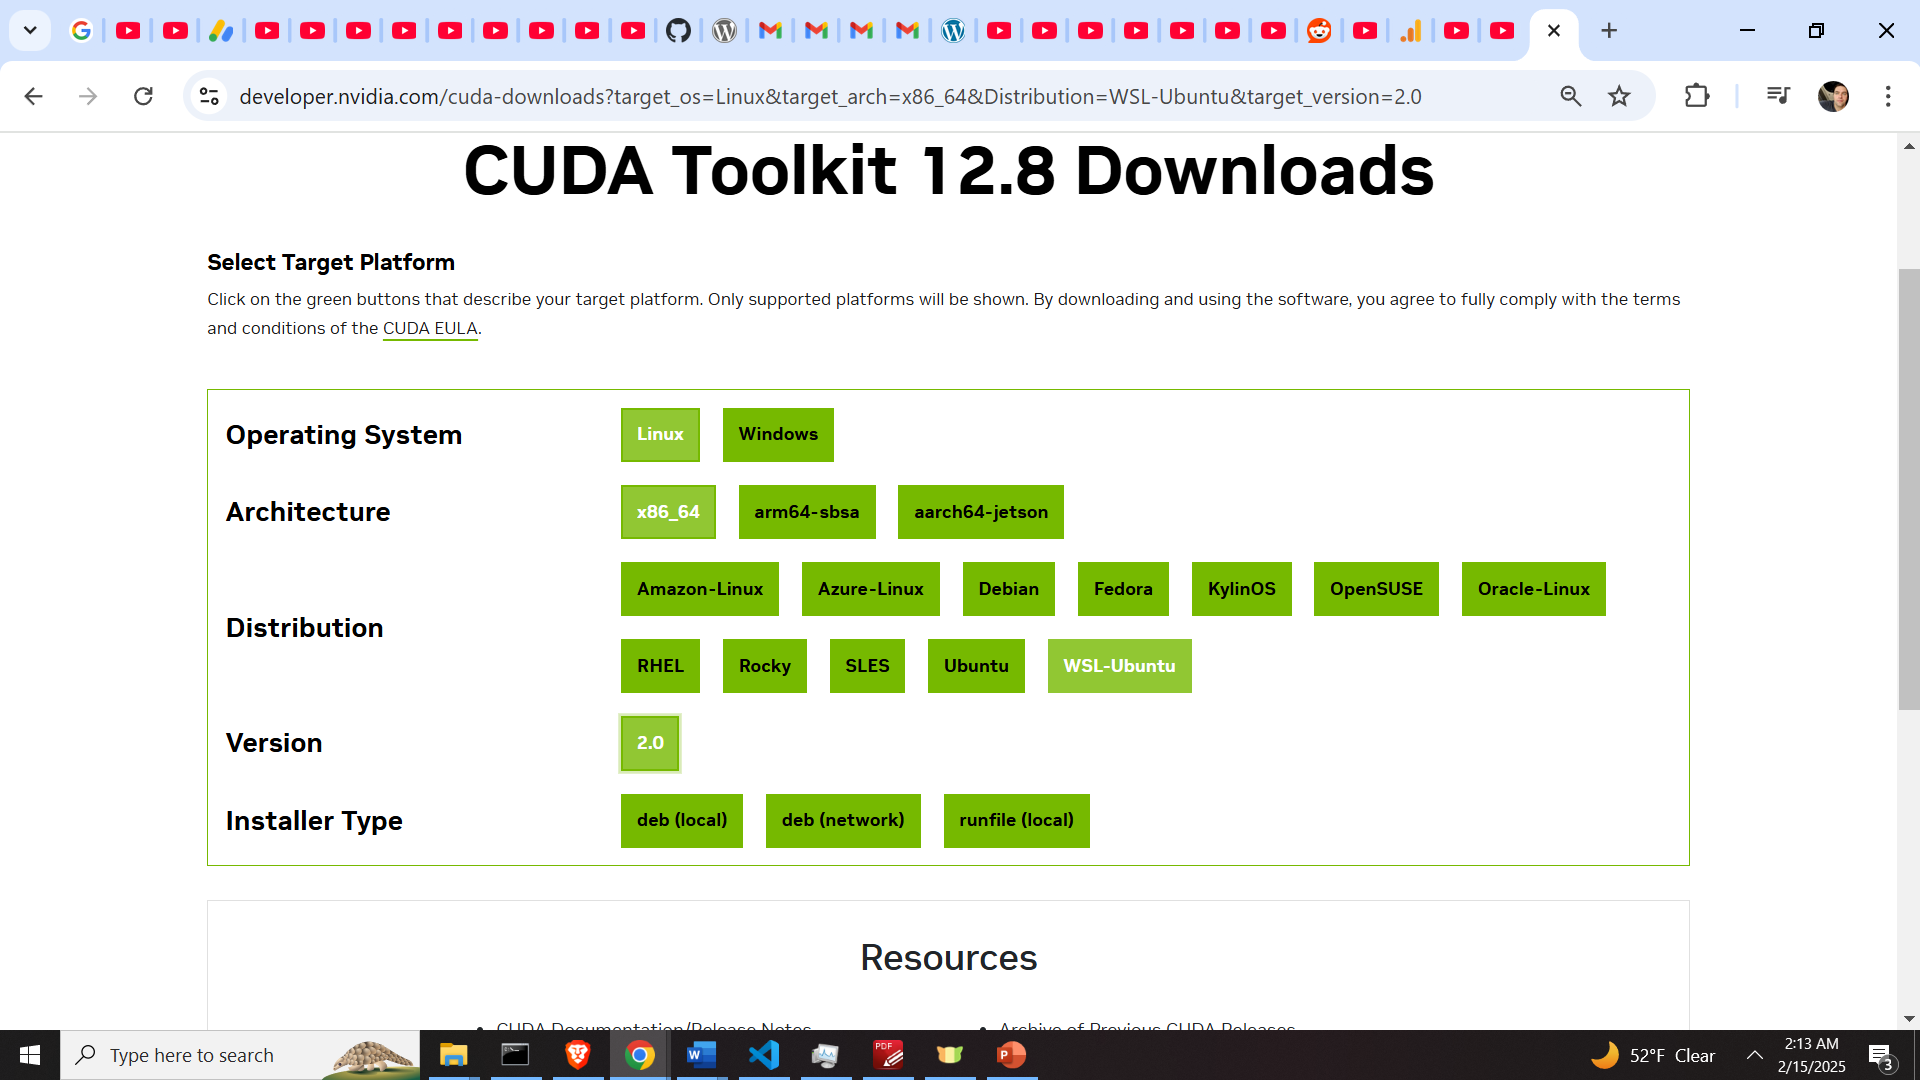
Then, click on deb (network), and the following installation commands will be automatically generated:
wget https://developer.download.nvidia.com/compute/cuda/repos/wsl-ubuntu/x86_64/cuda-keyring_1.1-1_all.deb
sudo dpkg -i cuda-keyring_1.1-1_all.deb
sudo apt-get update
sudo apt-get -y install cuda-toolkit-12-8
Execute these commands in WSL Ubuntu terminal (see the YouTube tutorial). These commands will install NVIDIA CUDA Toolkit version 12.8. If you are reading this tutorial after March 2025, then your version of the CUDA Toolkit might have a higher number. However, the installation steps are the same.
After these commands are executed, we need to add the NVIDIA CUDA installation folder to the system path. To do that, you need to edit the .bashrc file, as follows:
cd ~
sudo nano .bashrc
At the end of the file add this line (adjust your CUDA version number):
export PATH=/usr/local/cuda-12.8/bin${PATH:+:${PATH}}This will put all the compilers in the system path. Next, to test the compiler, close Ubuntu WSL, and open a new session and type
nvcc --version If you get a reply with the CUDA version, this means that you have successfully installed NVIDIA CUDA. That is it. See you in the next tutorial.