 by
by In this Windows Subsystem for Linux (WSL) and Python tutorial, we explain how to correctly install Anaconda on WSL. Anaconda is a very useful Python development environment that can significantly speed up the Python development process. On the other hand, by installing Anaconda in WSL, you can easily test Python programs on a Linux Ubuntu environment.
The YouTube tutorial is given below.
Installation of Anaconda on WSL – Complete Instructions
First, if you do not have WSL installed on your system, open PowerShell in administrator mode, and type
wsl --install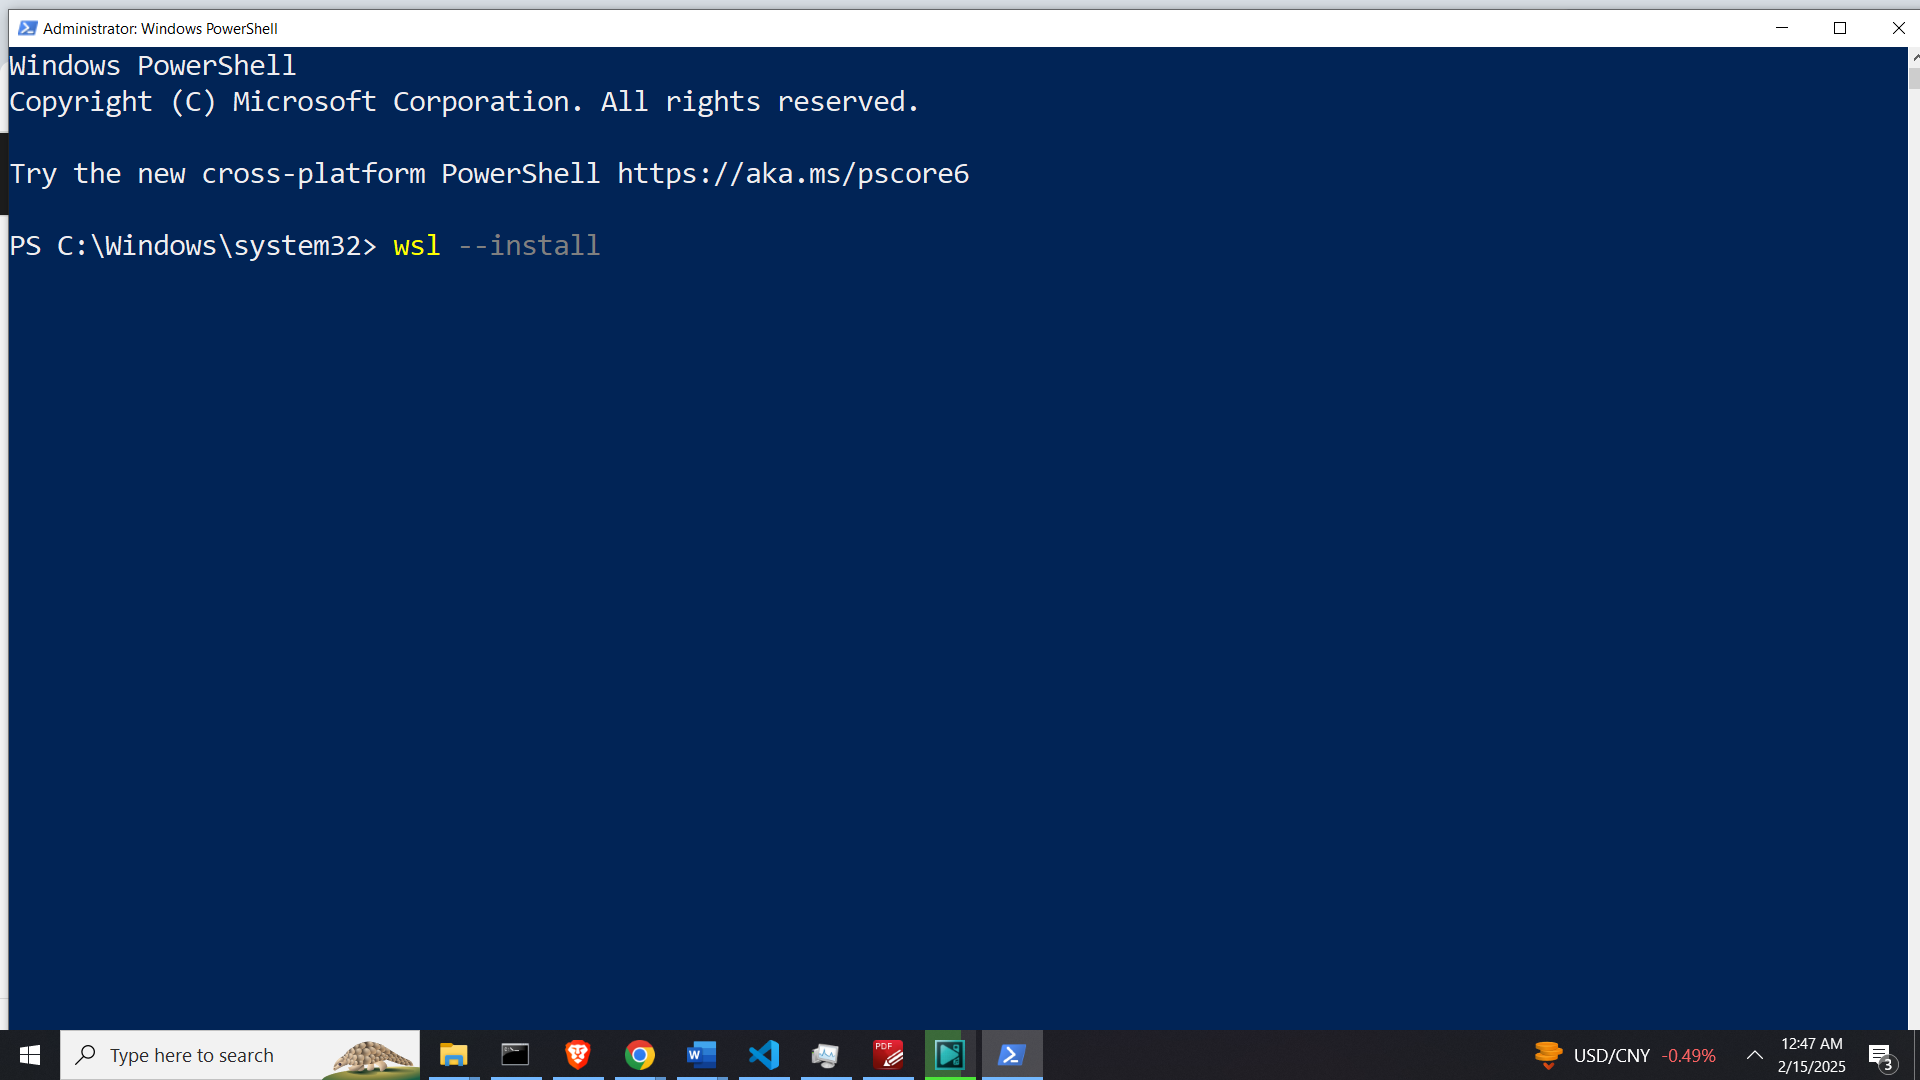
This command will install WSL. Next, you need to restart the system. Next, after the system is rebooted, you can start Linux Ubuntu inside of the WSL environment by clicking on Start and searching for Ubuntu
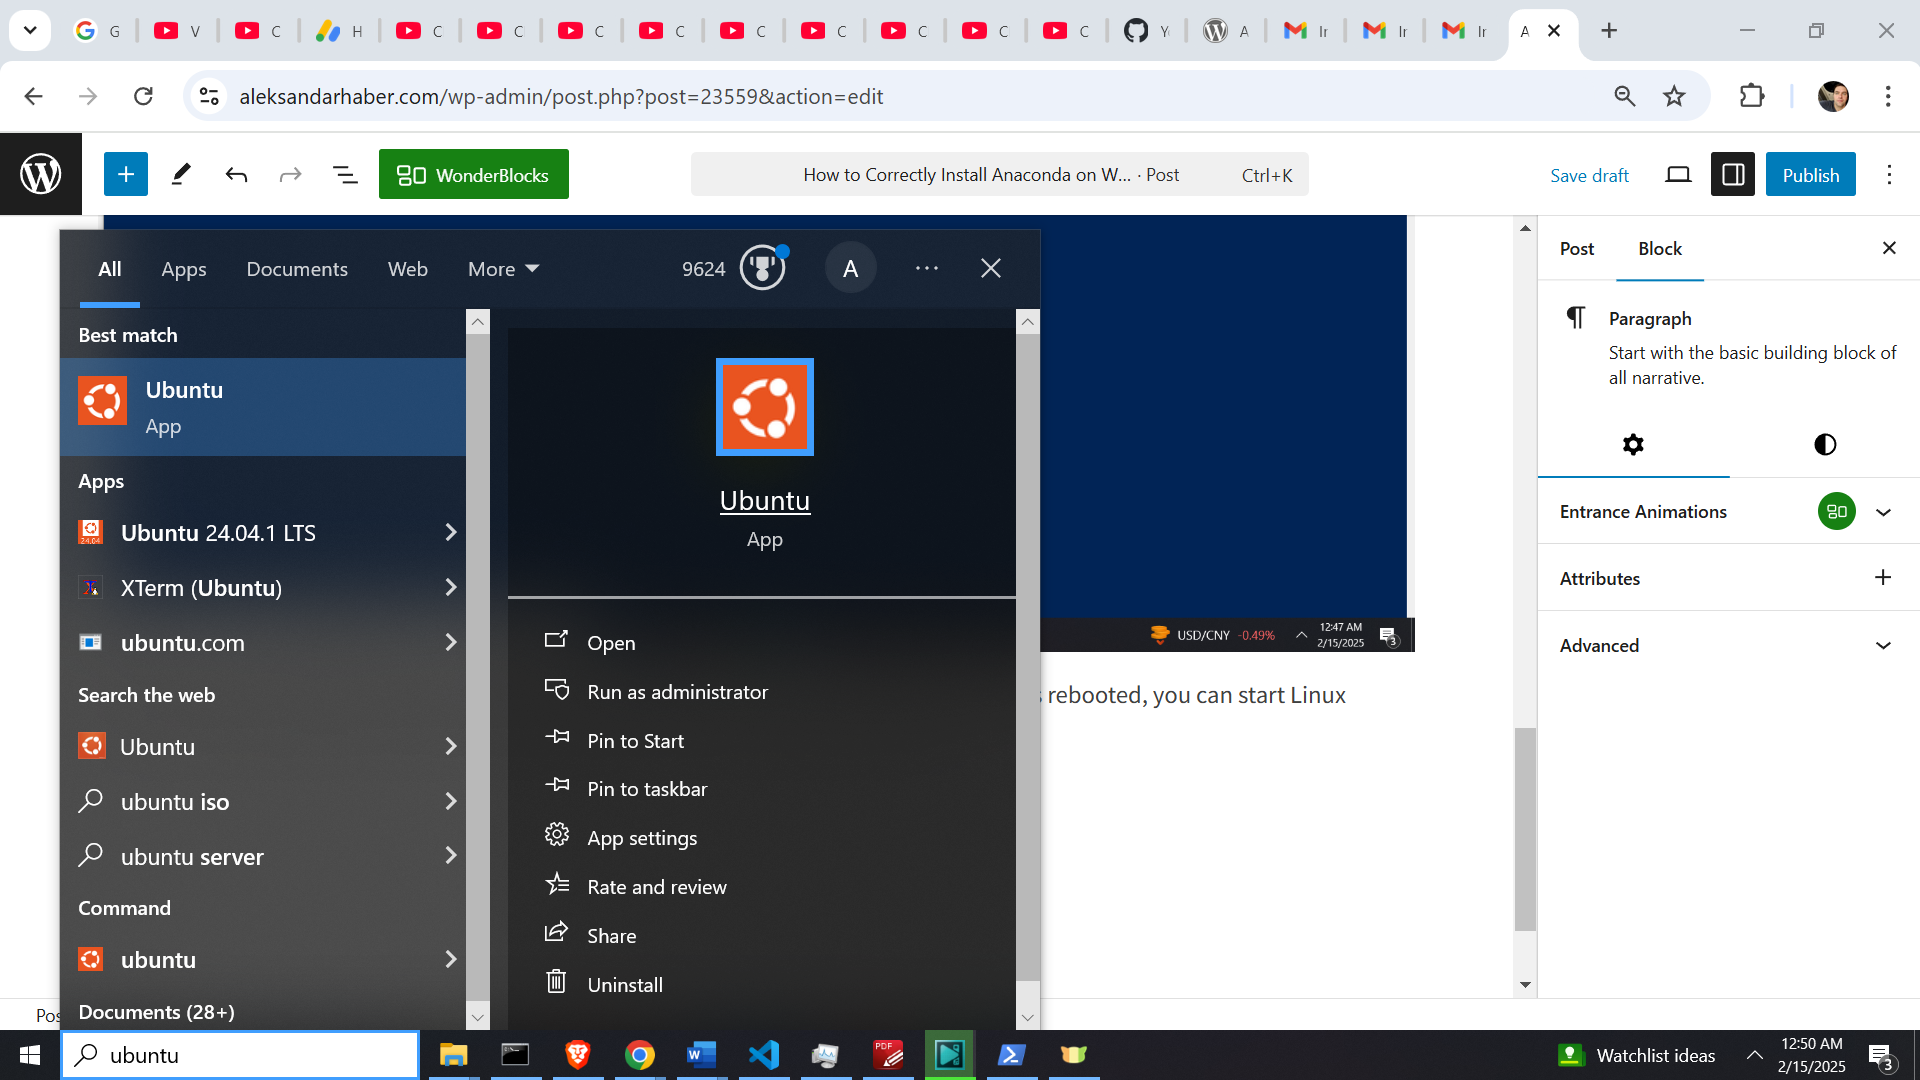
This should start WSL Linus Ubuntu terminal. Next, type this
sudo apt-get update && sudo apt-get upgradeThis will update and upgrade all the packages. Then, we need to install wget to download files. To do that, type this
sudo apt install wget -yAfter that, verify the wget version
wget --versionThen, we need to install the necessary libraries:
sudo apt-get install libgl1 libglx-mesa0 libxrandr2 libxrandr2 libxss1 libxcursor1 libxcomposite1 libxi6 libxtst6sudo apt-get install libasound2t64The next step is to install Anaconda. First, we need to check the current distribution. Go to any of these two websites and find the most recent Anaconda distribution
https://docs.anaconda.com/anaconda/release-notes
https://repo.anaconda.com/archive
In our case, the most recent distribution is 2024.10-1. Consequently, the download command given below will contain that version number:
wget https://repo.anaconda.com/archive/Anaconda3-2024.10-1-Linux-x86_64.shHere, to adjust for your version, you just need to change the version numbers “2024.10-1”. The best strategy to double check this is to go to the actual release page given here:
https://repo.anaconda.com/archive
and to check the fill file name. Afte the command wget completes, you need to run this command to install
bash ~/Anaconda3-2024.10-1-Linux-x86_64.shThis command will install Anaconda. Make sure that you accept the license agreement, keep the default installation folder, and type yes to enable Conda to start automatically with a terminal (this is necessary otherwise, anaconda will not be in the system path). Finally, after the installation is completed type this
conda config --set auto_activate_base FalseTo disable Anaconda to start with a terminal. However, this command will still keep Anaconda in the system path. Then either restart the terminal or type this
source ~/.bashrcto automatically apply the configuration. To test anaconda type this
conda activate
conda list
These two commands will activate the Conda environment and list the Python packages that come with a base environment. Finally, to deactivate the Conda environment, type this
conda deactivateThat is it! Now you can create and run Python virtual environments by using Anaconda on Linux Ubuntu.