by
by In this machine learning and AI tutorial, we explain how to integrate DeepSeek-R1 Large Language Model (LLM) and the n8n agent development framework. As a demonstration, we explain how to develop a simple chat LLM chain by using n8n and DeepSeek-R1. Everything explained in this tutorial can be generalized to more complex AI agents and other case scenarios. It is very important to understand that AI agents are running locally (by using computer hardware) by using the DeepSeek-R1. That is, you do not need to use an external API or LLMs that are running on cloud or on external servers. All you need is a computer with a decent GPU. However, you can also run the AI agents by only using a CPU. The YouTube tutorial is given below.
How to Integrate DeepSeek-R1 and n8n
In this tutorial, we use Windows. However, everything explained in this tutorial can straightforwardly be generalized for other operating systems, such as Linux for example. First of all, you need to install n8n. To do that, follow the instructions given here. Then, you need to install Ollama and download the LLM model. To install Ollama, go to the Ollama website:
and click on download. Then select your operating system (in our case Windows), and download the installation file. After you have downloaded the installation file run it, and Ollama will be installed automatically. Then, you need to download the model.
[ERROR: registry.ollama.ai/library/deepseek-r1:7b does not support tools]To do that, open a Windows Command Prompt, and type:
ollama pull deepseek-r1:7bHere, we our downloading a distilled version of DeepSeek-R1 with 7B parameters. This model should run on most CPUs and most recent NVIDIA GPUs relatively quickly. If you have a low-end hardware, you can also try to install and run smaller models. For example, to download and install 1.5B model (the smallest model should run on any hardware), type this
ollama pull deepseek-r1:1.5bOn the other hand, if you have a strong GPU, such as for example NVIDIA 4090 or NVIDIA 5090, you can try a larger and more powerful models, such as 14B model
ollama pull deepseek-r1:14bor even 70B model
ollama pull deepseek-r1:70bAfter you download the models, you need to open n8n. You can do it like this. Open a terminal and type
n8n startThis will start the n8n AI agent software on the local host:
http://localhost:5678/
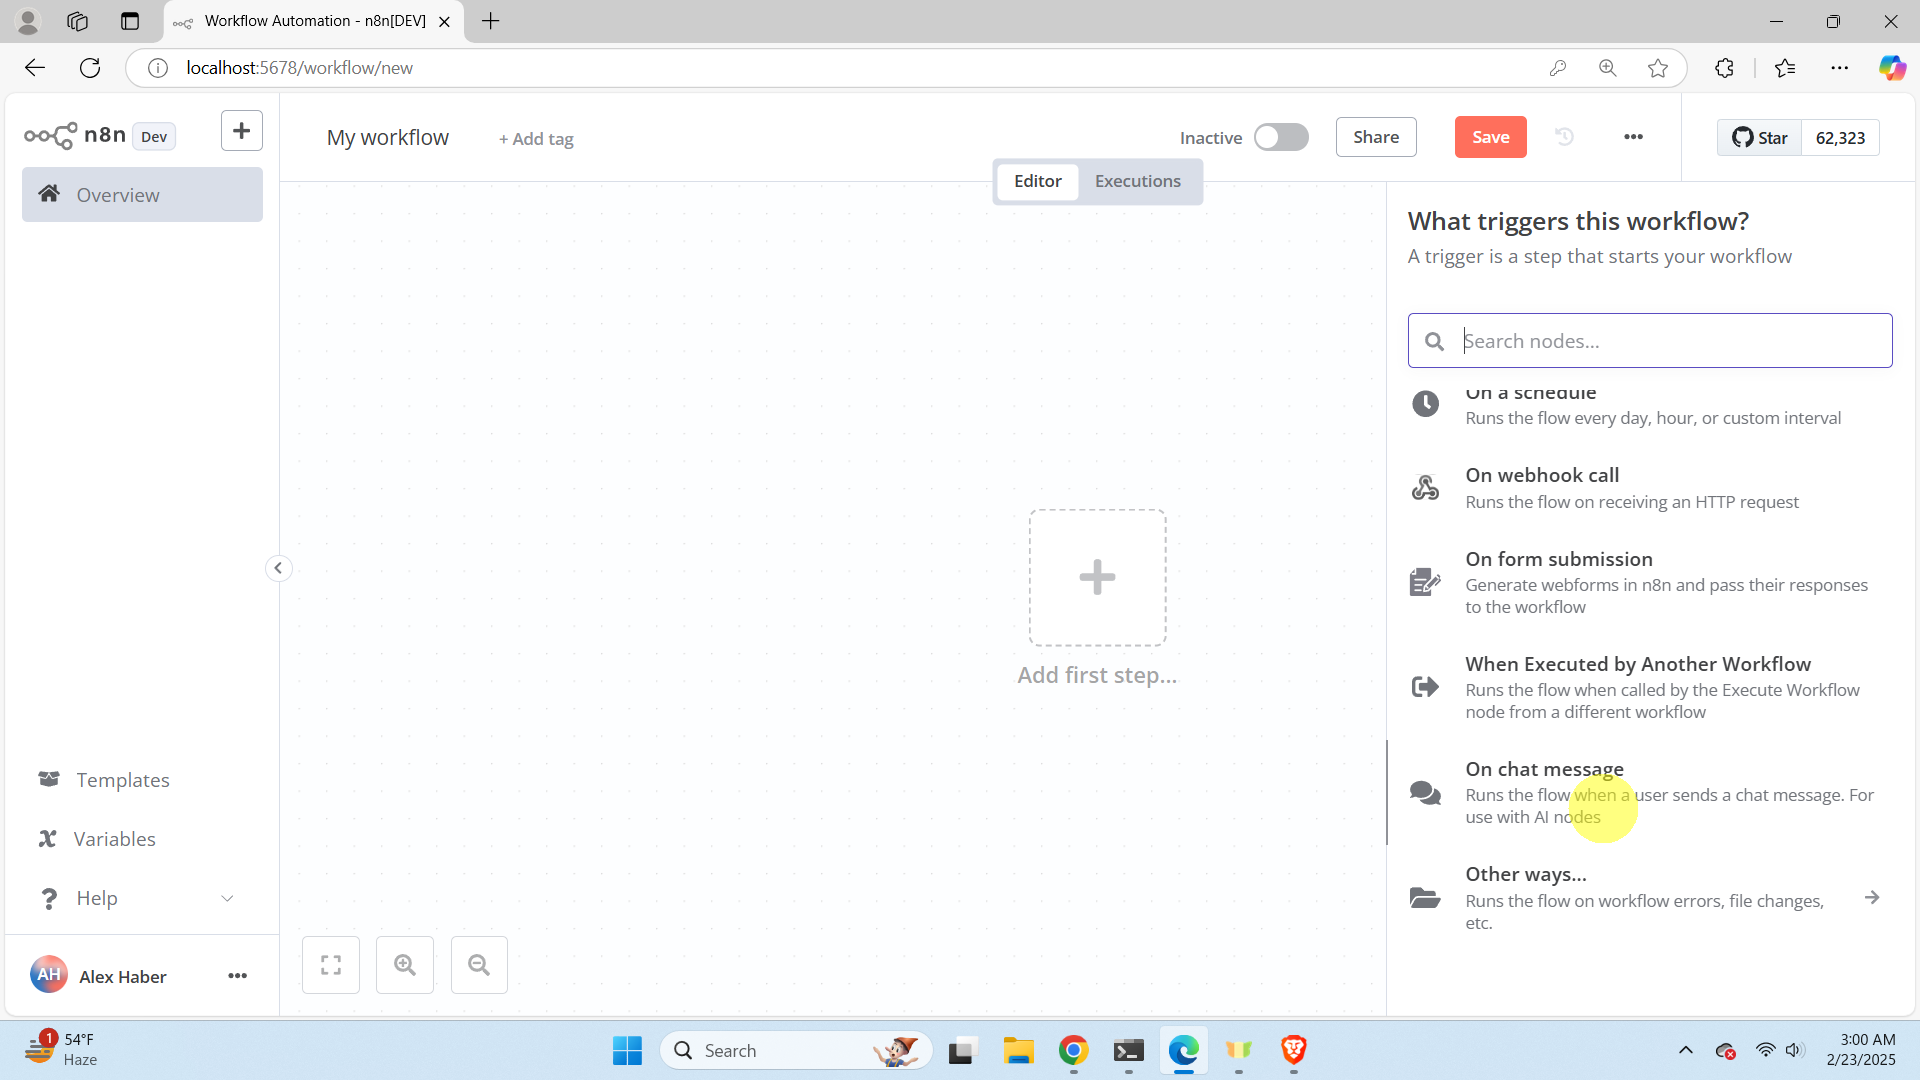
You just need to copy this address in your browser, and the Graphics User Interface (GUI) of n8n will open. You will see the screen shown below, and click on “Start from scratch”.

Then click on “Add first step” and then on the right menu find and click on “On chat message”. This create a chat block such that the user can enter the text prompt for the AI agent.
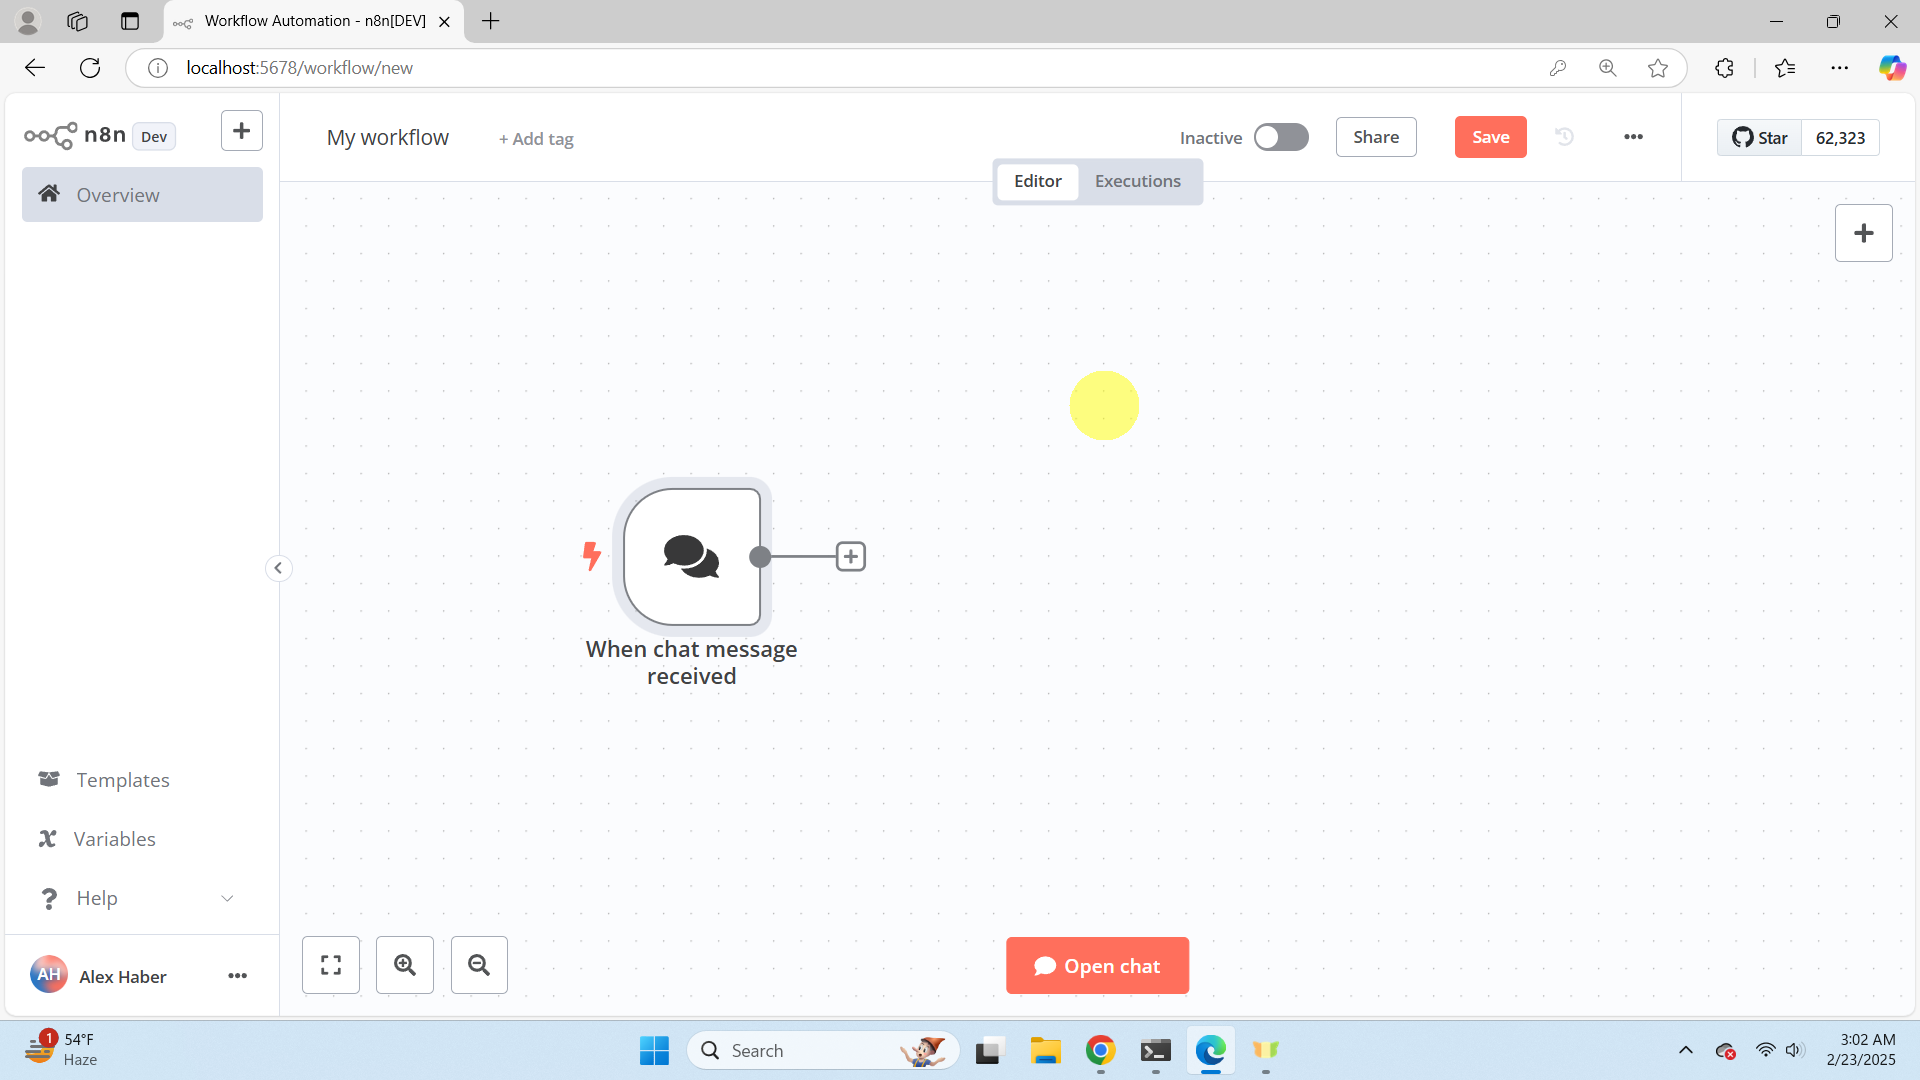
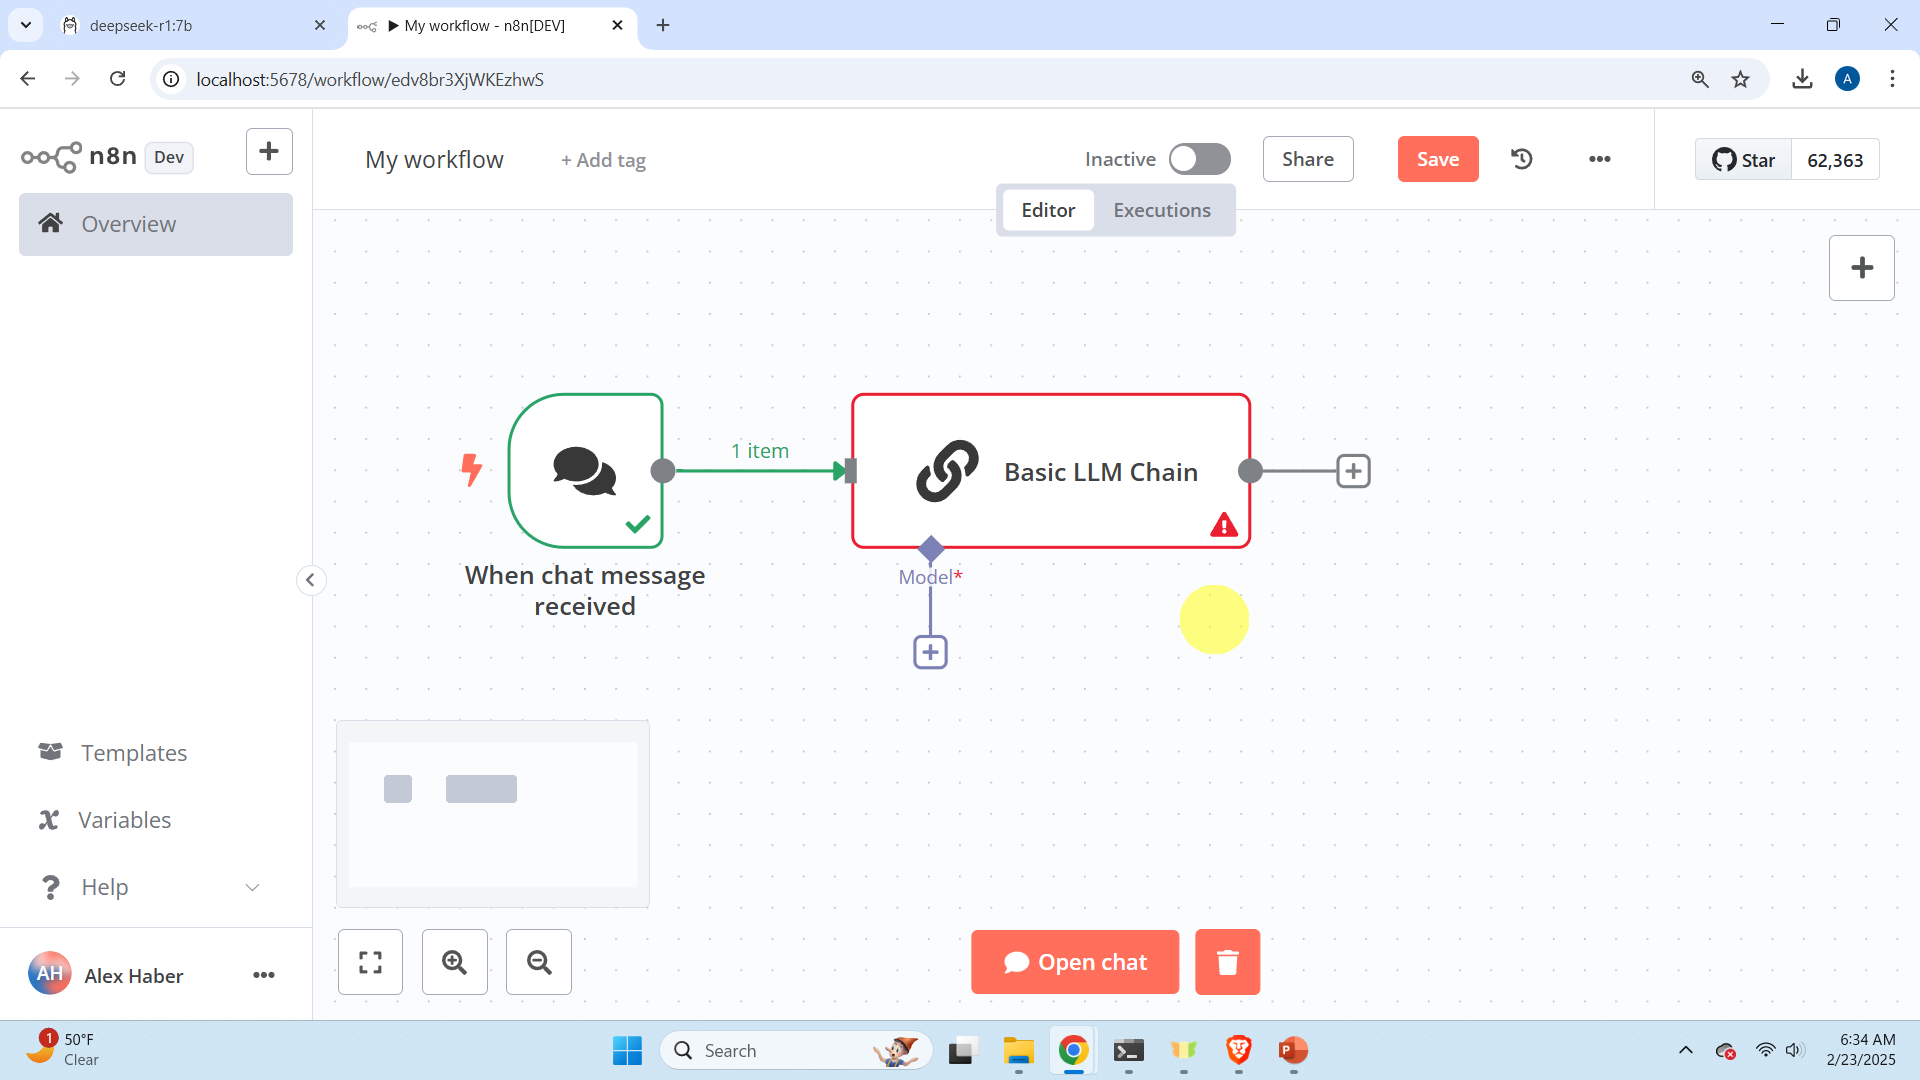
Then click on “Back to canvas” to close the window and you will see the screen shown below.
Next, click on the plus button next to the block, and in the right menu search for and click on “Basic LLM Chain”.
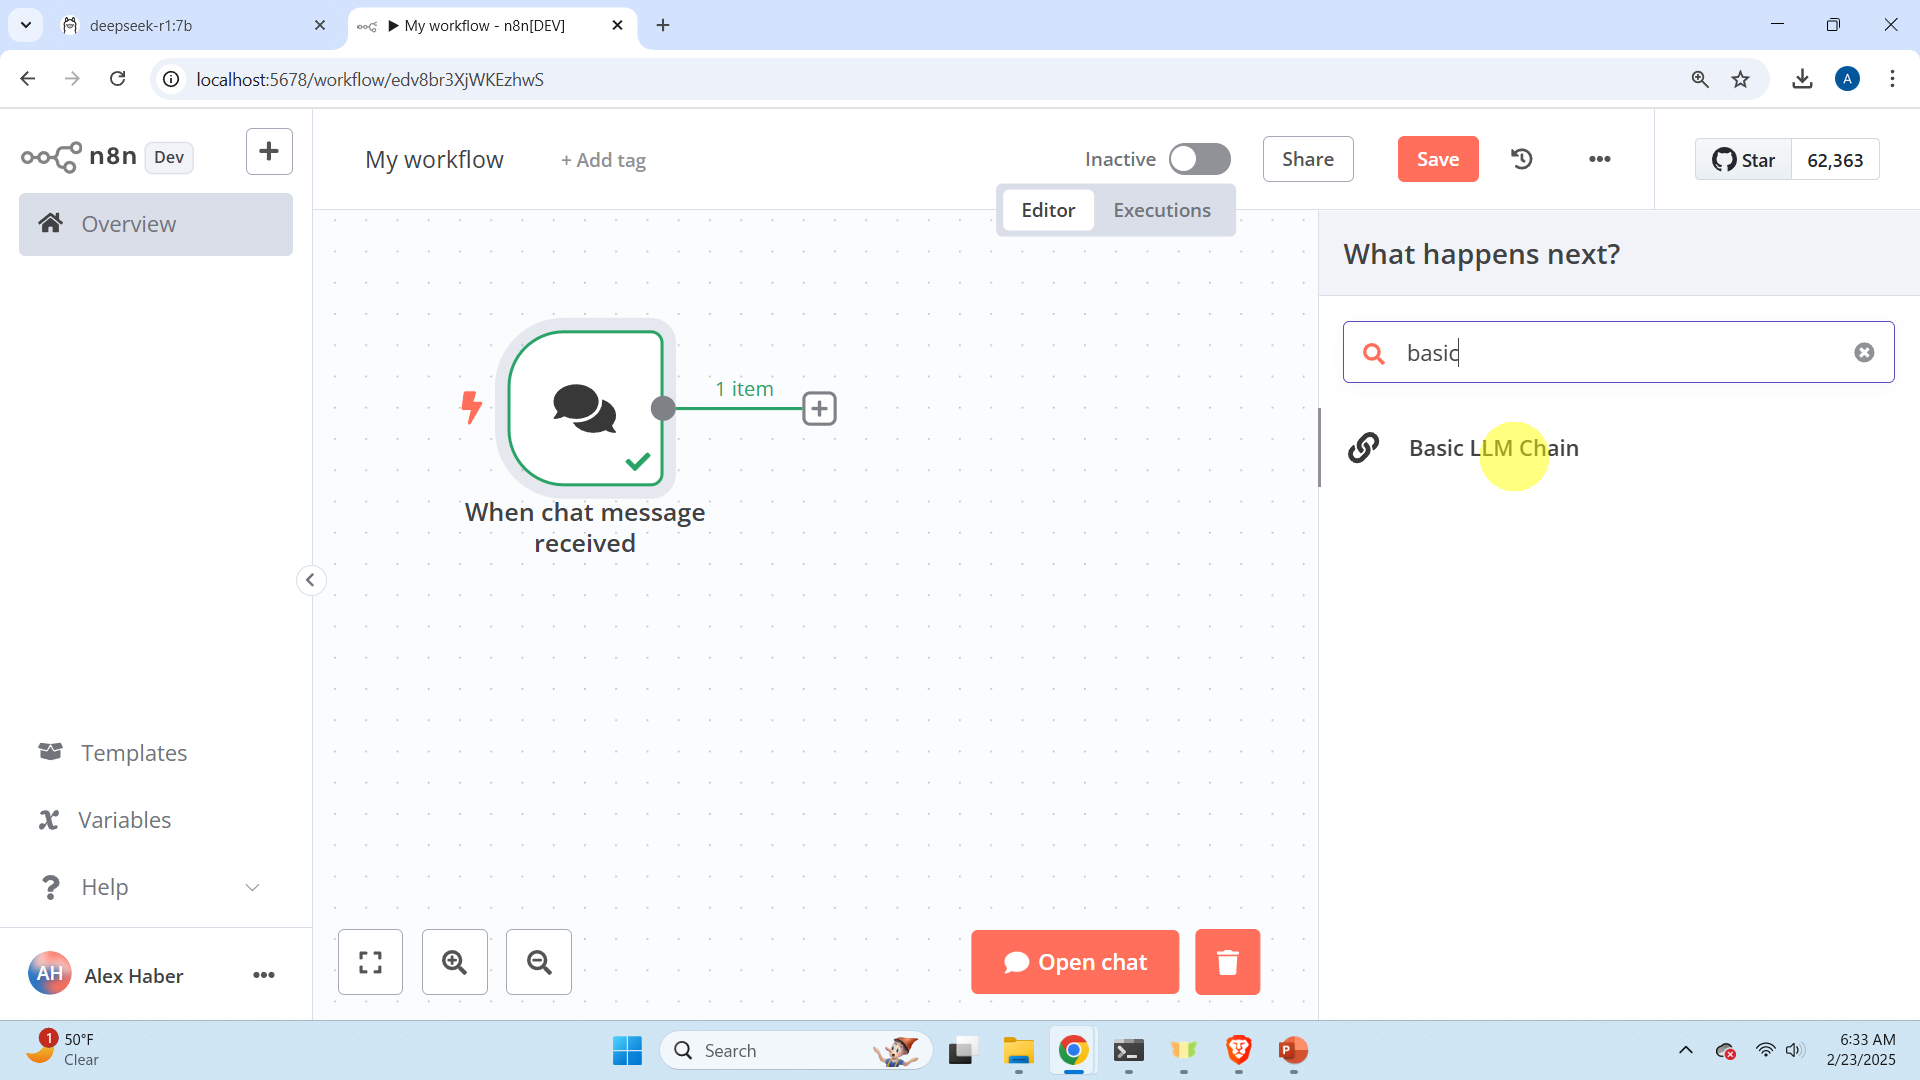
Then use the default settings and go back to the canvas.
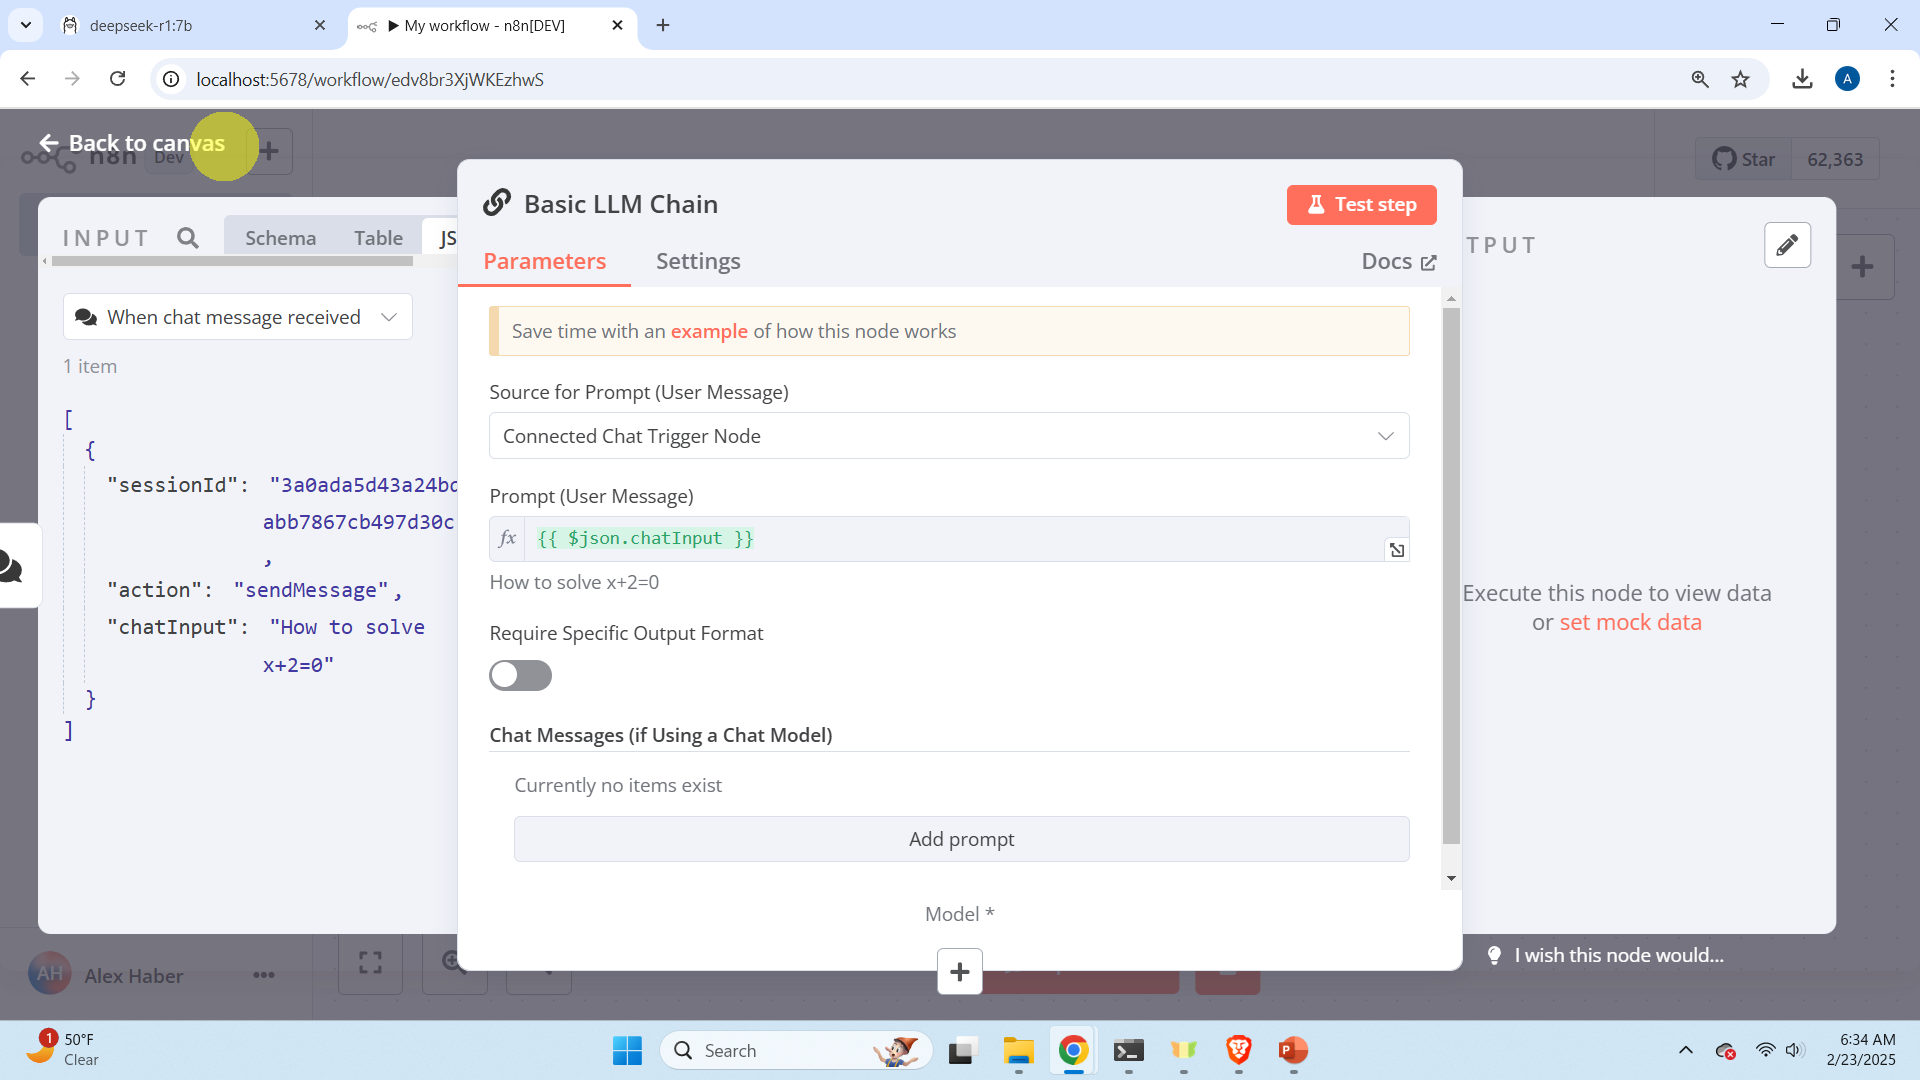
The output should look like this.
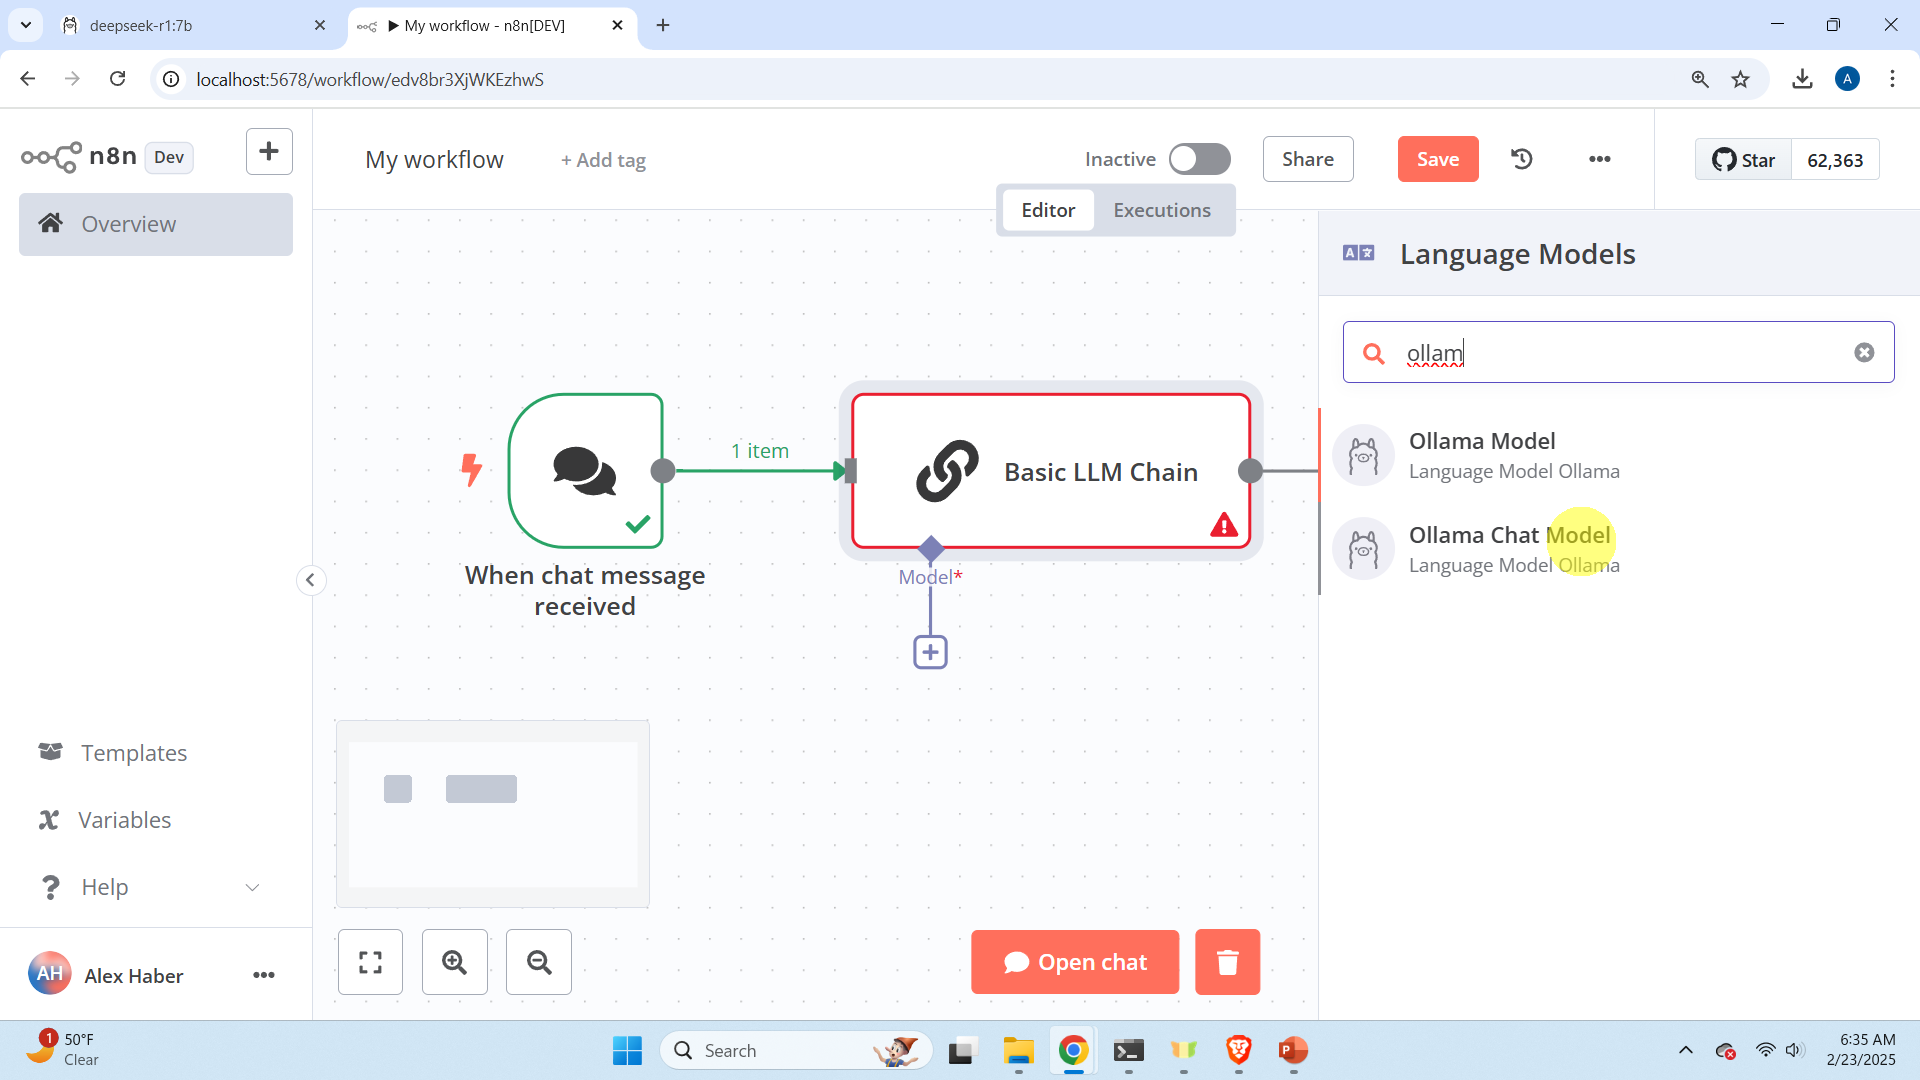
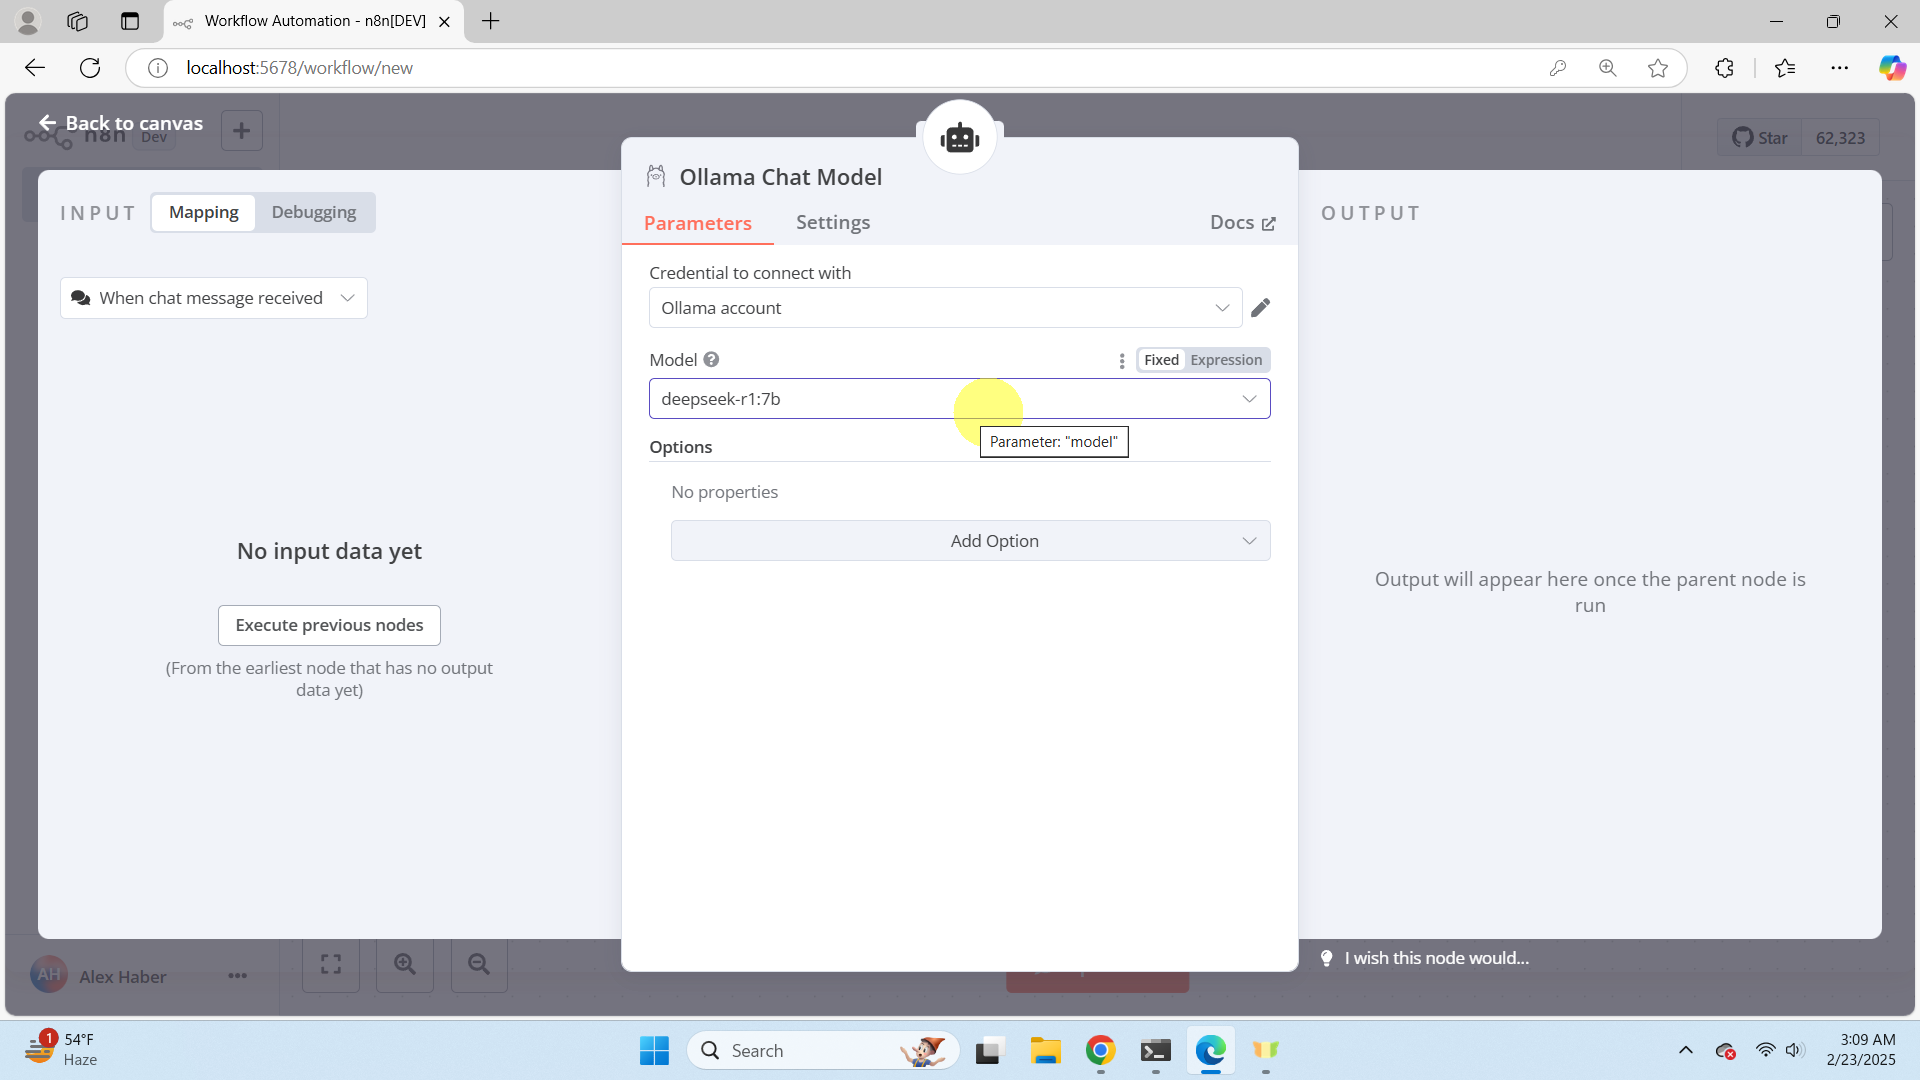
Next, we need to adjust the chat model. Click on the “Chat Model” port of “AI Agent” and search for “Ollama Chat Model”. Then, click on “Ollama Chat Model”.
Then, once the Ollama chat model is opened, click on Select Credential.

then click on “Create Credential”. Then erase the suggested local host “http://localhost:11434/“, and enter the correct local host “http://127.0.0.1:11434/“
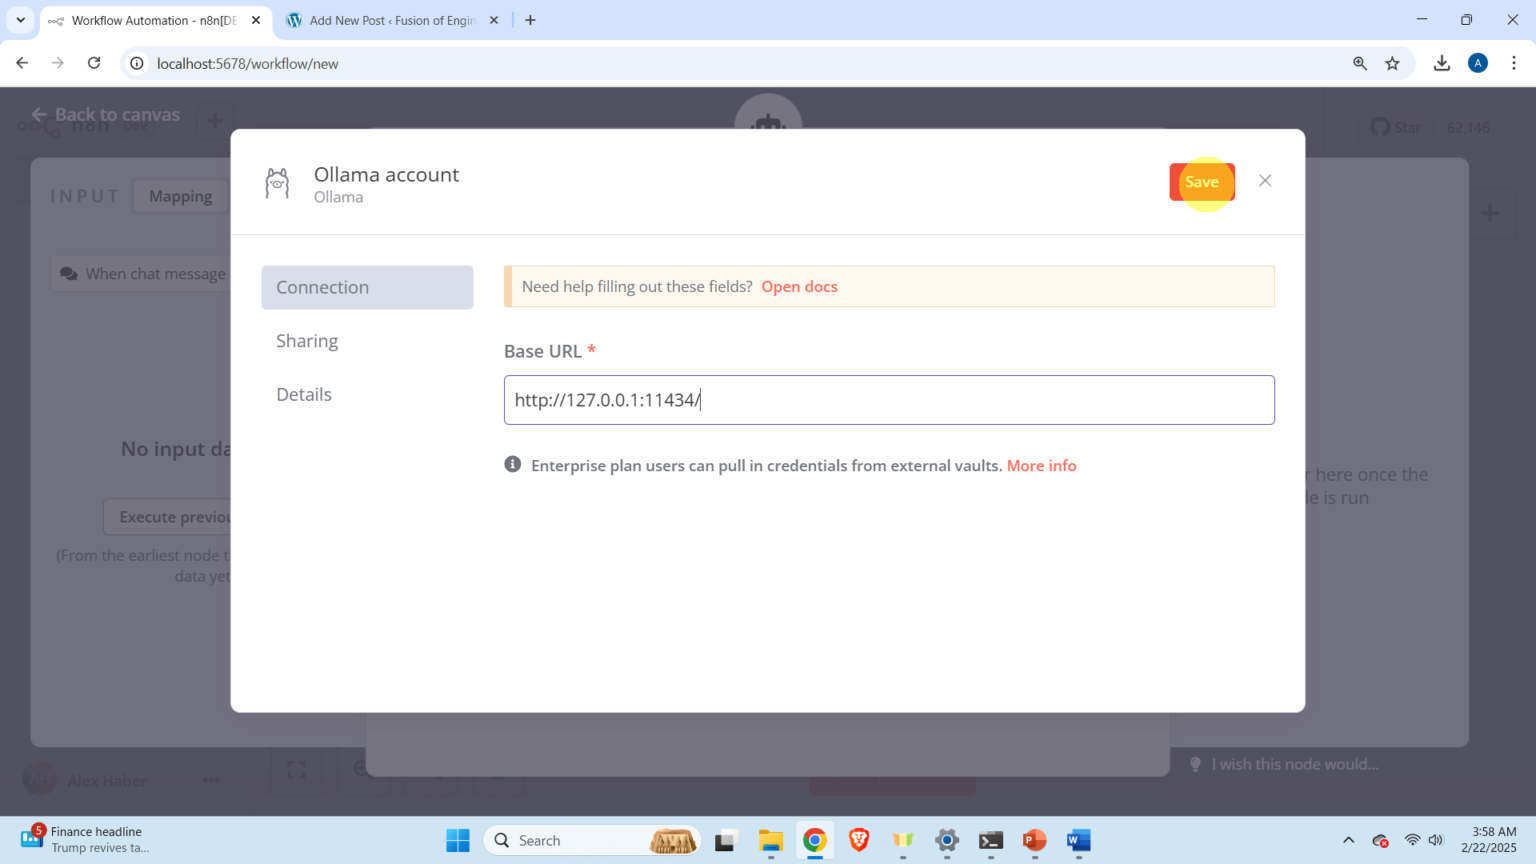
and then click on save. Then close the window, and in the Model section, make sure that you select the deepseek-r1:7b model. Then close the window by clicking on Back to canvas.
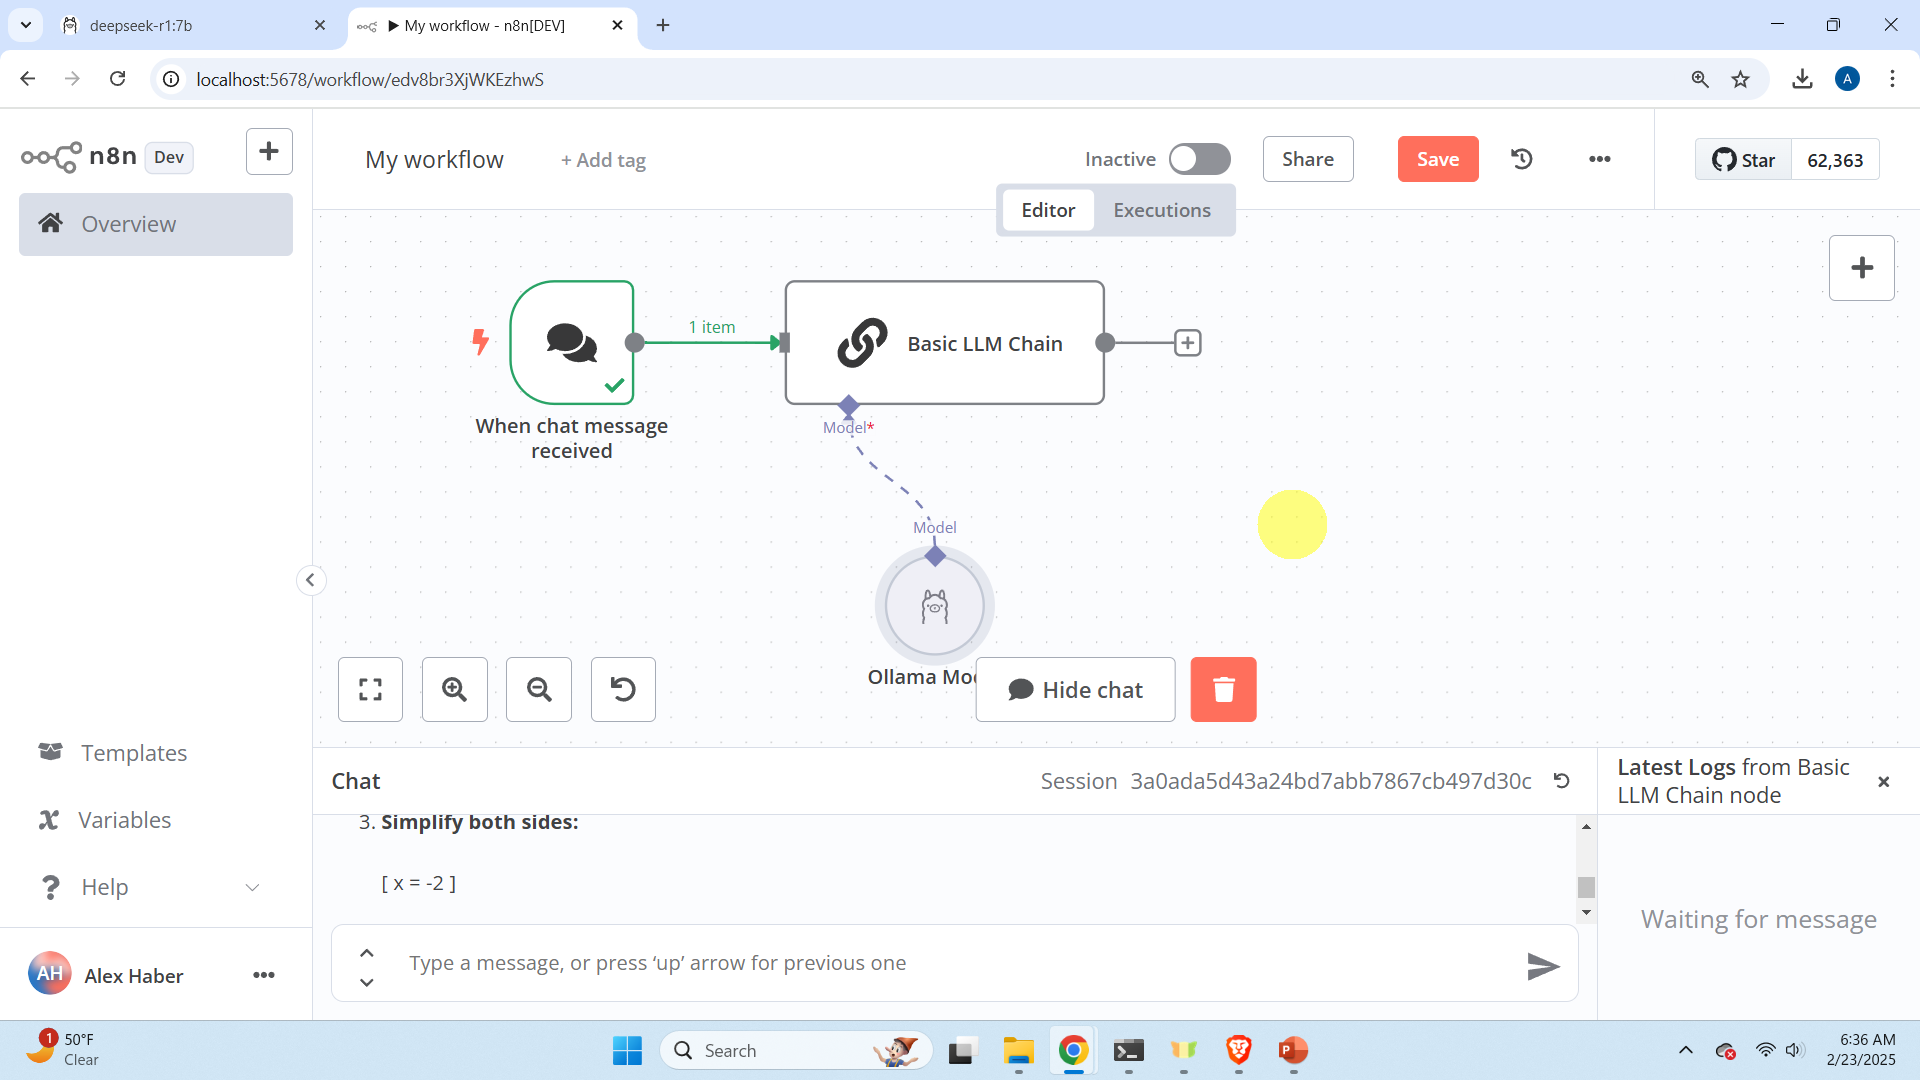
The final block diagram looks like this.
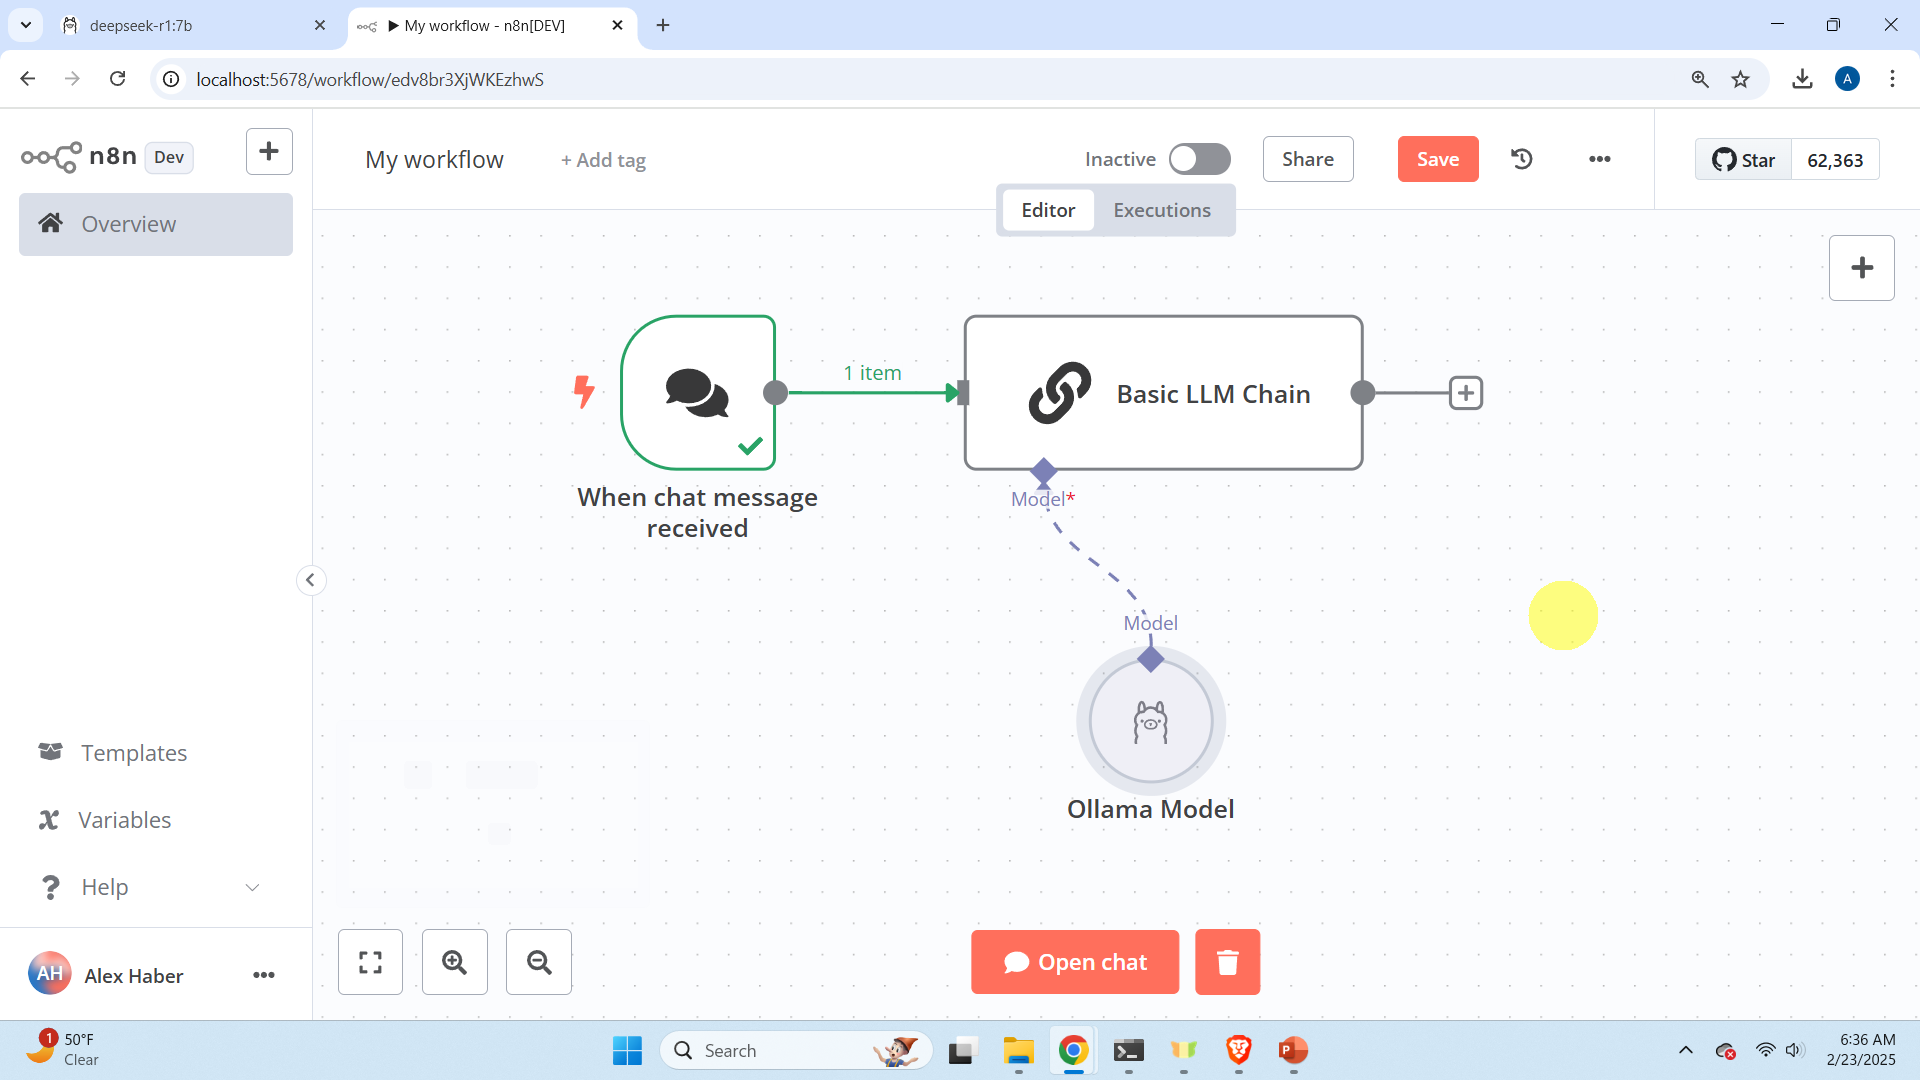
Click on “Open chat”
and start asking questions in the chat window shown below.