 by
by In this tutorial, we explain how to completely uninstall and completely remove a Linux distribution from Windows Subsystem for Linux- WSL. In particular, we explain how to completely remove the Ubuntu Linux version from WSL.
To remove a distribution from WSL and delete all of the data associated files and folders with that Linux distribution, you need to perform the steps explained in the video. The YouTube video tutorial is given below.
First, we need to open PowerShell in the administrator mode. In Windows 10, you can do that by clicking on Start, then then, search for PowerShell and then do the right click and select “Run as administrator”. Then, to list all installed Linux distributions in WSL, type this
wsl -l -vThe output should look like this
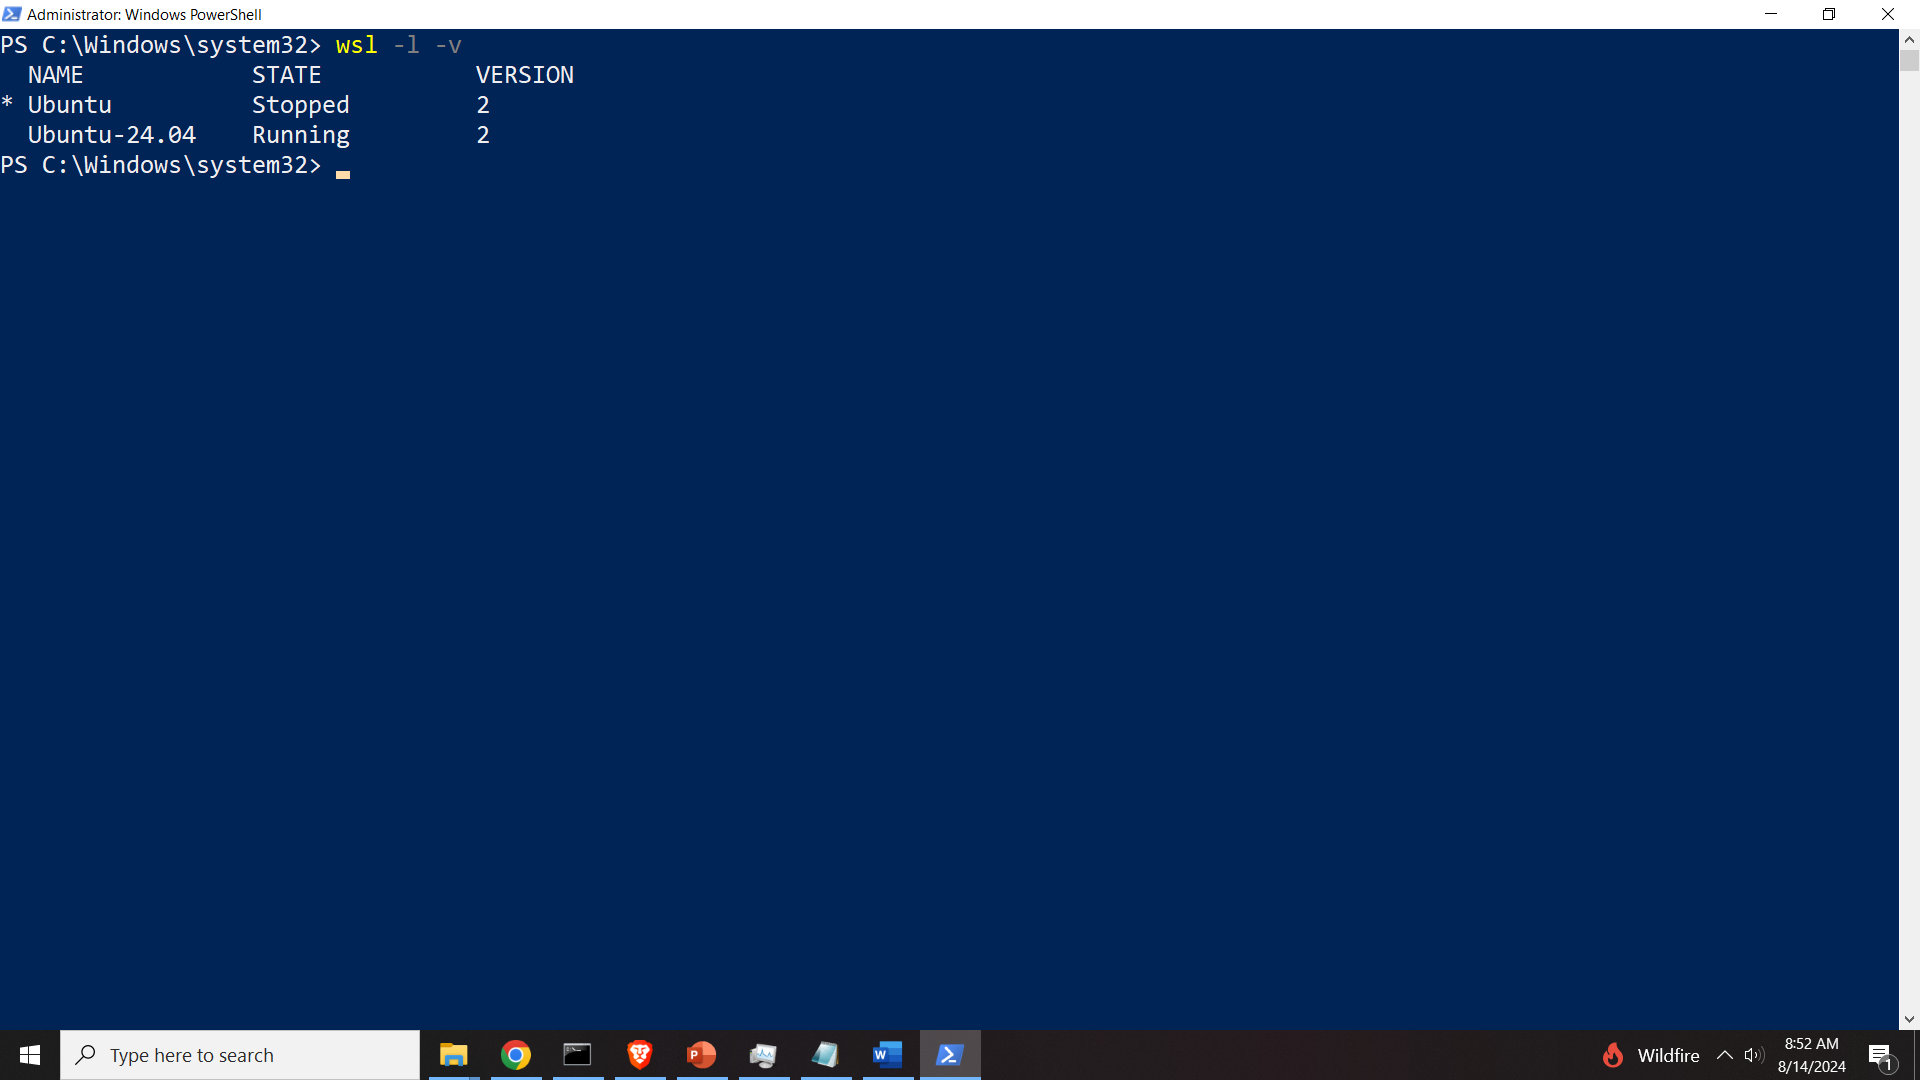
The star symbol denotes the default distribution. In our case the default distribution is Ubuntu (22.04). Then select the distribution that you want to remove. However, if this is the default distribution, then change the default distribution to some other distribution. You can do that by typing this:
wsl --setdefault <Distribution Name>Then, you can remove the distribution, like this:
wsl --unregister <distroName> to uninstall a particular distribution with all the associated files. In our case, if we would like to erase Ubuntu 24.04, we would write this
wsl --unregister Ubuntu-24.04As the result, we get this after running “wsl –unregister Ubuntu-24.04” and “wsl -l -v”:

And we can see that Ubuntu 24.04 is completely removed from our system. Also, make sure that Ubuntu 24.04 is not anymore in the system. You can do that by clicking on Start and searching for Add/Remove programs, and then click on Add/Remove programs and search for Ubuntu 24.04. Then, if this version of Ubuntu is still there, you can uninstall it by using this approach.