 by
by In our previous tutorial on DeepSeek-R1, we explained how to install and run DeepSeek-R1 locally by using Ollama and a terminal window. Running DeepSeek and similar Large Language Models (LLMs) by using Ollama and a terminal is a first step toward building an AI application. Namely, you would first like to test the model and see if it can work on your hardware, and then, in the next step, you would embed the AI model in your application. For that purpose, you would most likely use Python or a similar language which enables rapid prototyping.
However, some users would just like to run DeepSeek-R1 locally with a graphics user interface (GUI). There are several approaches for running distilled versions of DeepSeek in a GUI. The first approach that we covered in the previous tutorial is to write your own GUI by using Streamlit. This approach is for more advanced users who want to build their own AI application. However, there is a simple approach which is more suitable for users only interested in directly using the model and not in embedding the model in some other application. For that purpose, you can use WebUI to securely and locally run models. In this tutorial, we explain a step by step procedure that will enable you to install and run distilled versions of DeepSeek by using Open WebUI on Linux Ubuntu. Open WebUI is a relatively simple framework and GUI for running models locally. The YouTube tutorial is given below.
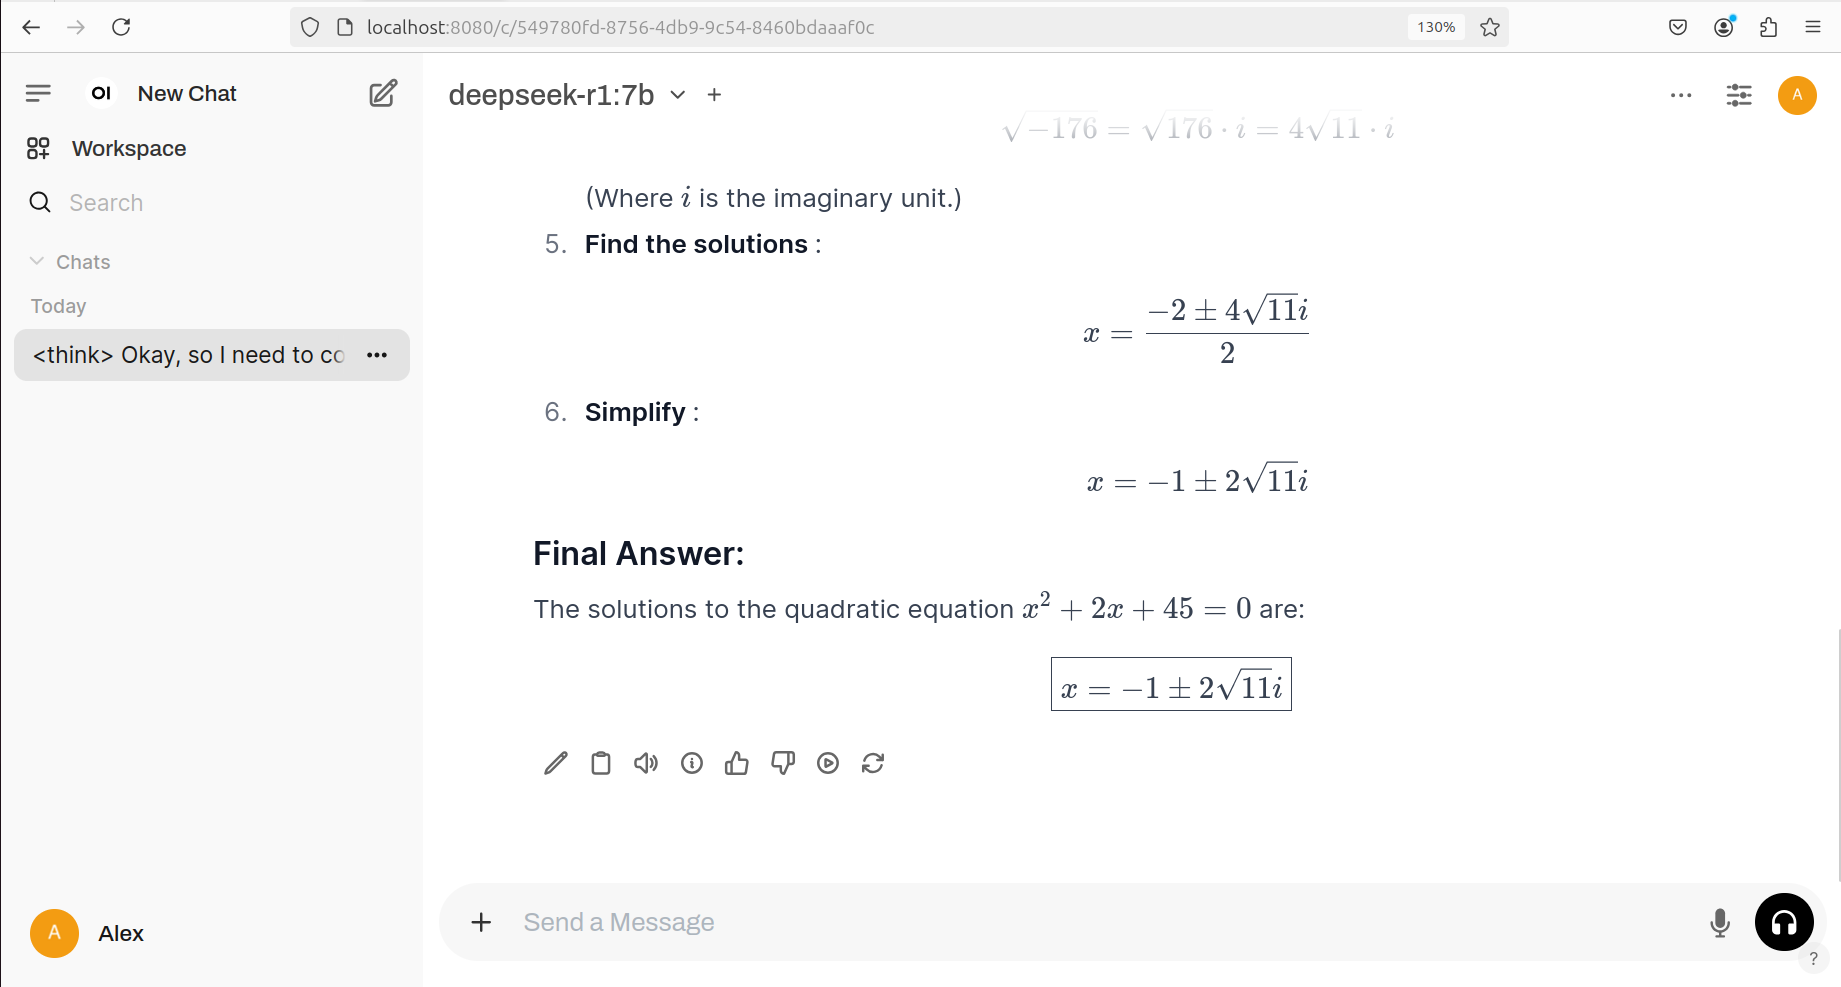
The GUI interface of the WebUI with the DeepSeek-R1 7B model is shown in the figure below.
Installation Procedure
The first step is to install Ollama. For that purpose, open the Linux Ubuntu terminal, and then update and upgrade all the packages, and install curl:
sudo apt update && sudo apt upgrade
sudo apt install curl
curl --version
Next, enable connections to
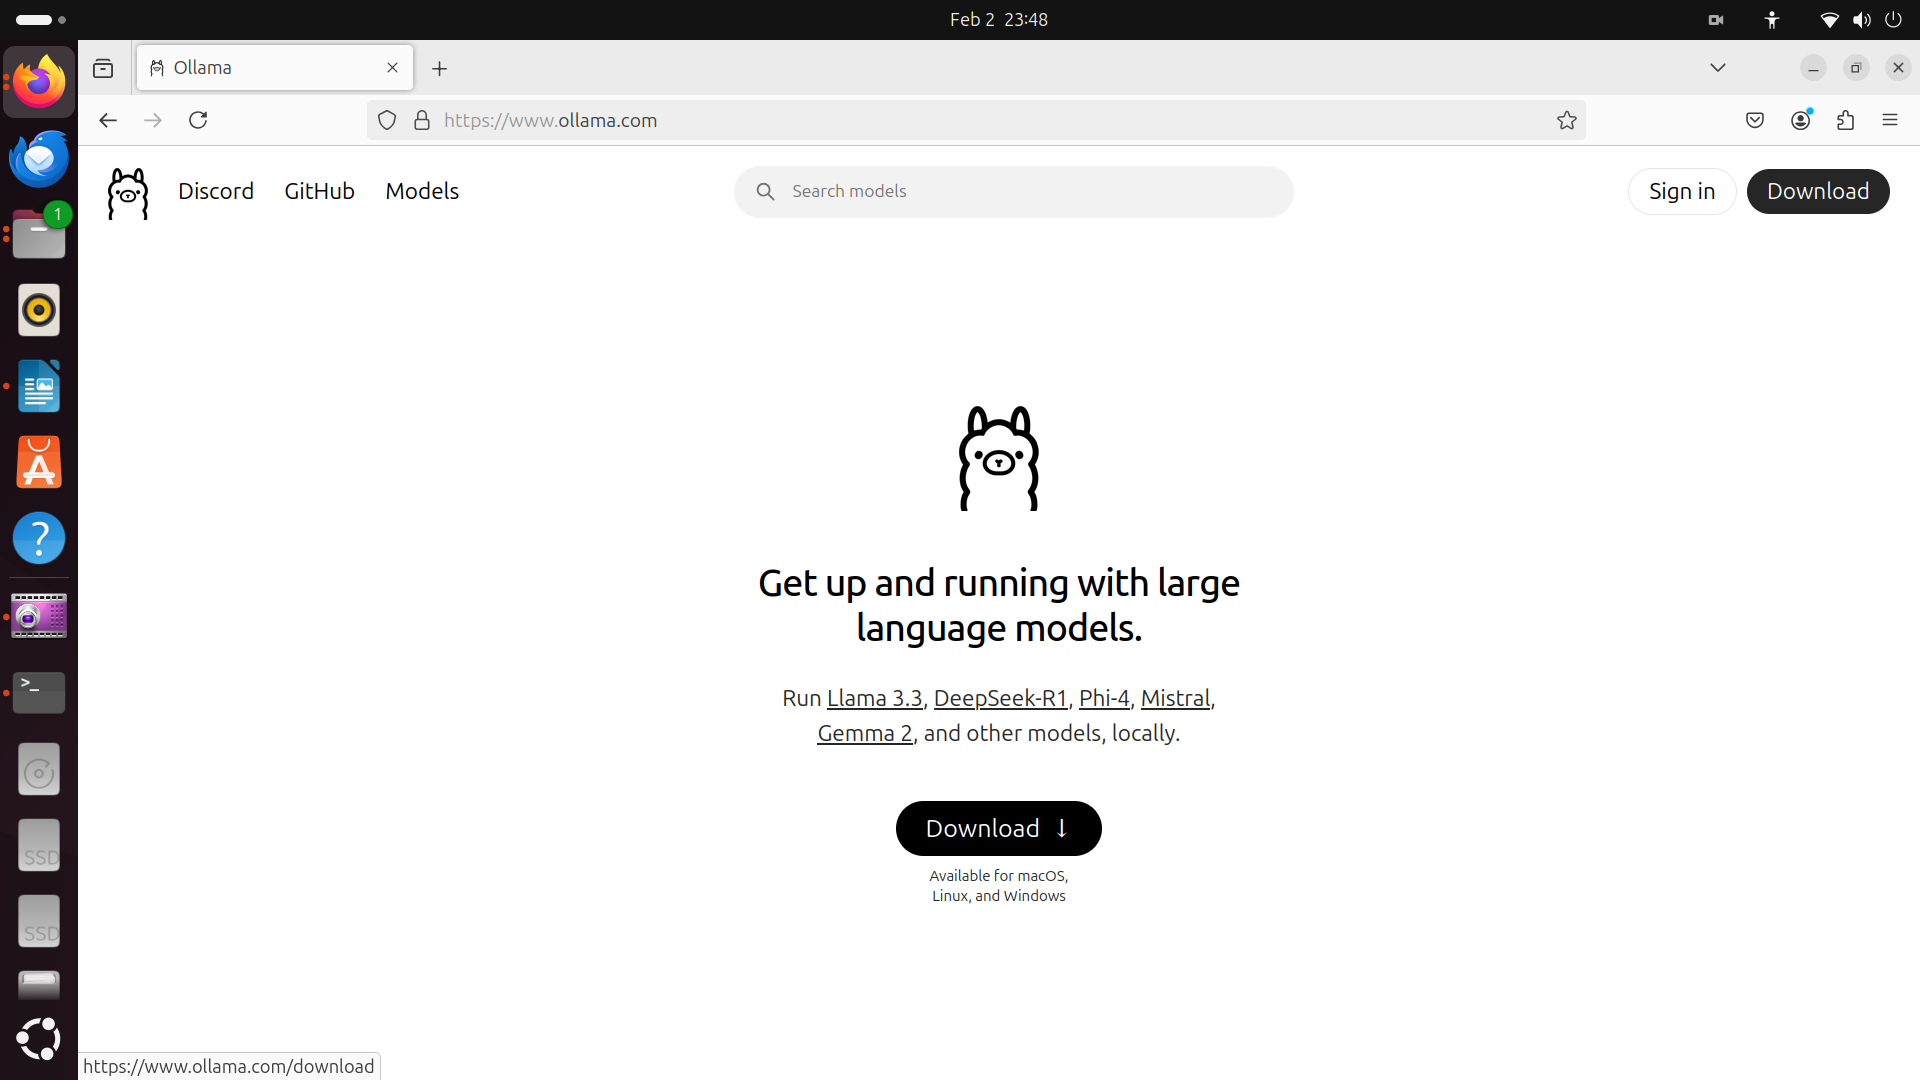
For that purpose, go to the official Ollama website
and then click on download, and then select your operating system. As the result the curl installation command will be generated (see the figures below).
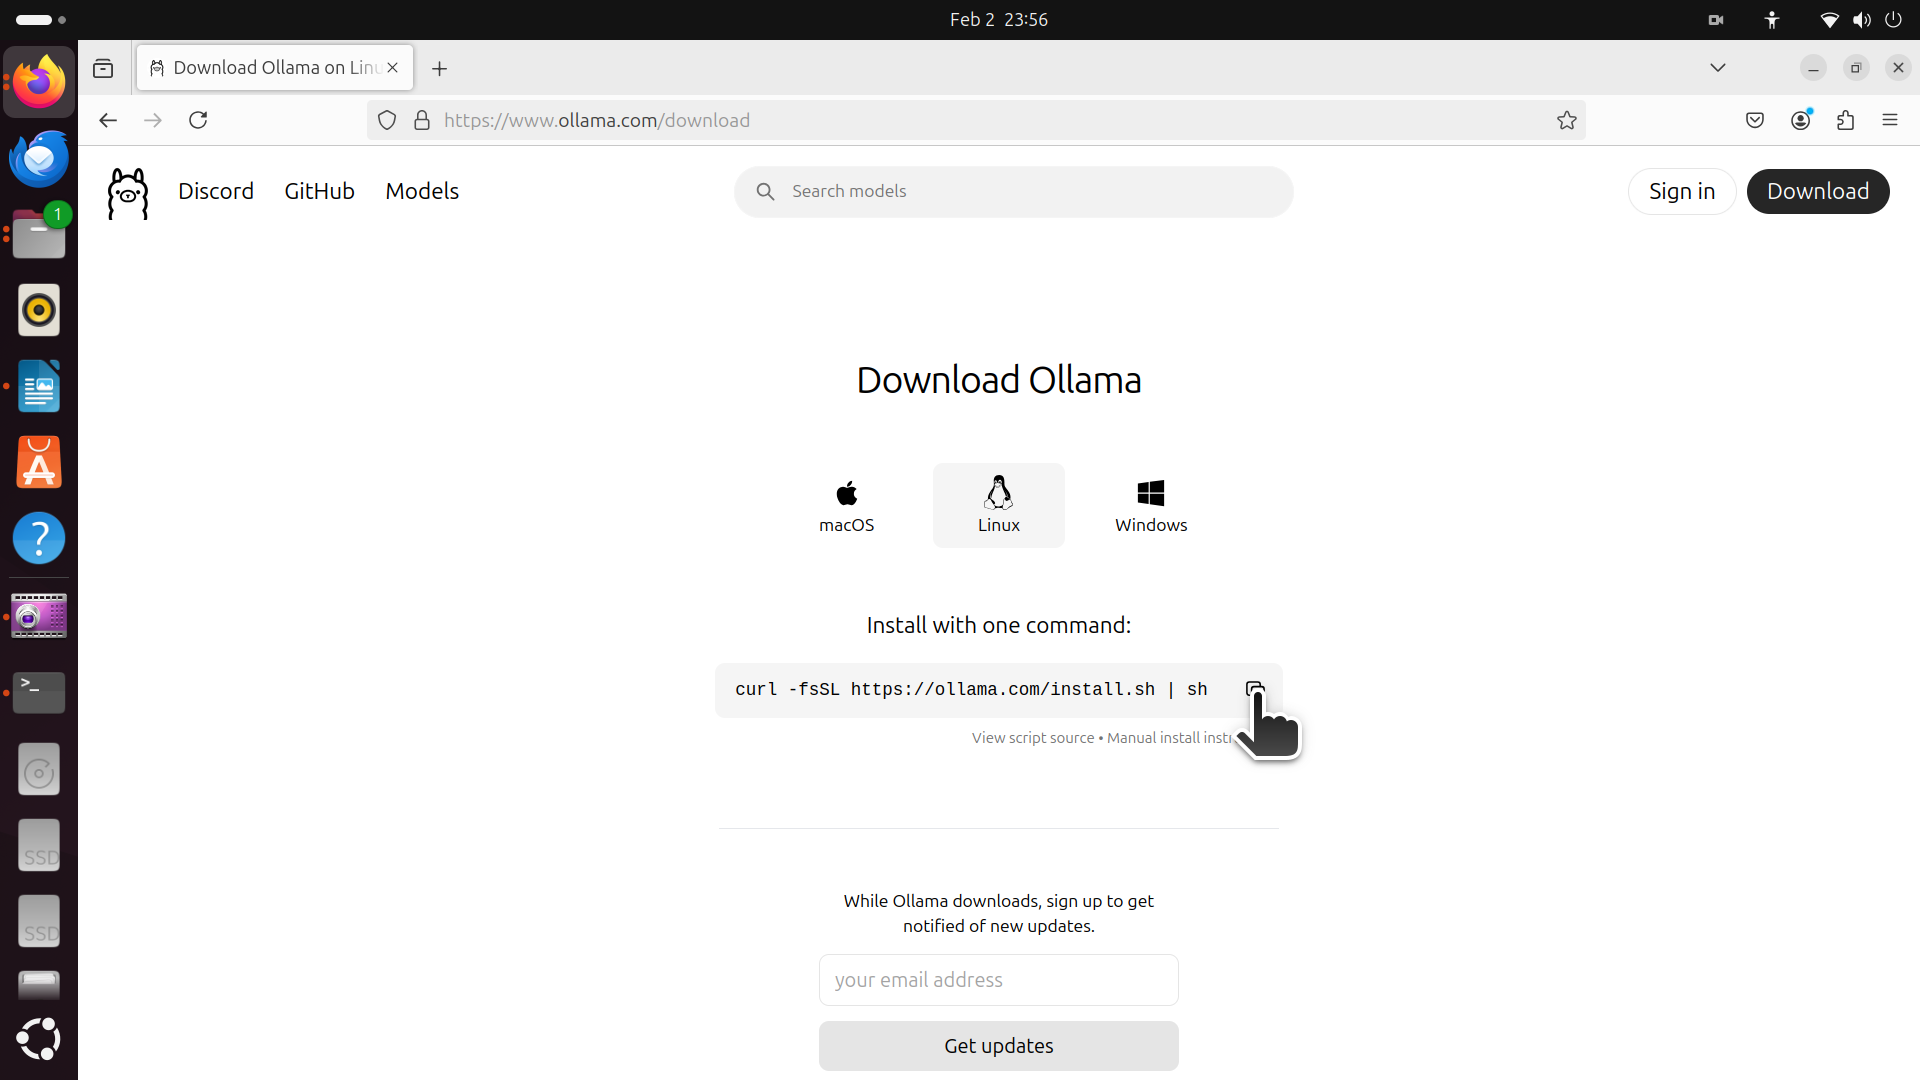
The generated installation command is
curl -fsSL https://ollama.com/install.sh | shExecute this command in the terminal window and Ollama should be installed.
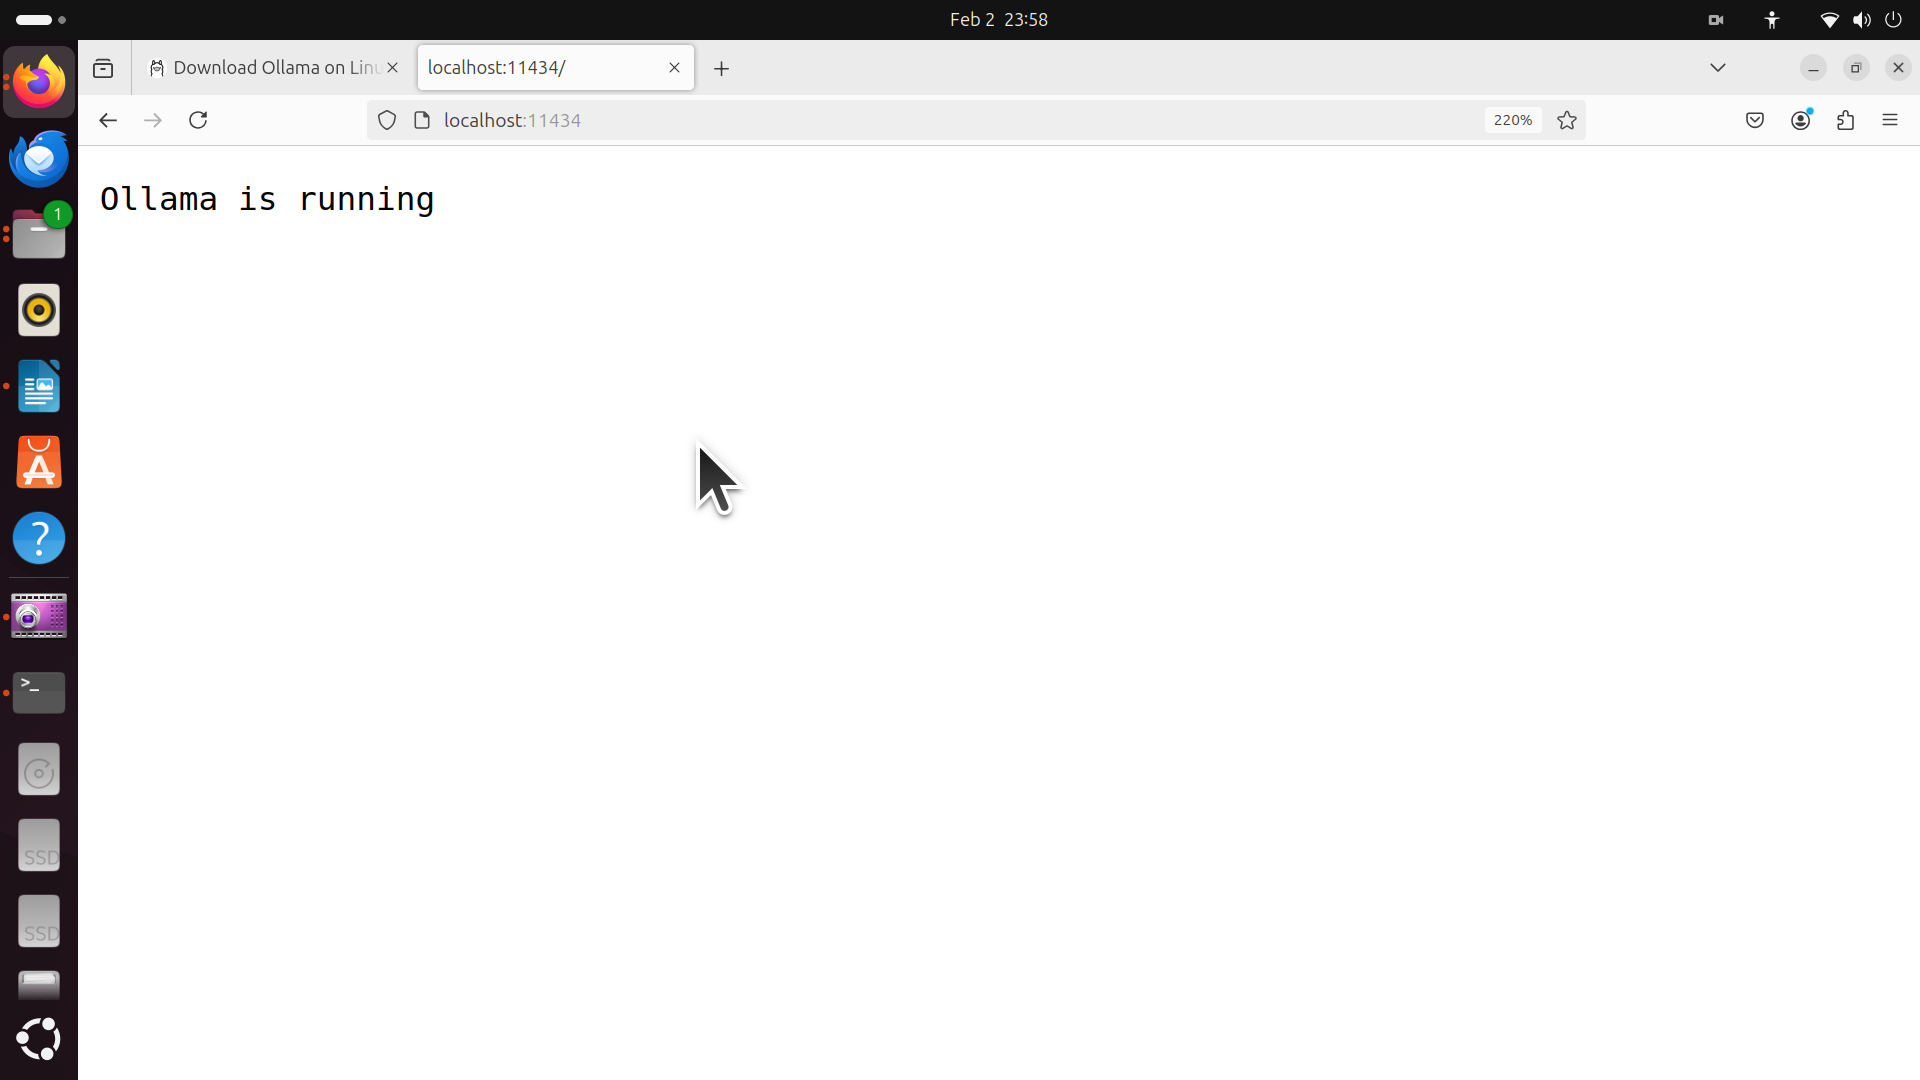
The next step is to verify the Ollama installation. To do that, in your web browser type the following address
http://localhost:11434/If Ollama is properly installed, the generated message should look like this
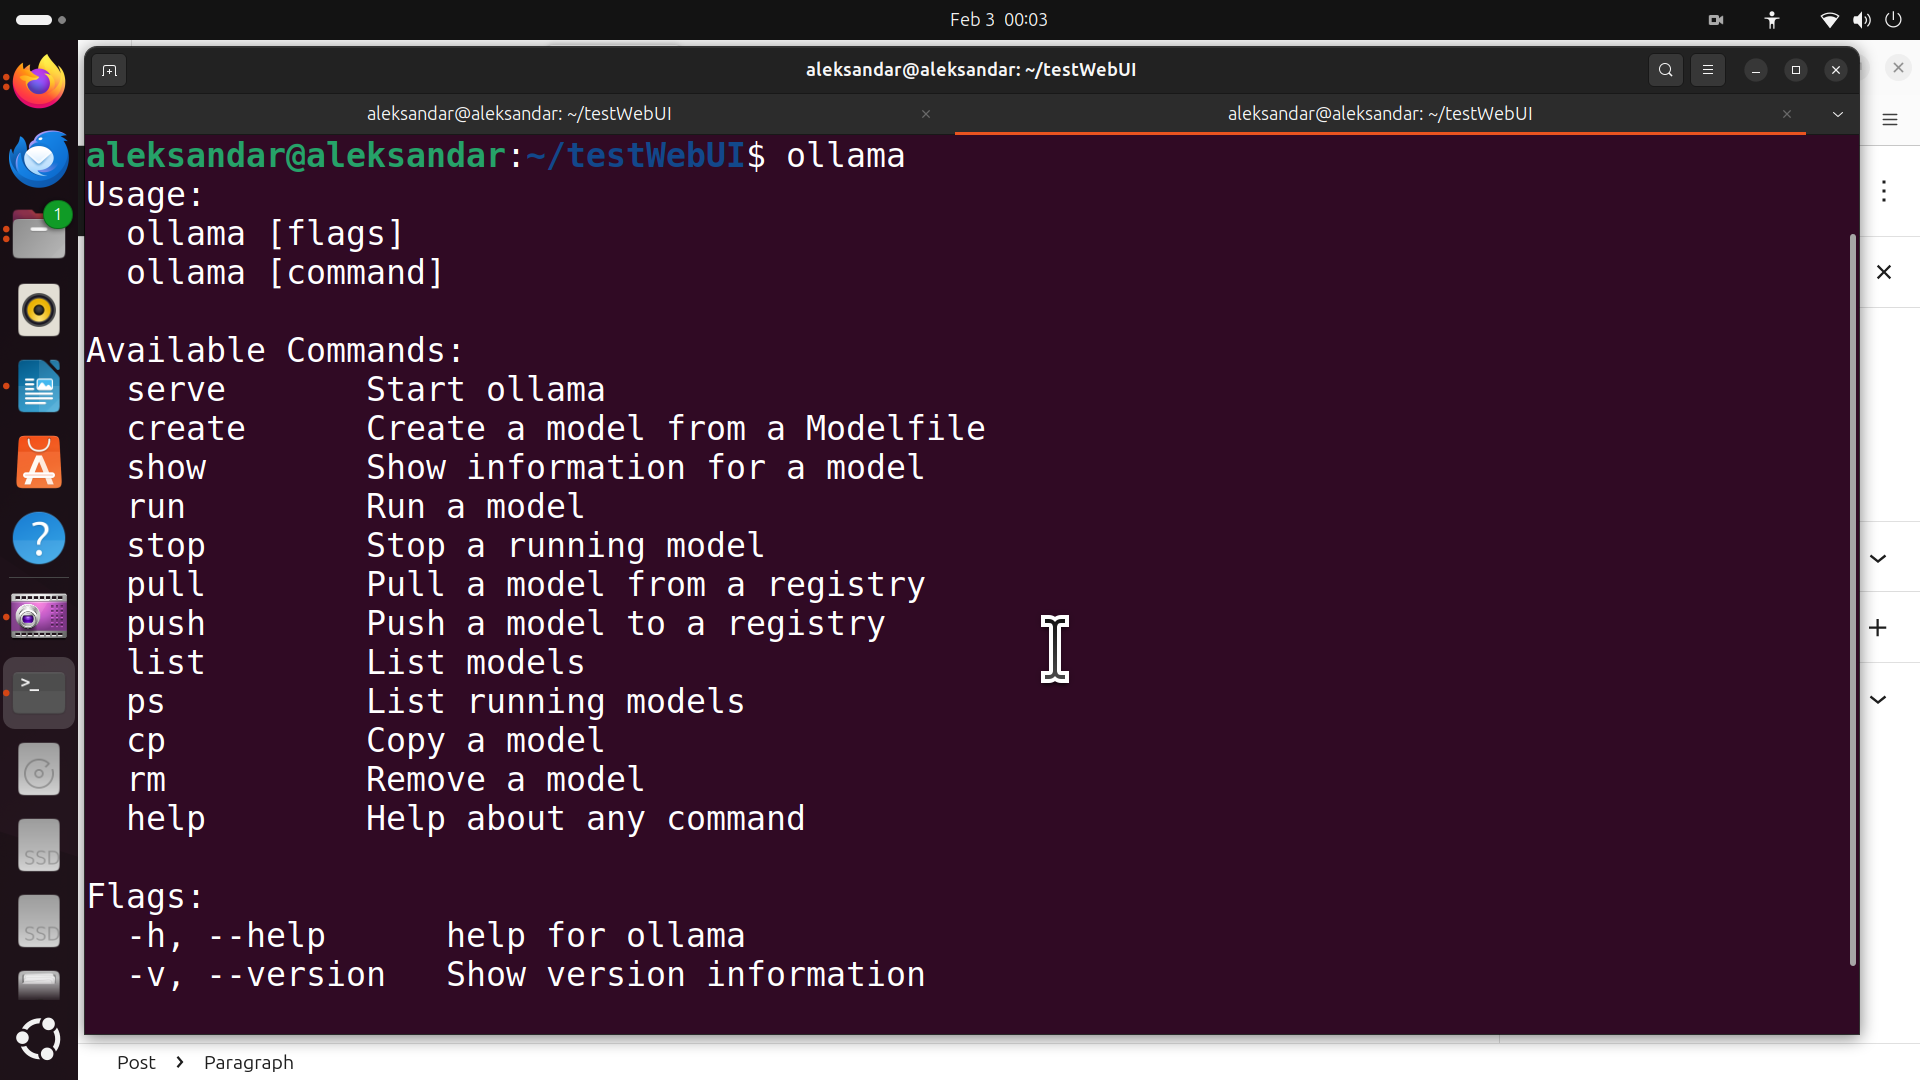
Another verification step is to open a terminal and to type
ollama listIf Ollama is properly installed, then the response will look like this
The next step is to install the model. In our tutorial, we will use a distilled version of DeepSeek-R1. To install the model, go to the Ollama website and search for deepseek-r1
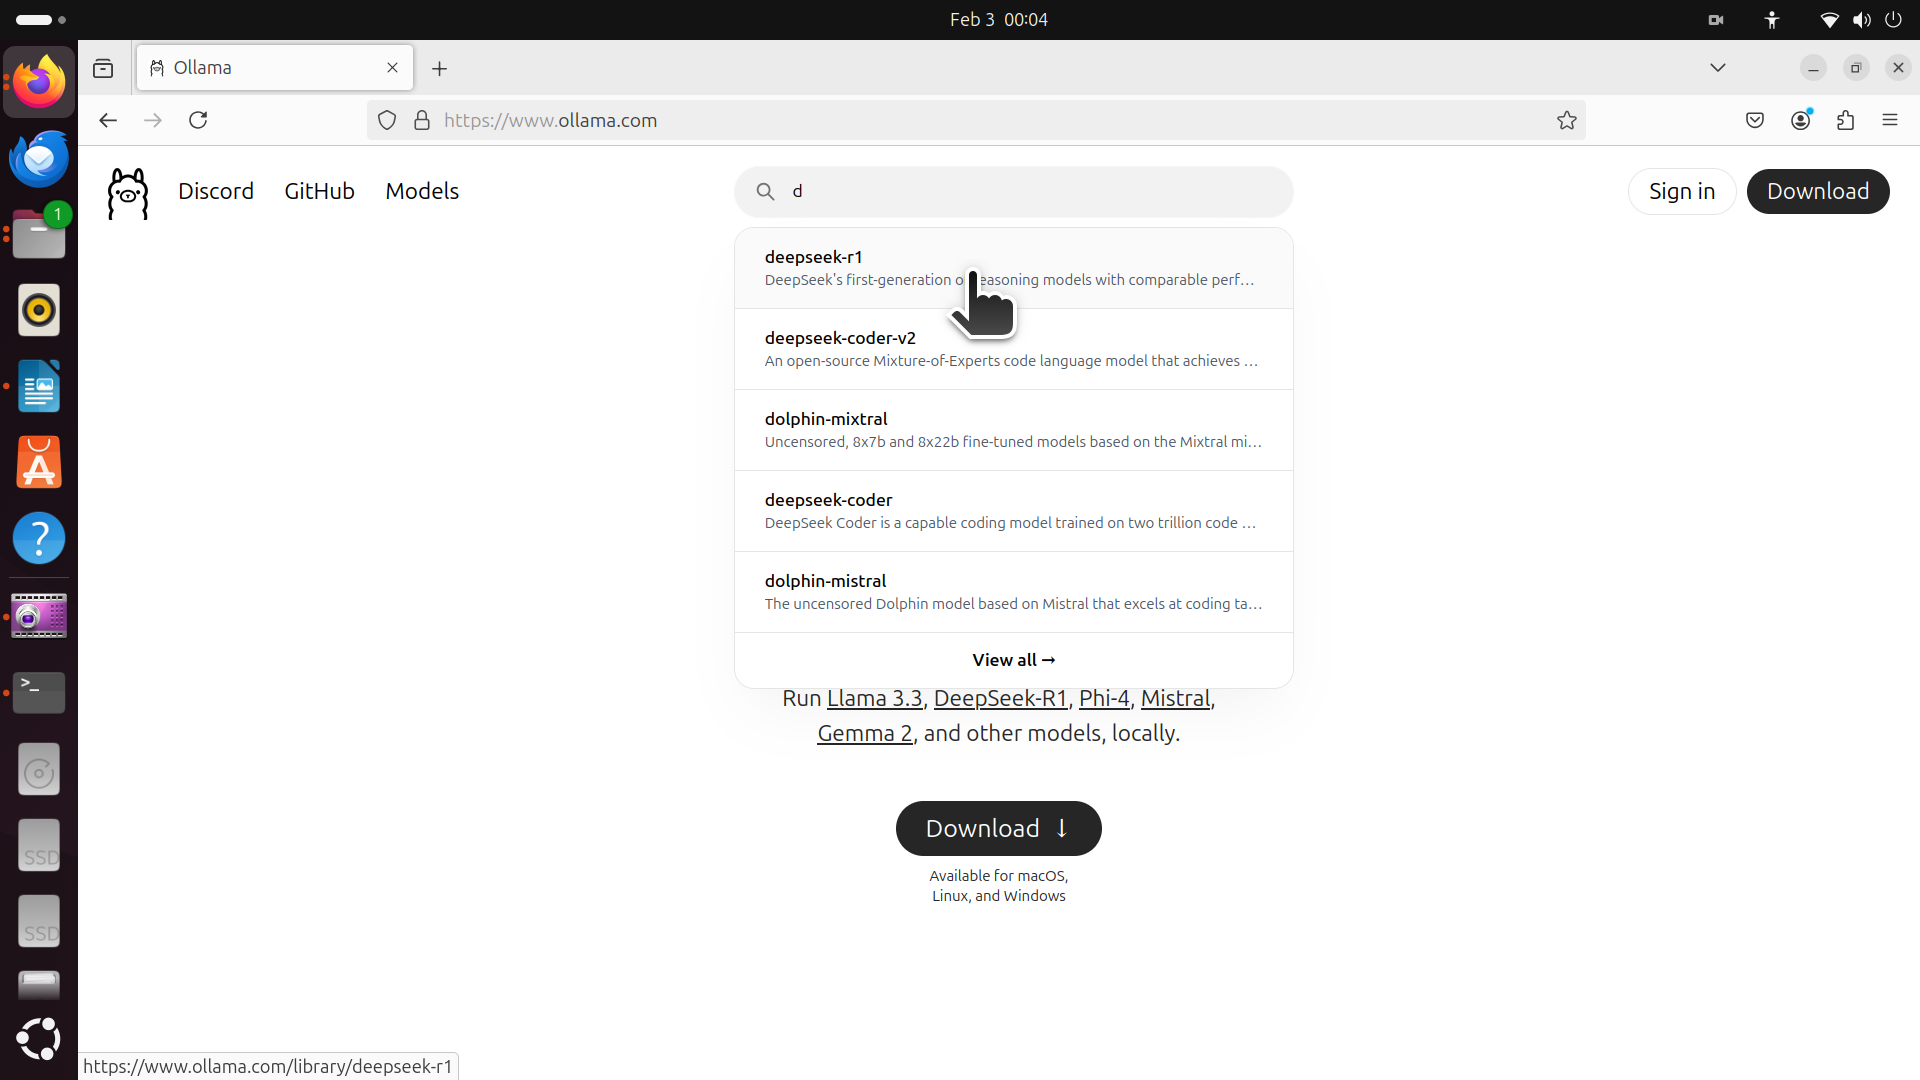
Click on the model, and then click on 7B model in the drop down menu as shown in the figure below.

as the result the installation command will be generated (right to the drop down menu). In our case, the installation command is
ollama run deepseek-r1:7bThis command will download, install and run the model. However, for the time being, we just want to download and install the model. To do that, change the command to
ollama pull deepseek-r1:7band execute the command in the terminal. This command will download the model. After the model is downloaded, open the terminal and type
ollama listThis will list all the models. In our case, the output should look like this
NAME              ID              SIZE      MODIFIED
deepseek-r1:7b 0a8c26691023 4.7 GB 3 hours ago 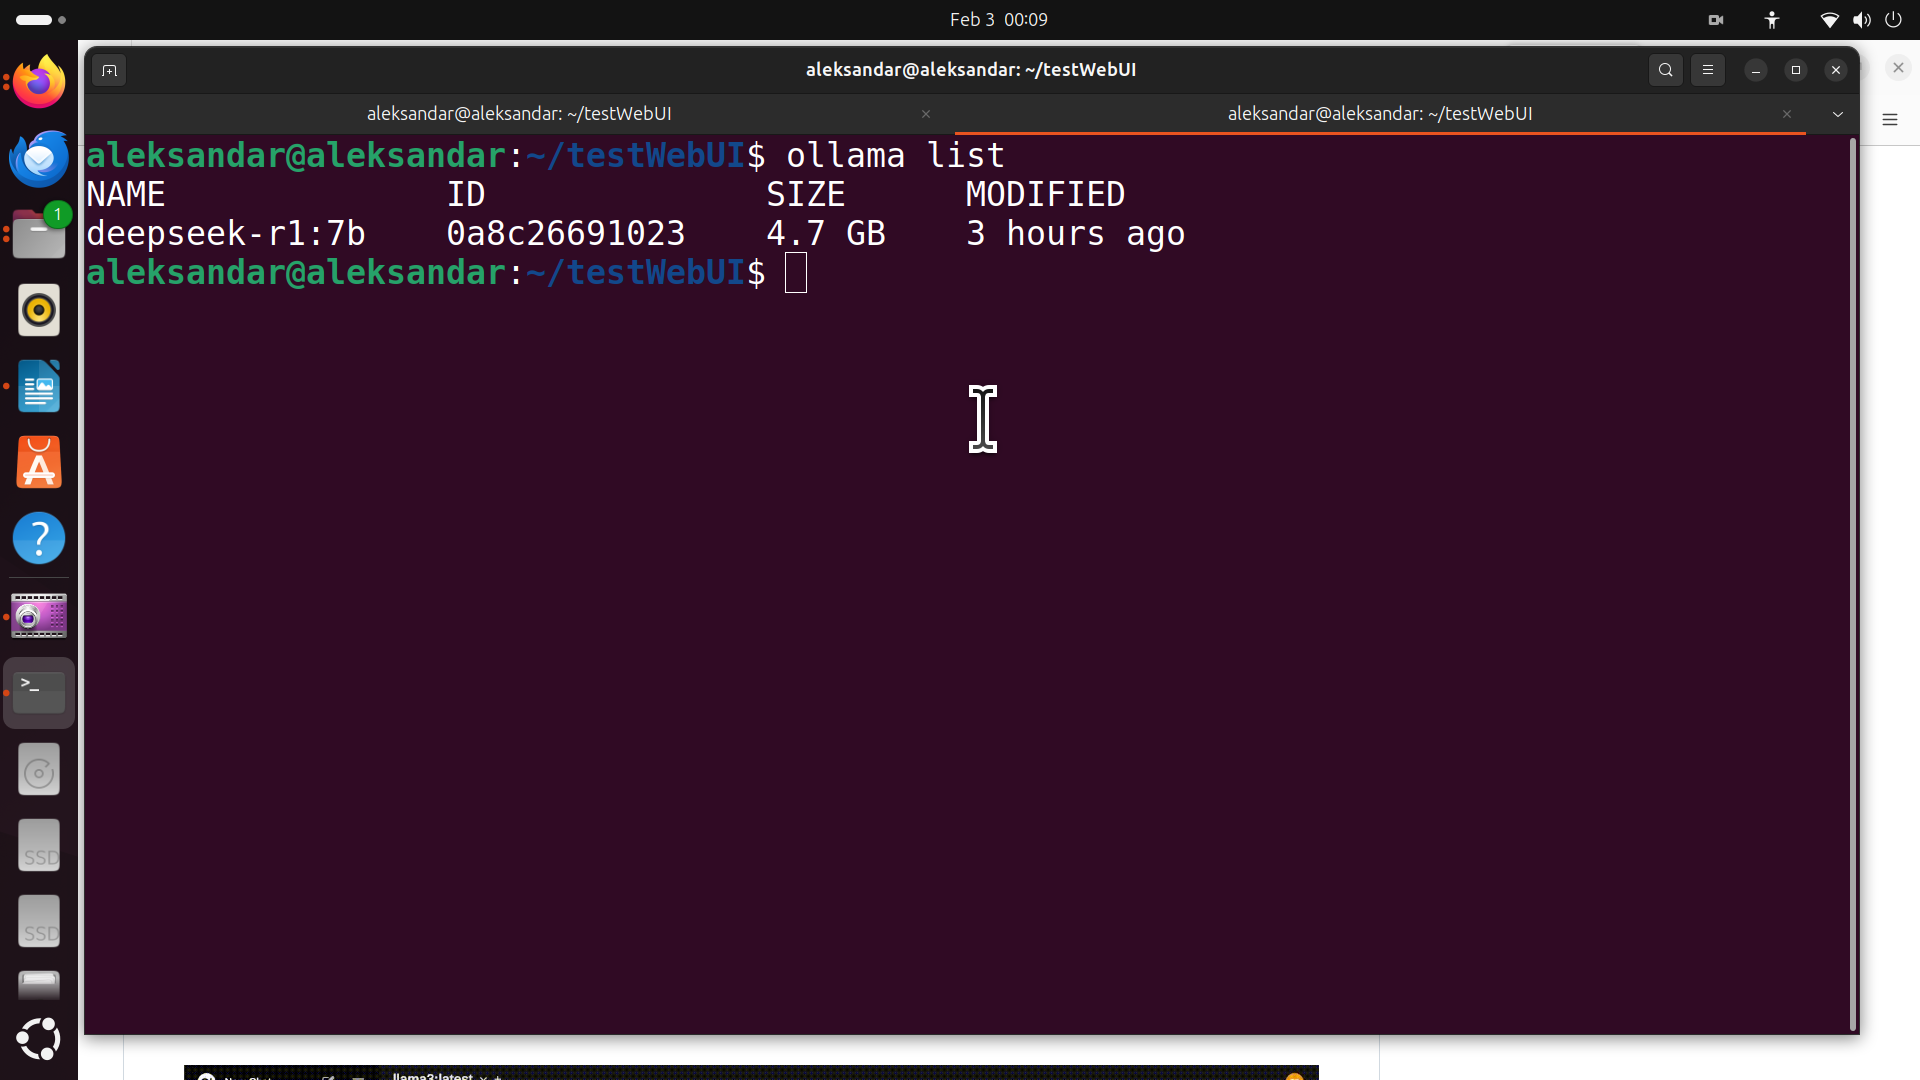
To test the model, run it like this
ollama run deepseek-r1:7bYou can test the model in order to confirm it is working. To exit Ollama, press and hold CTRL+d
The next step is to create a workspace folder, create a Python virtual environment, install the libraries, and run Open-WebUI. To create a workspace folder, type
cd ~
mkdir testWebUI
cd testWebUI
Next, check if Python is installed on your system and check your Python version by typing
which python3
python3 --version
In our case, we are using Python 3.12, and we suggest you to use the same version.
To create and activate the Python virtual environment, type this
sudo apt install python3.12-venv
python3 -m venv env1
source env1/bin/activate
Then, you just need to install a single library called open-webui. To do that, type in the created Python virtual environment
pip install open-webuiFinally, to run Open-WebUI, type this
open-webui serveAfter Open-WebUI is started, go to the web browser and enter this address
http://localhost:8080This will start Open-WebUI. After the GUI is started enter your information and you can start the model (for more details see the YouTube tutorial). The GUI should look like this: