by
by In this AI, machine learning, and Large Language Model (LLM) tutorial, we explain how to correctly integrate Ollama and Large Language Models with the n8n AI agent software and run local AI agents on a computer. This tutorial is very important for the development of secure, private, and local AI agents that are hosted completely locally. The YouTube tutorial explaining all the integration steps is given below.
On the other hand, the YouTube tutorial given below is more advanced that the previous tutorial and explains how to develop an AI agent that will deliver weather information by using Ollama and Llama LLM.
How to Correctly Install n8n AI Agent Framework on a local computer
First, we need to install n8n. To do that, you wirst need to install Node.js. To do that, go to this website
https://nodejs.org/en/download
and download the installation file. Run the installation file and Node.js will be installed. The next step is to install n8n. To do that, open a terminal and type
npm install n8n -g
After that to start n8n, you need to type this
n8n startThis will start the n8n AI agent software on the local host:
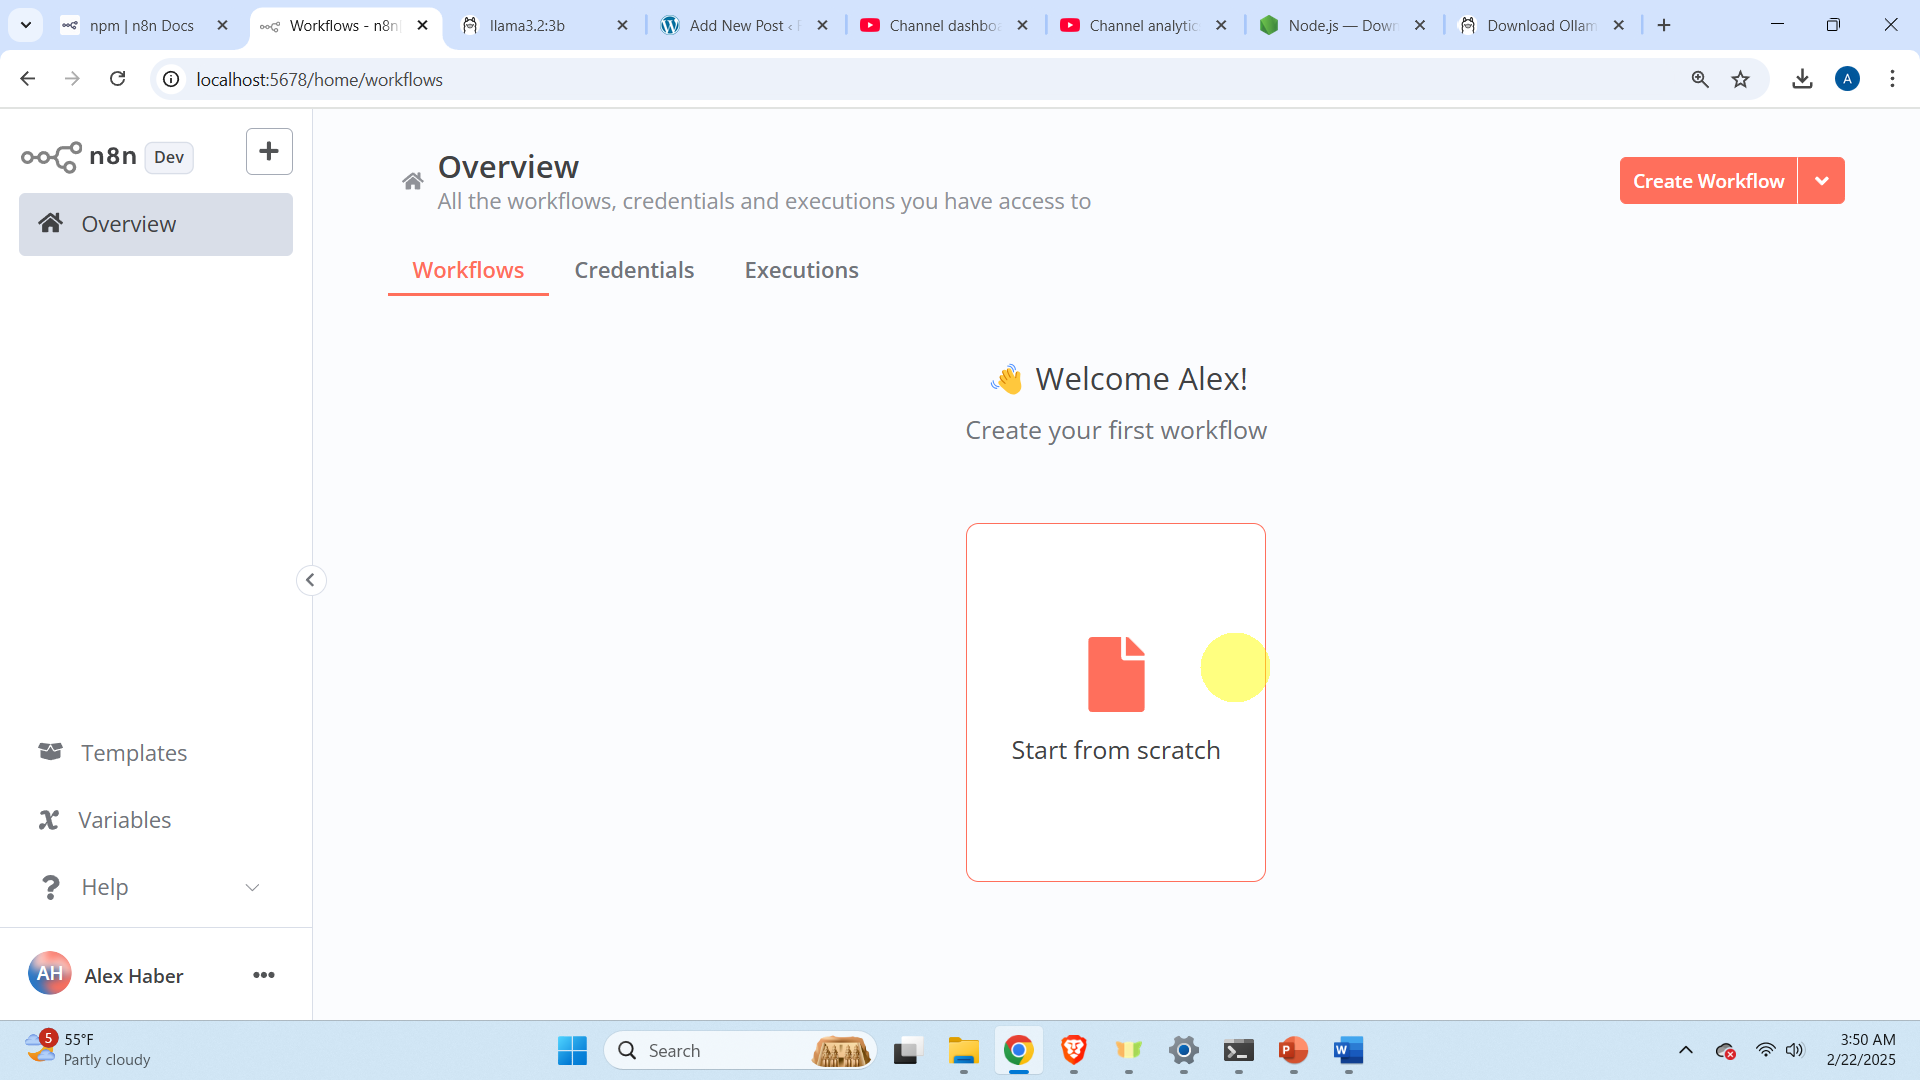
http://localhost:5678/You just need to copy this address in your browser, and the Graphics User Interface (GUI) of n8n will open. Then, you need to register yourself. You need to enter the name, username, password, and some other details and then a verification email will be sent to you. Open the email and click on the verification screen. After that you will be directed to the web GUI, and you can start with AI agent development.
How to Correctly Install Ollama and Llama LLM for AI Agent Development
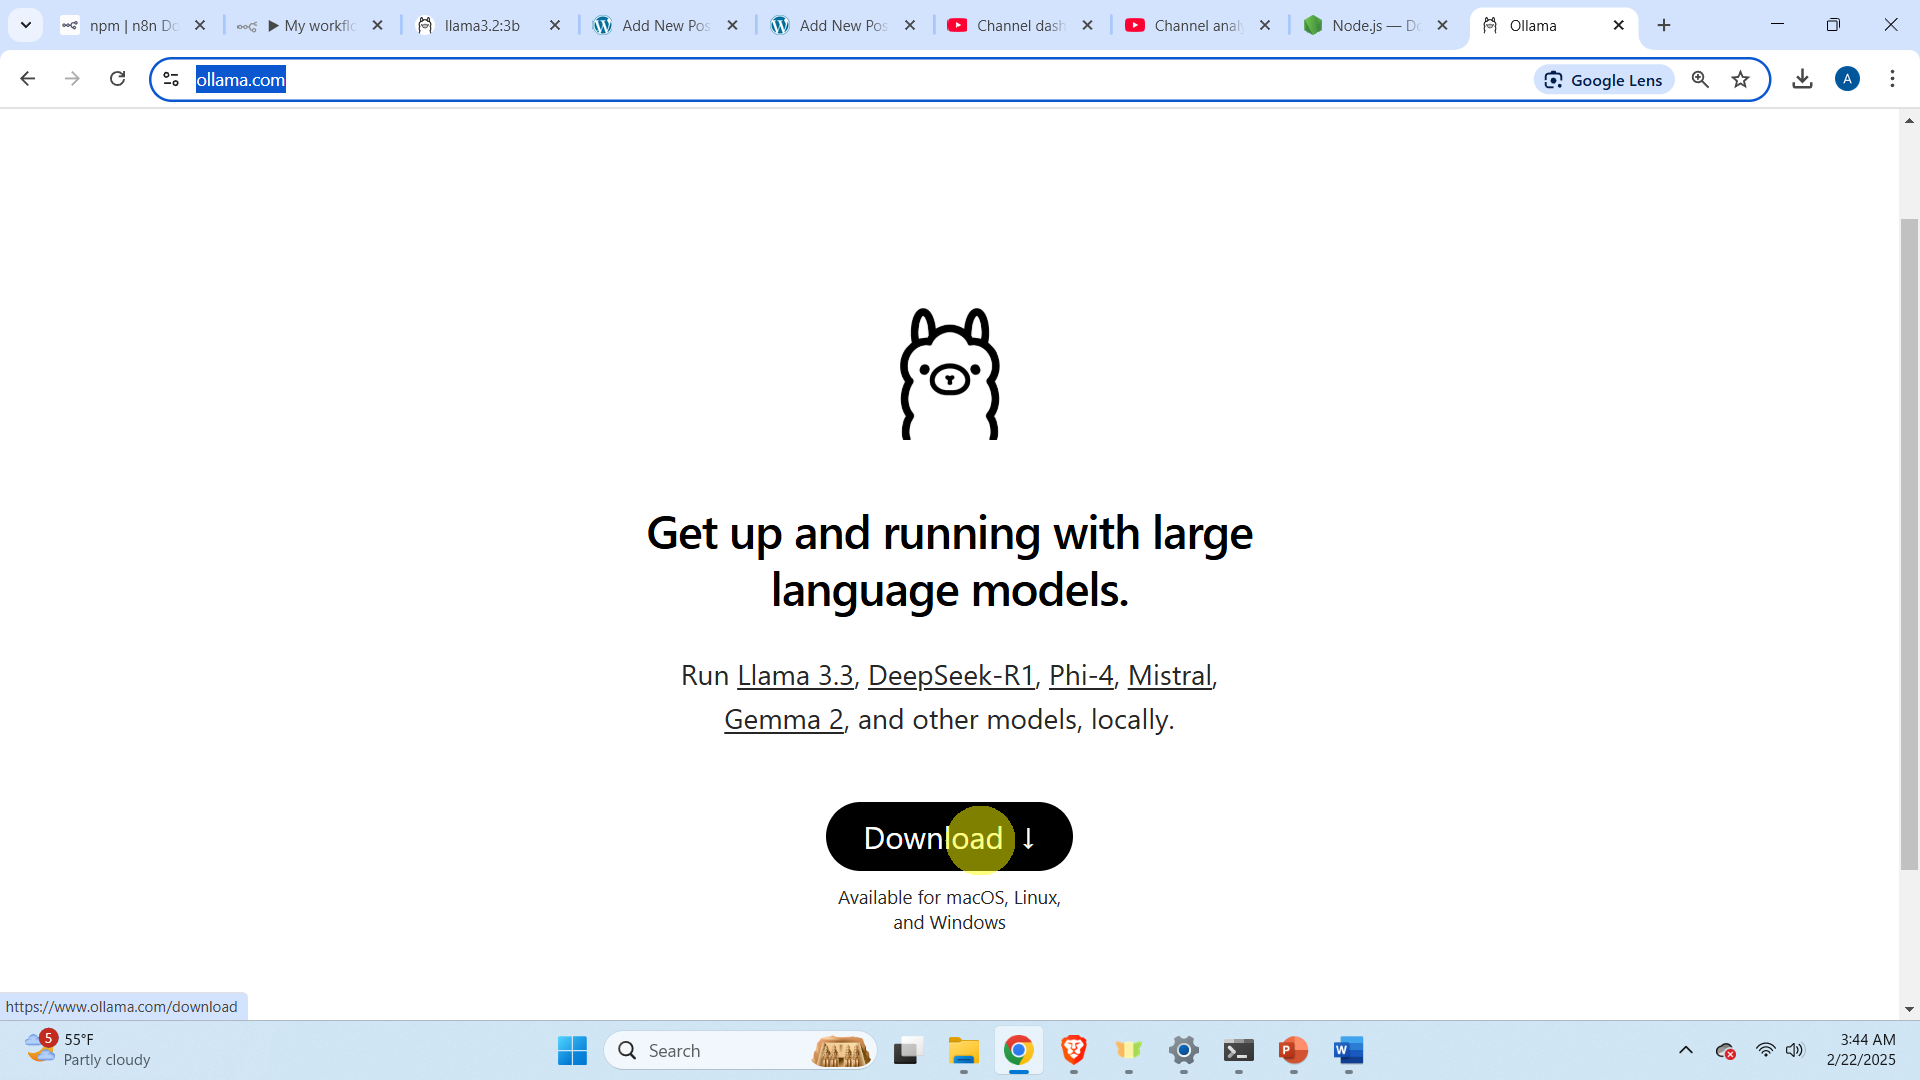
However, before we implement the agent. We first need to install Ollama and download an LLM. To install Ollama, go to the Ollama website
https://www.ollama.com/and then click on “Download” as shown below
and then click on “Download for Windows ” as shown below
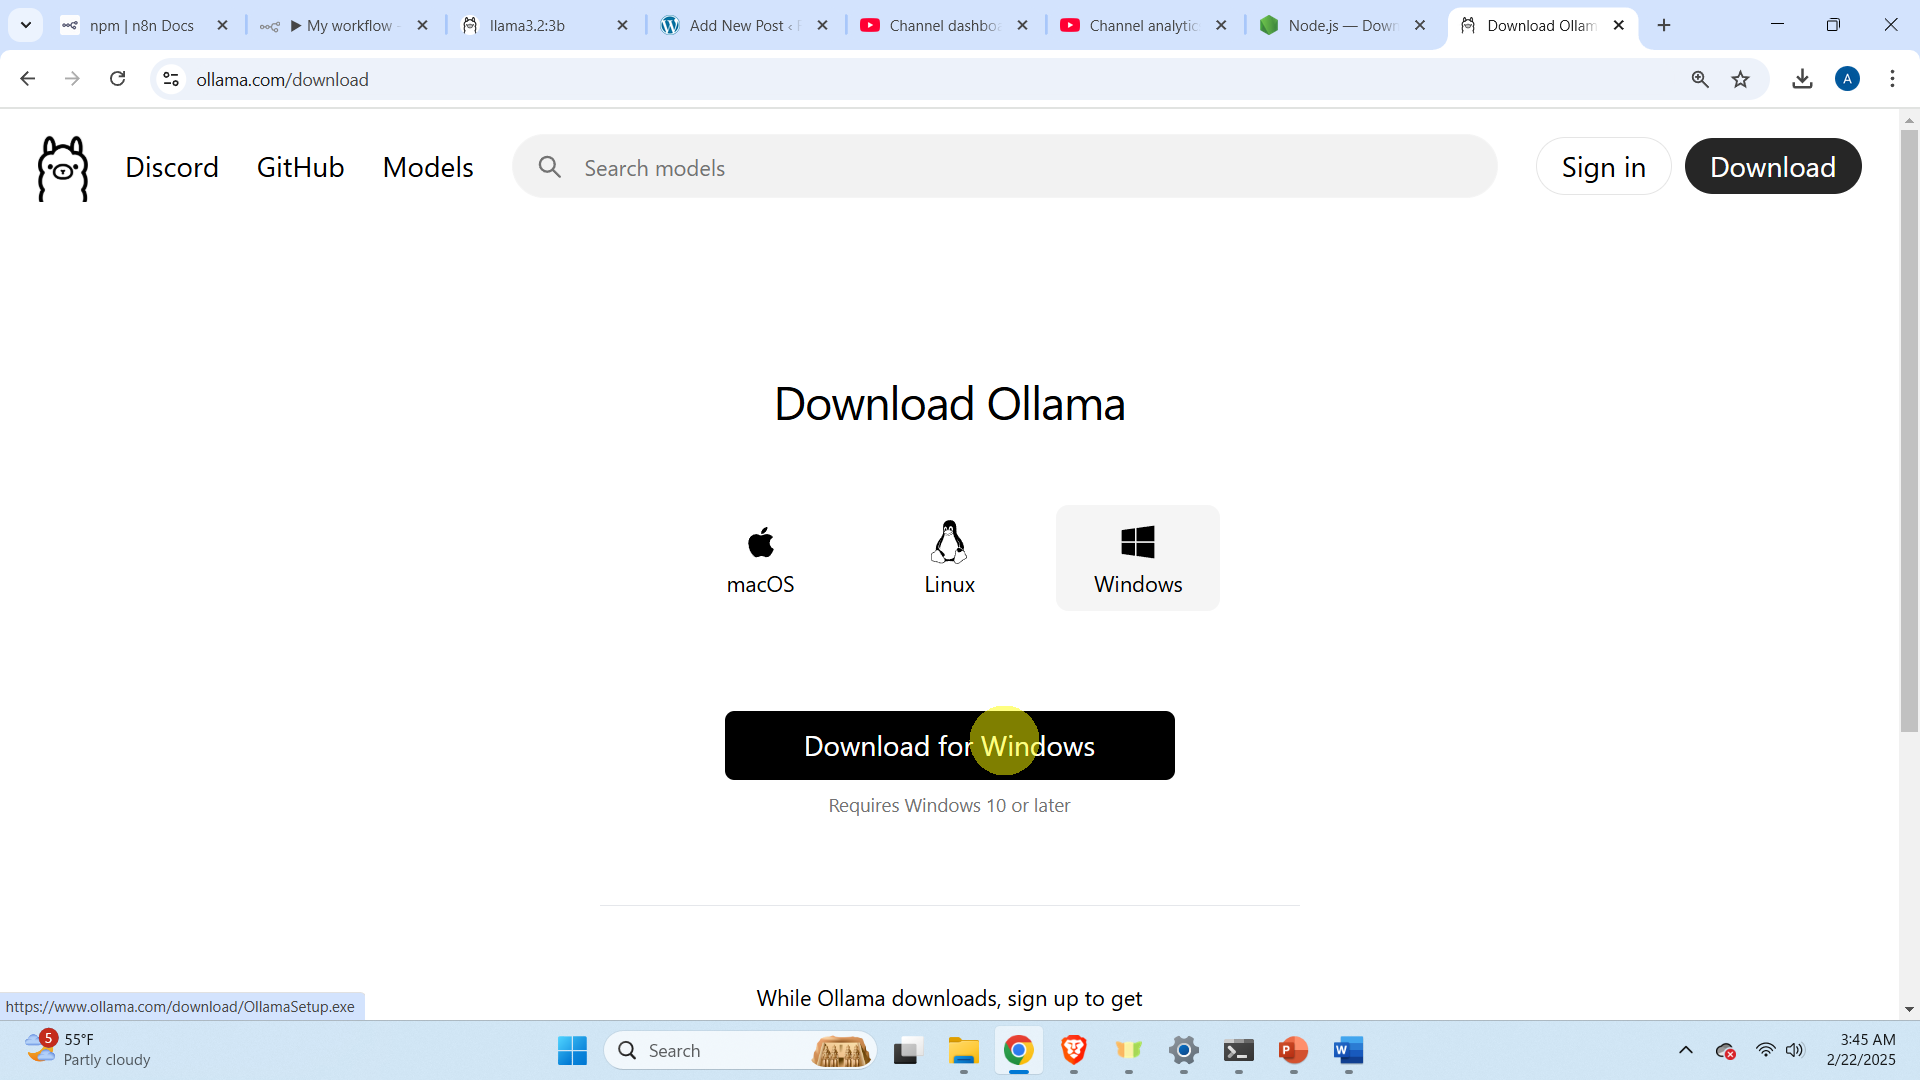
The download process will start. After the installation file is downloaded, click on it and install Ollama. After ollama is installed, open a terminal and download an LLM model. In this tutorial, we use a lightweight model called Llama3.2 3B. To download this model, open a Command Prompt terminal and type
ollama pull llama3.2:3bThis will download the model on your local computer. Next, you need to test the model, to do that, first list all the models by typing
ollama listand then, to run the model, type
ollama run llama3.2:3b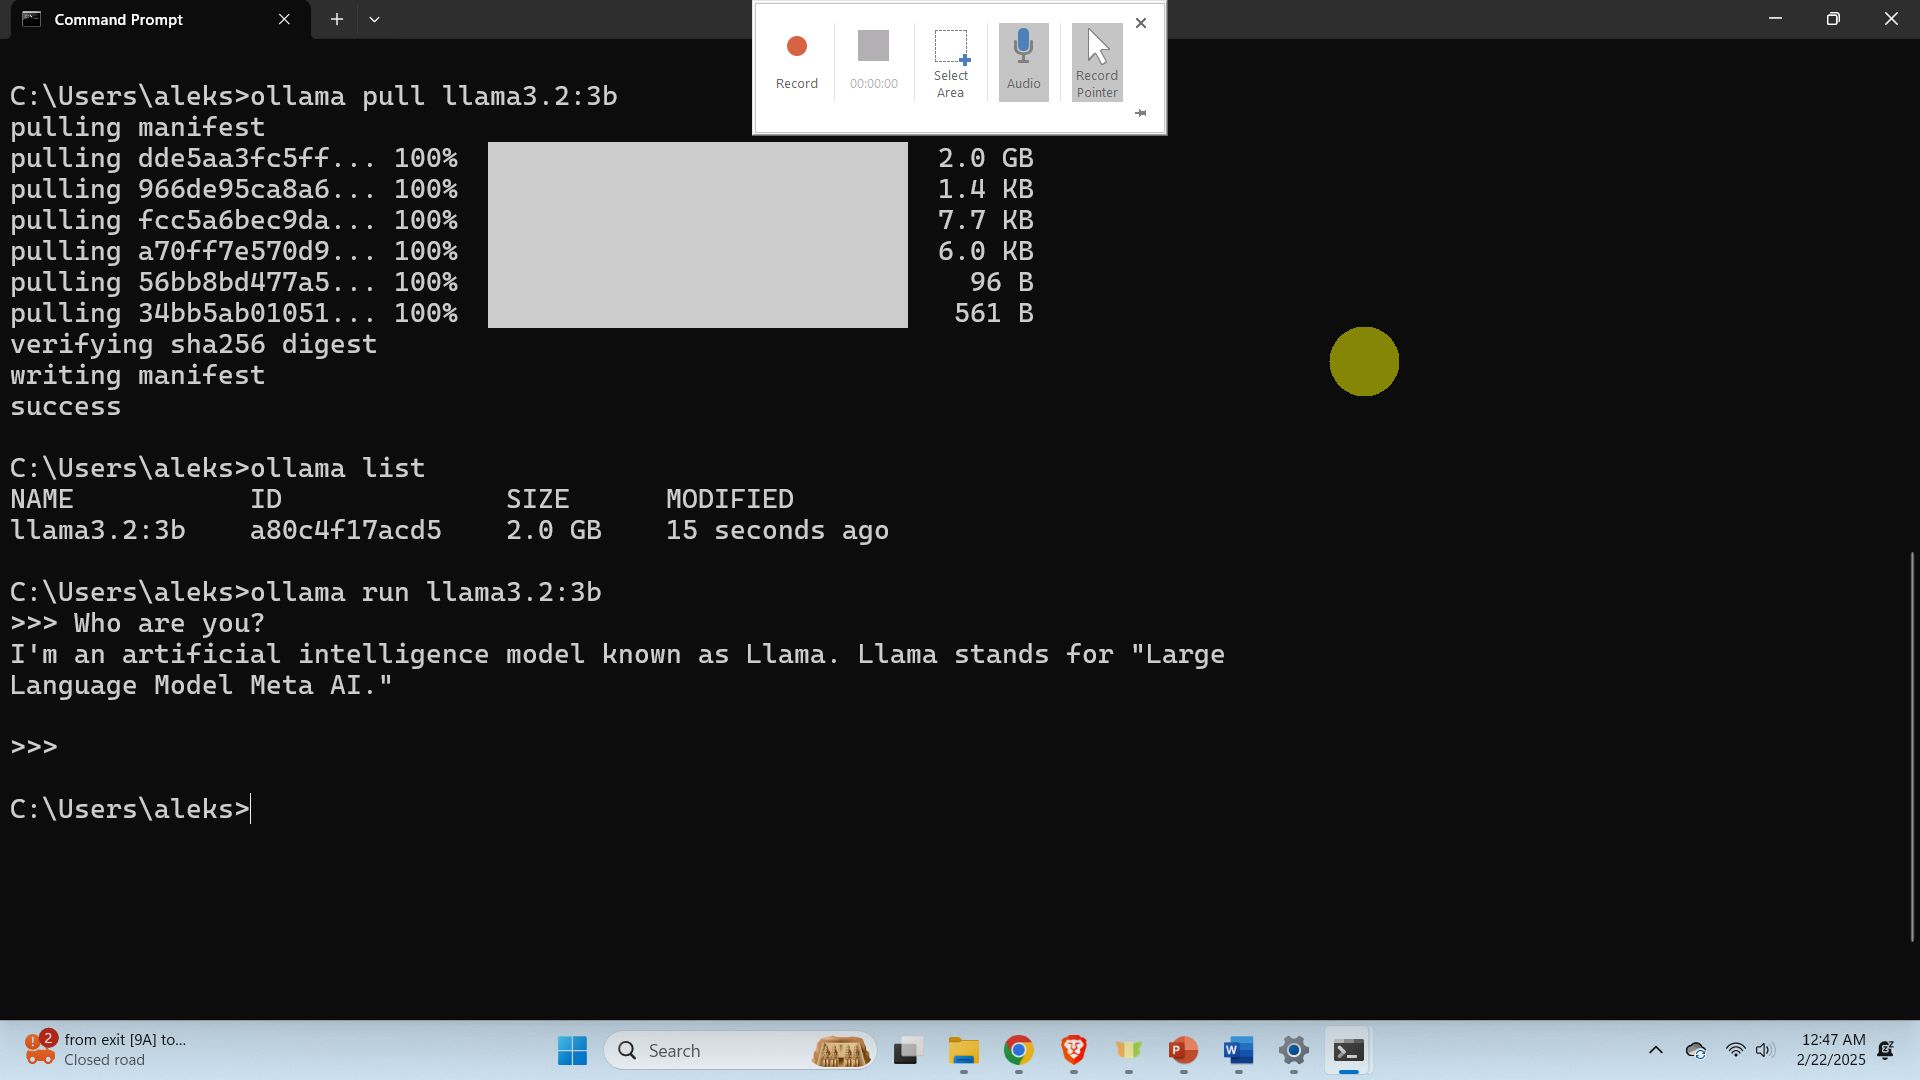
This will run the model. To exit the model, simply press CTRL+d.
How to Develop the AI Agent using Ollama and n8n
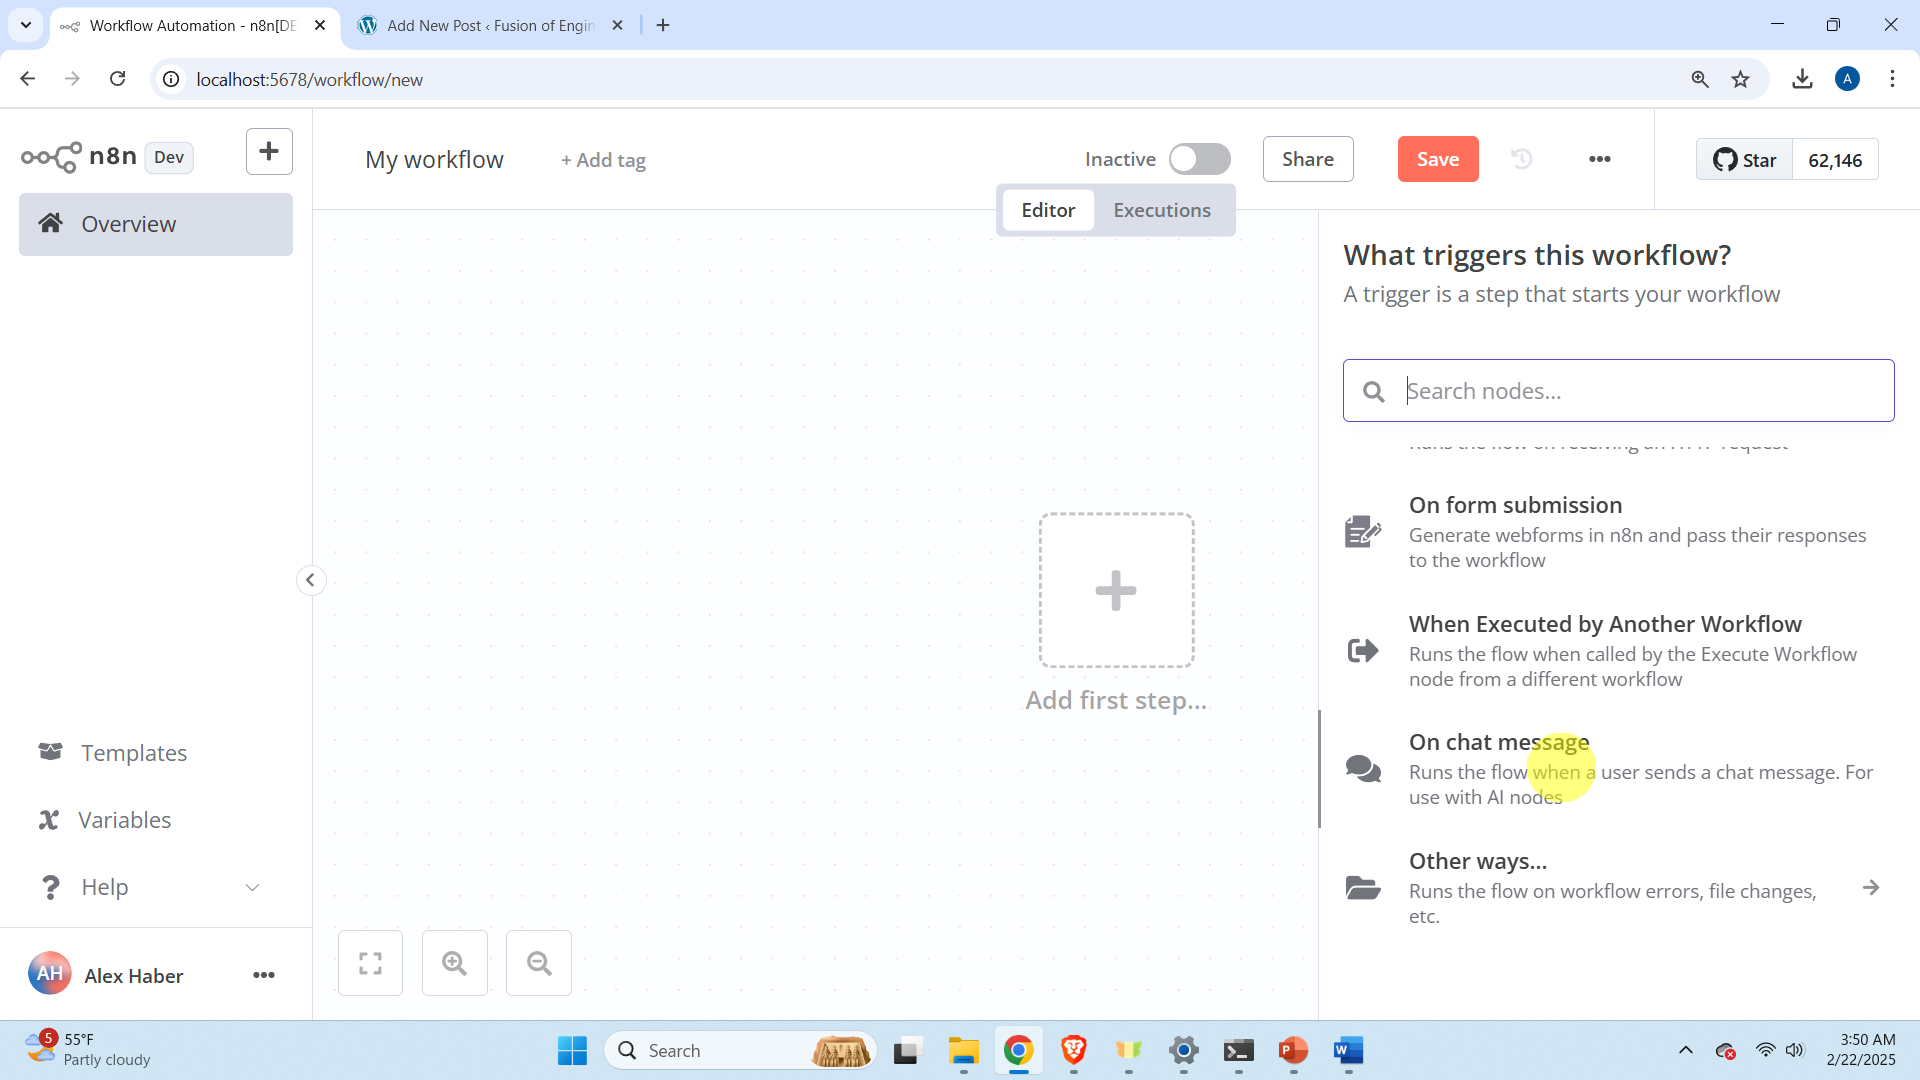
To develop the AI agent, go back to the n8n GUI in the web browser. Click on “Start from scratch”
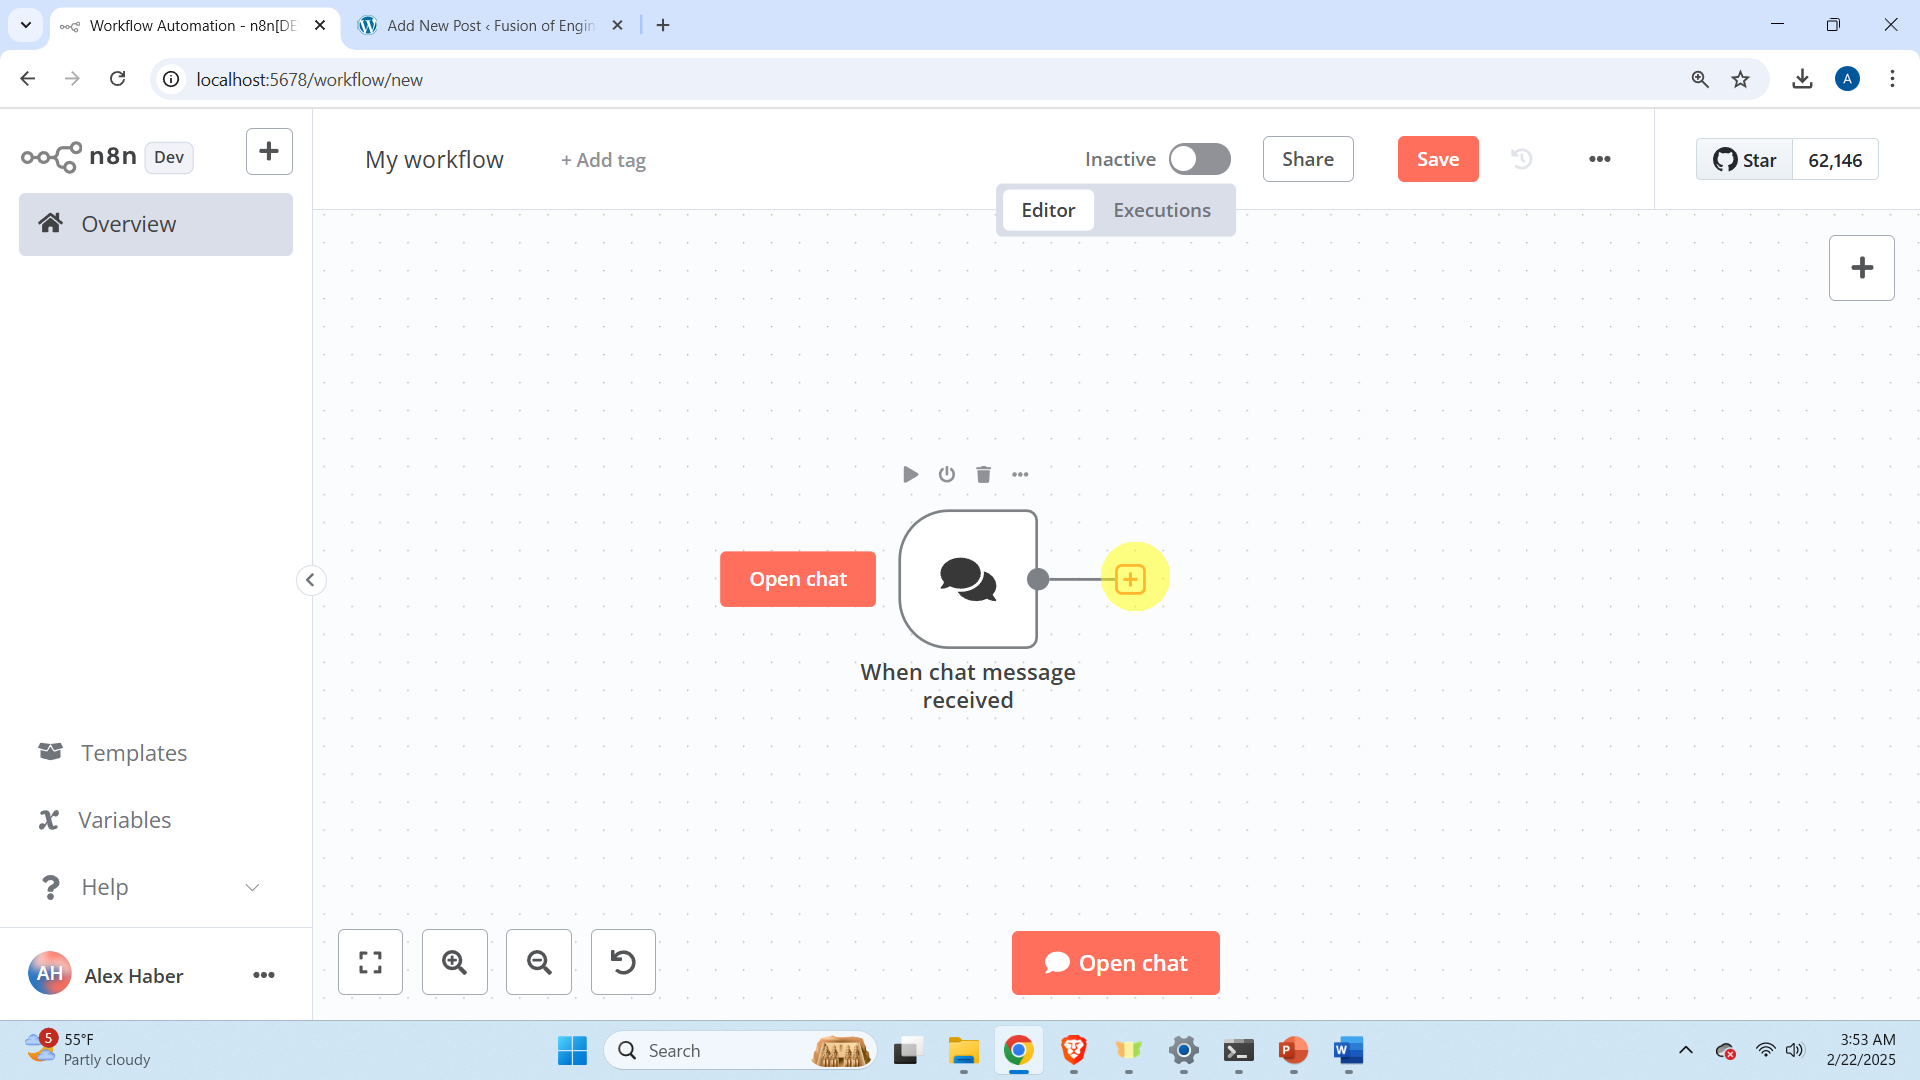
Then click on the plus button called “Add first step…”. Then, the right menu will appear and find “On chat message”.
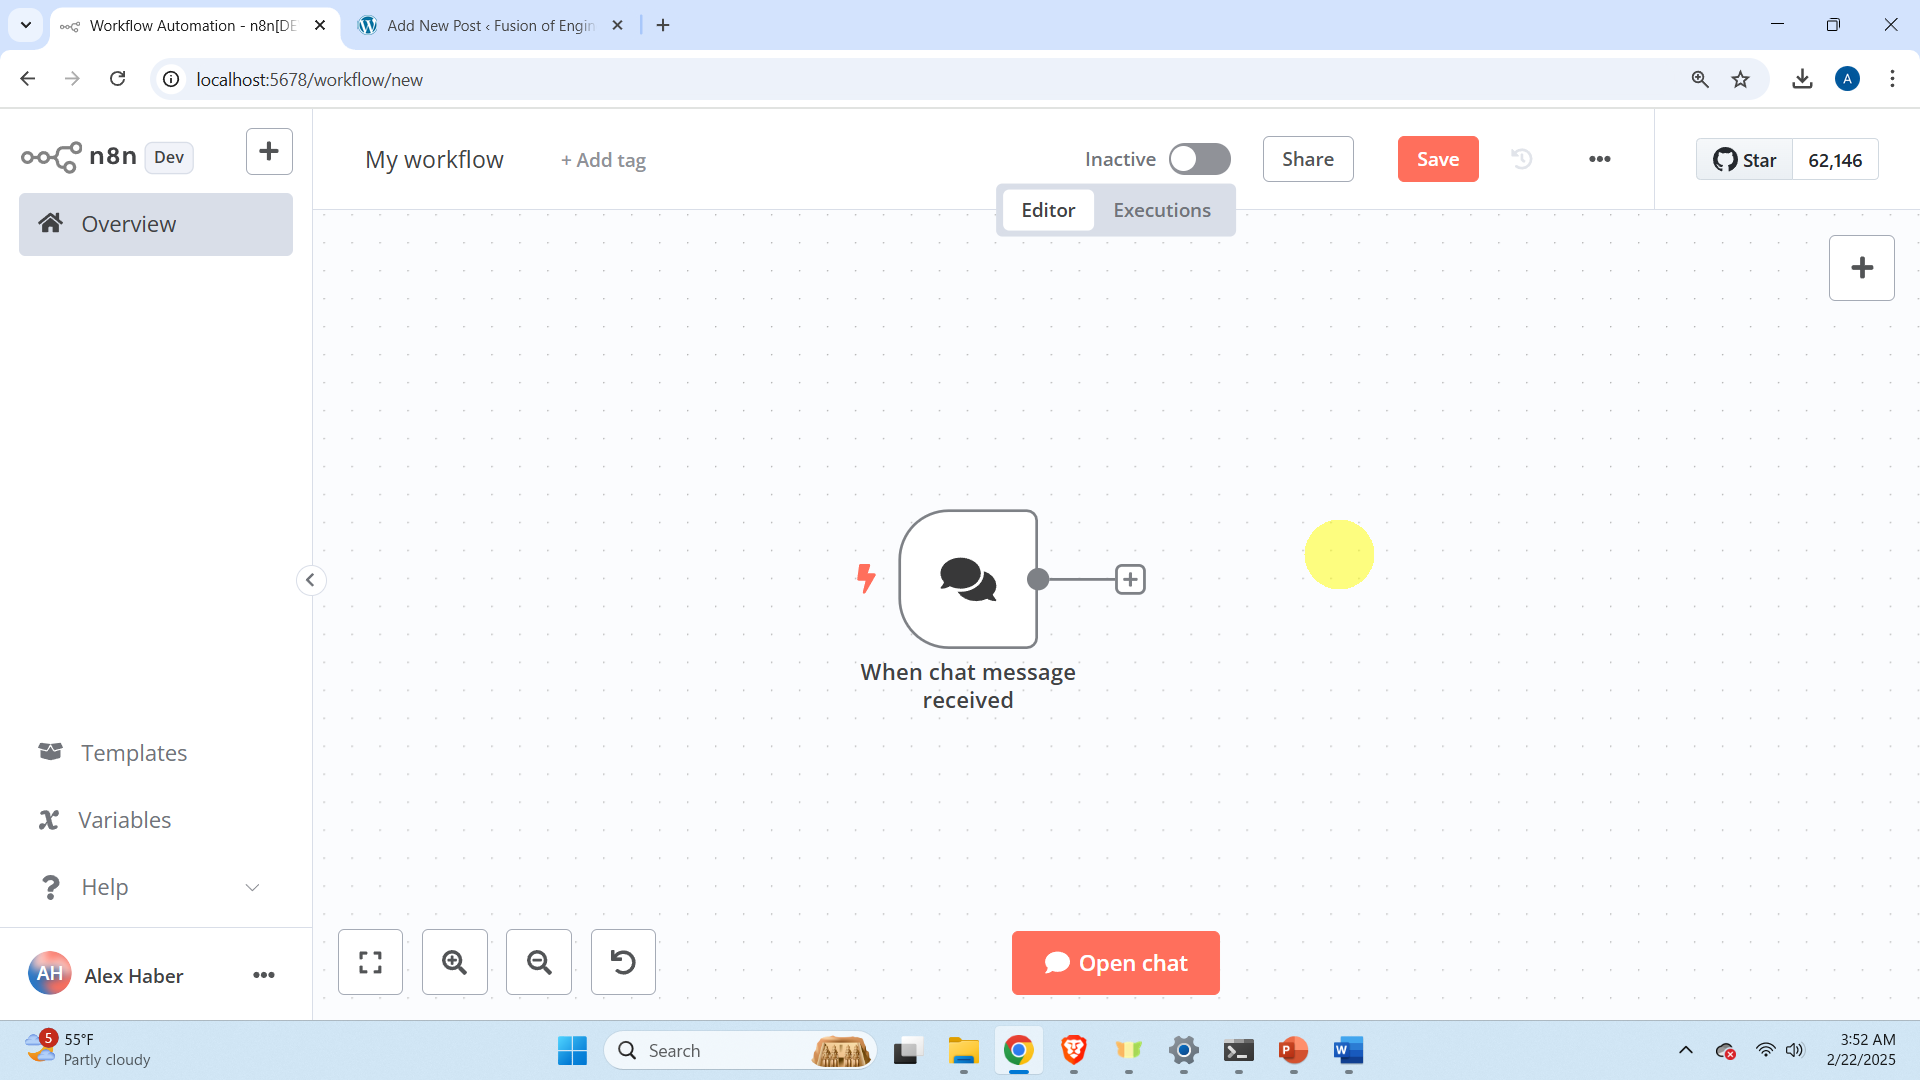
After that a window will pop up and simply click on “Back to canvas”
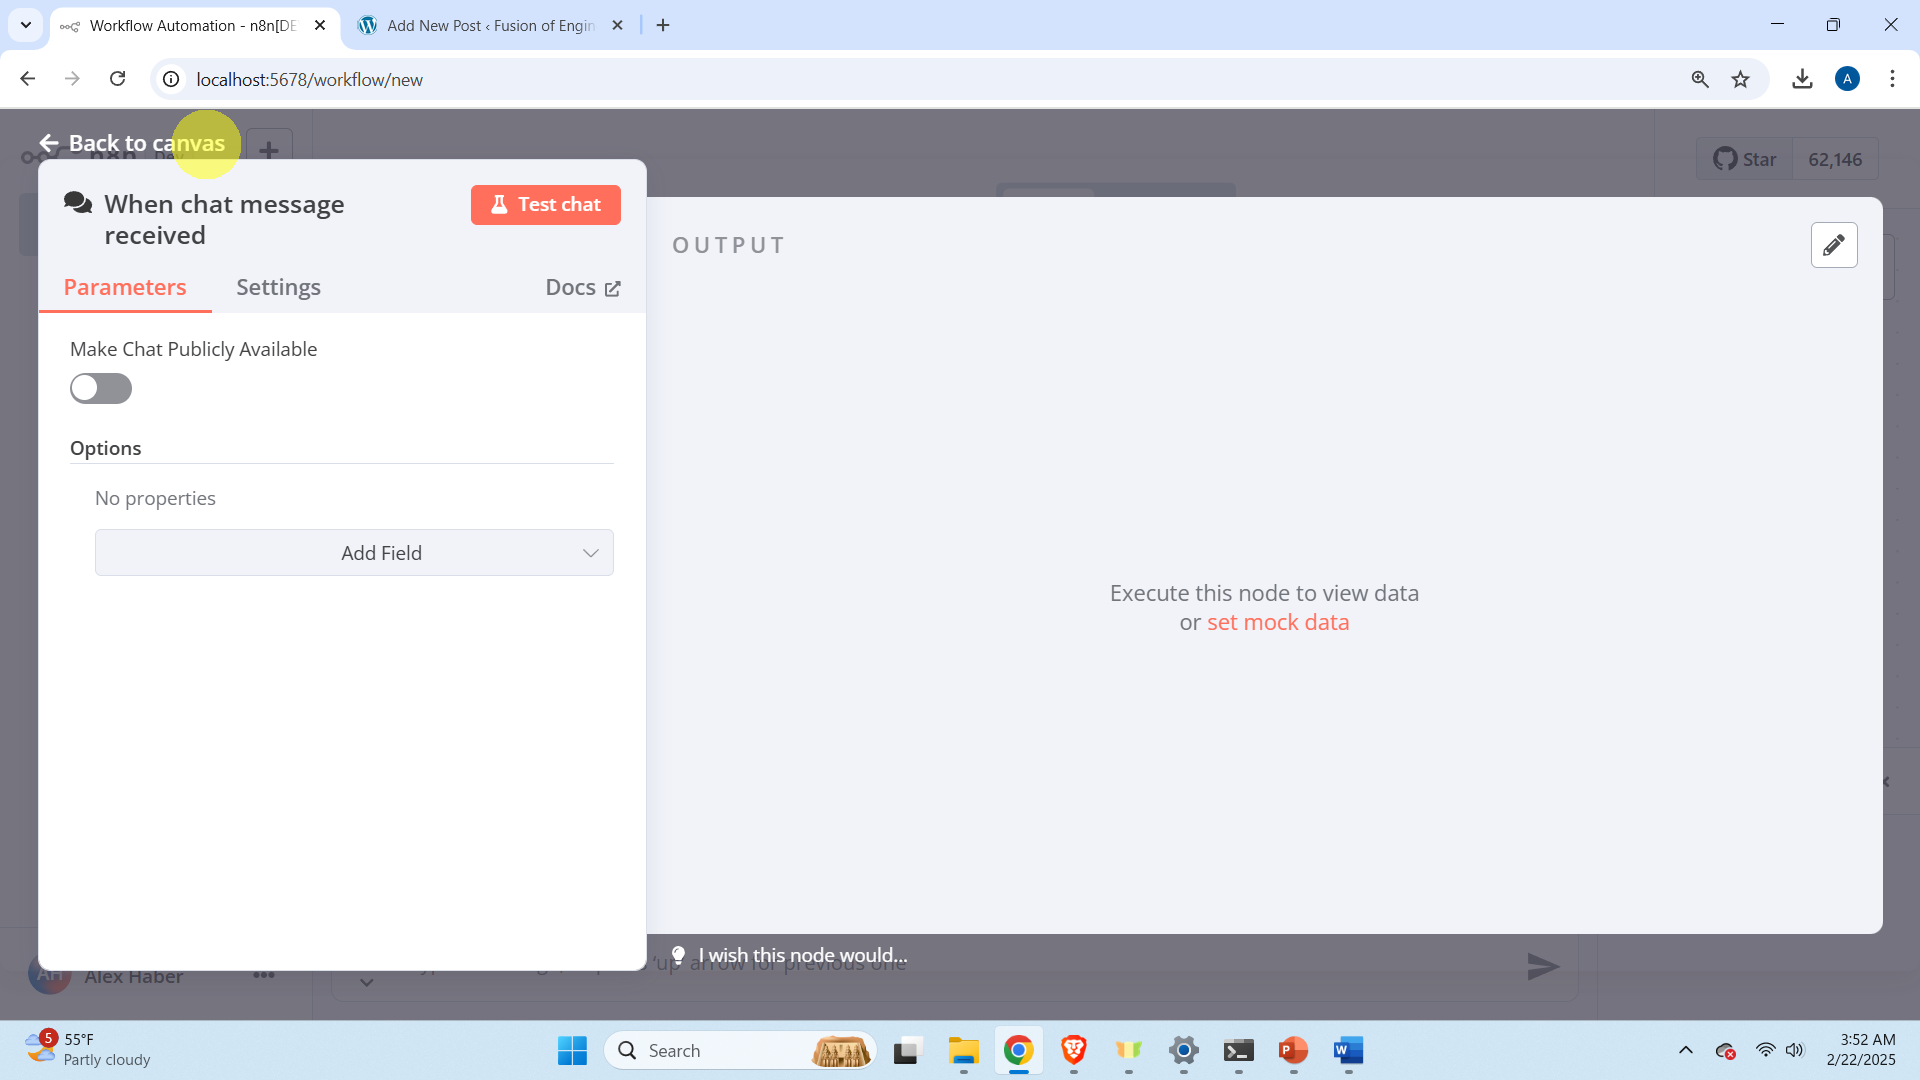
This will create a chat block called “When chat message received”. This block is used to accept the user defined chat input.
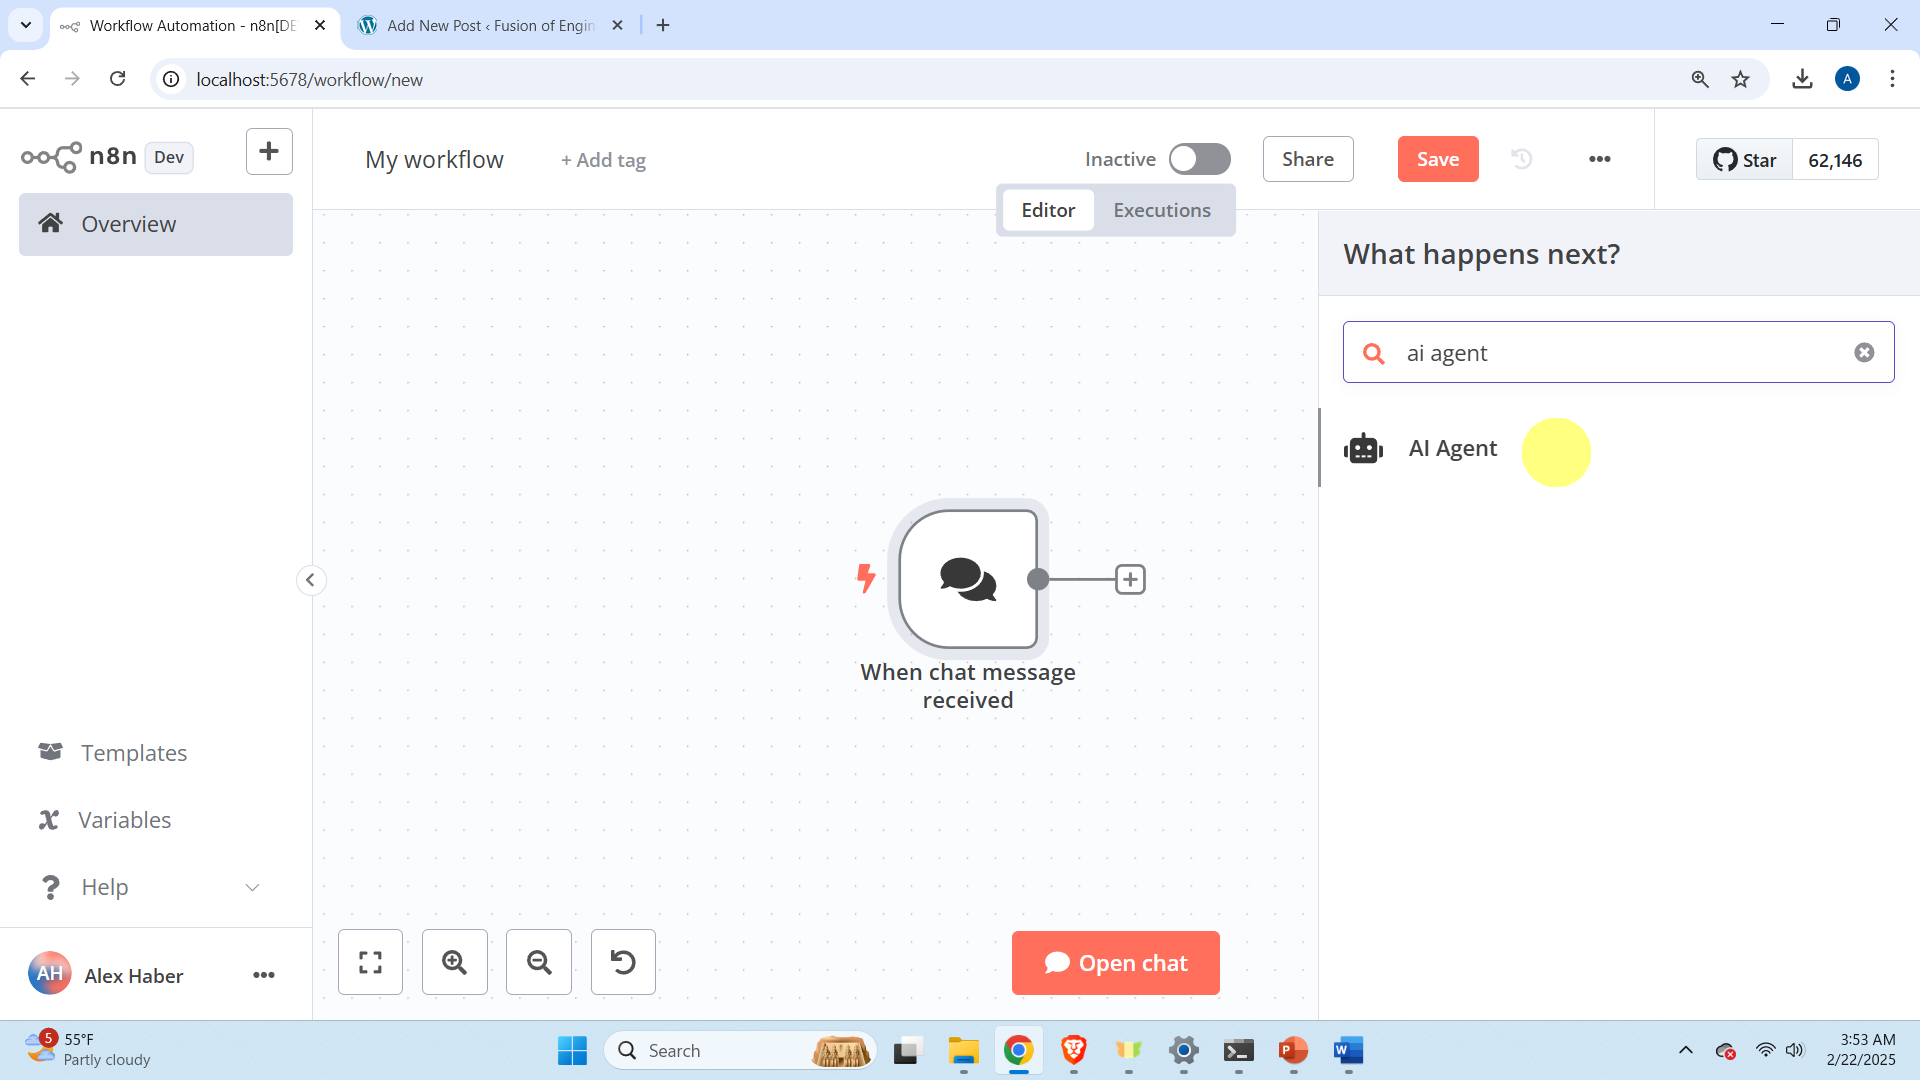
Next, let us add an AI agent. To do that, click on the plus sign.
then search for “AI Agent” and click on the selection
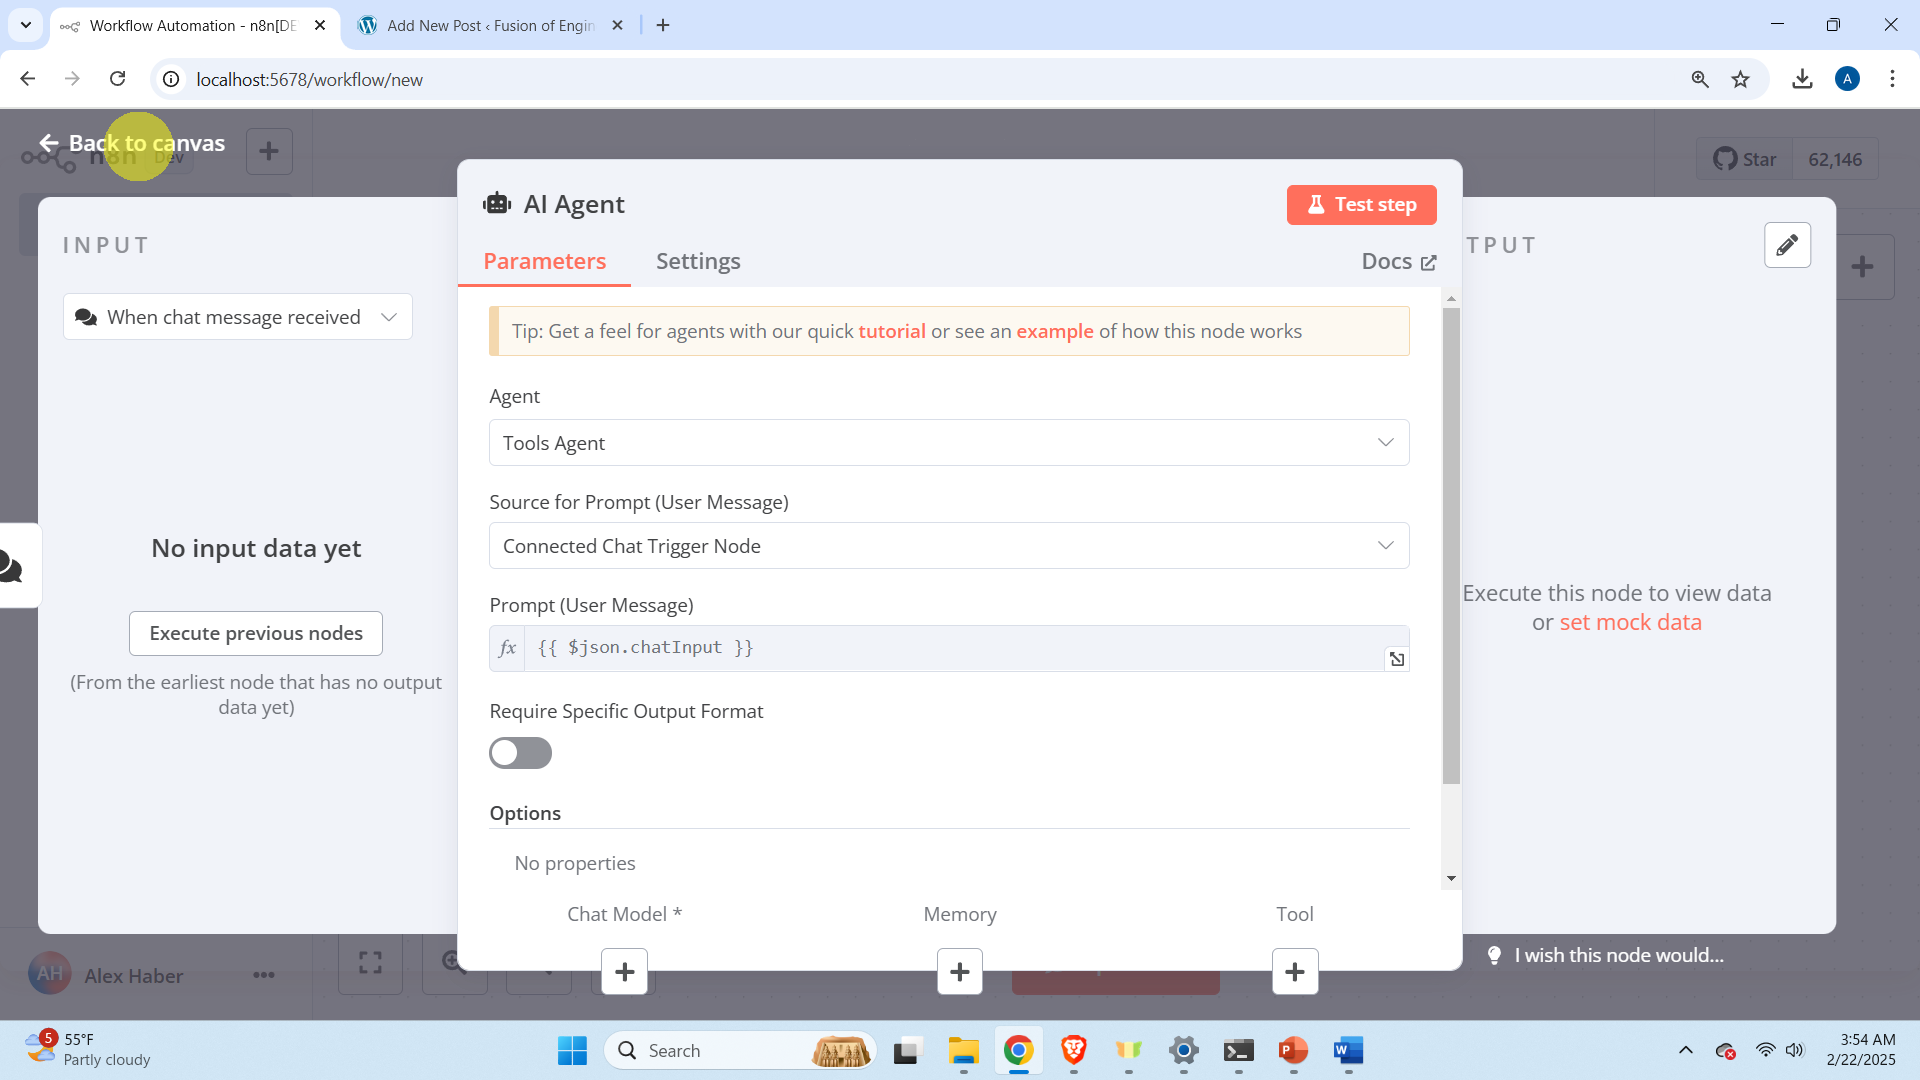
and then click on “Back to canvas”
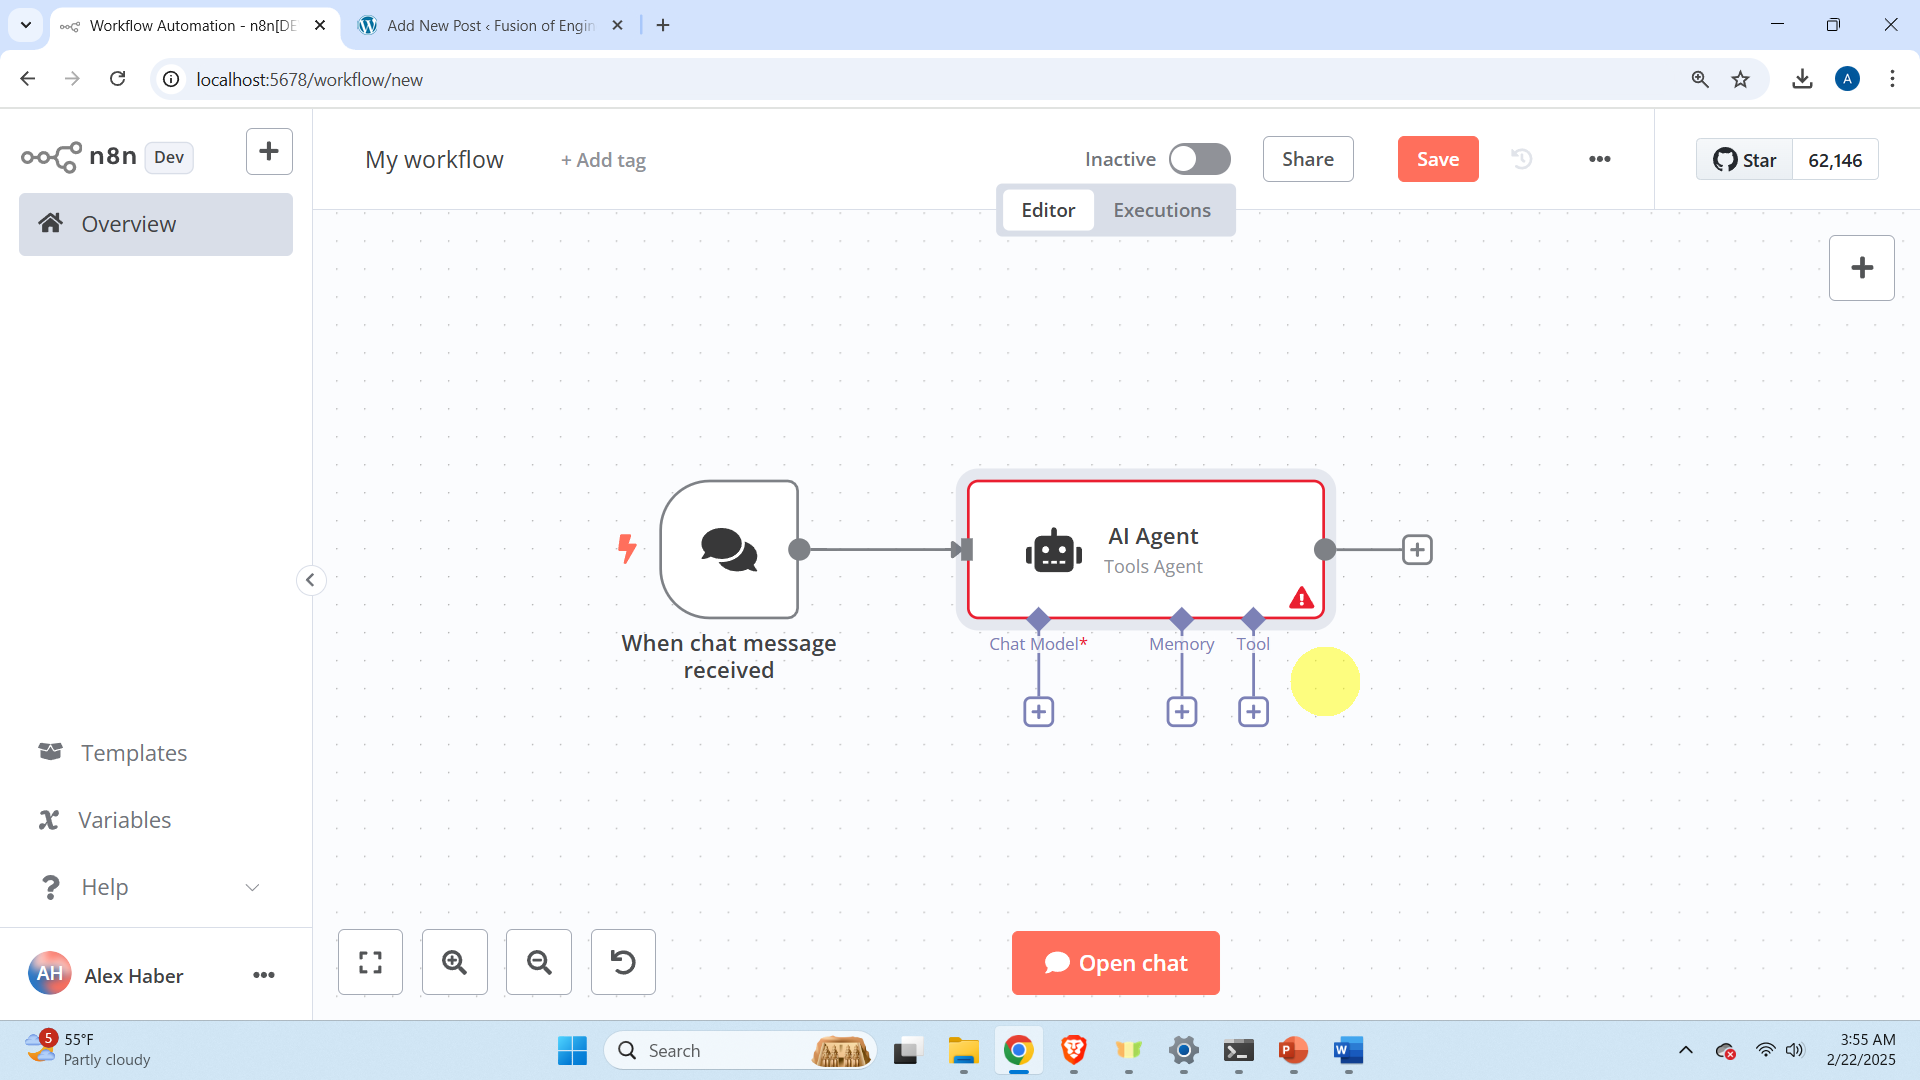
adn you will see the following diagram
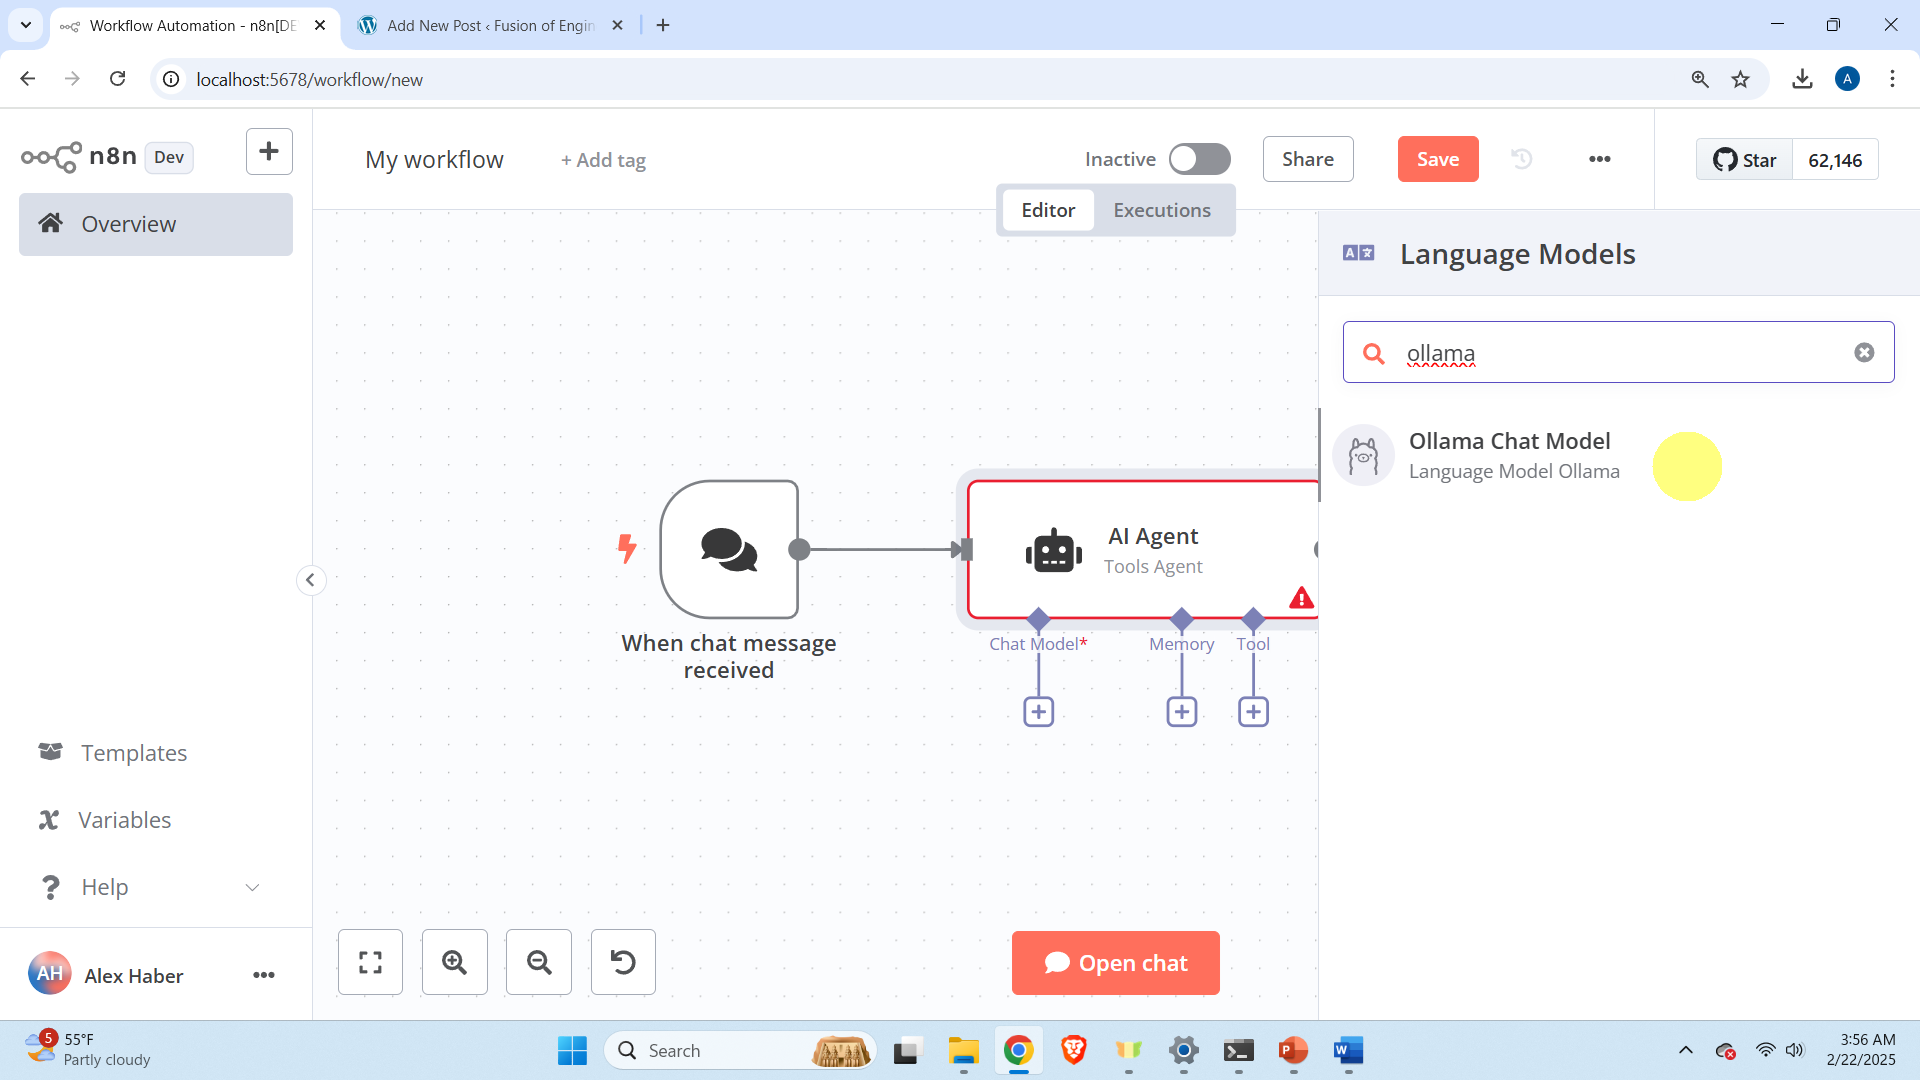
Next, we need to adjust the chat model. Click on the “Chat Model” port of “AI Agent” and search for “Ollama Chat Model”. Then, click on “Ollama Chat Model”.
Then, once the Ollama chat model is opened, click on Select Credential.
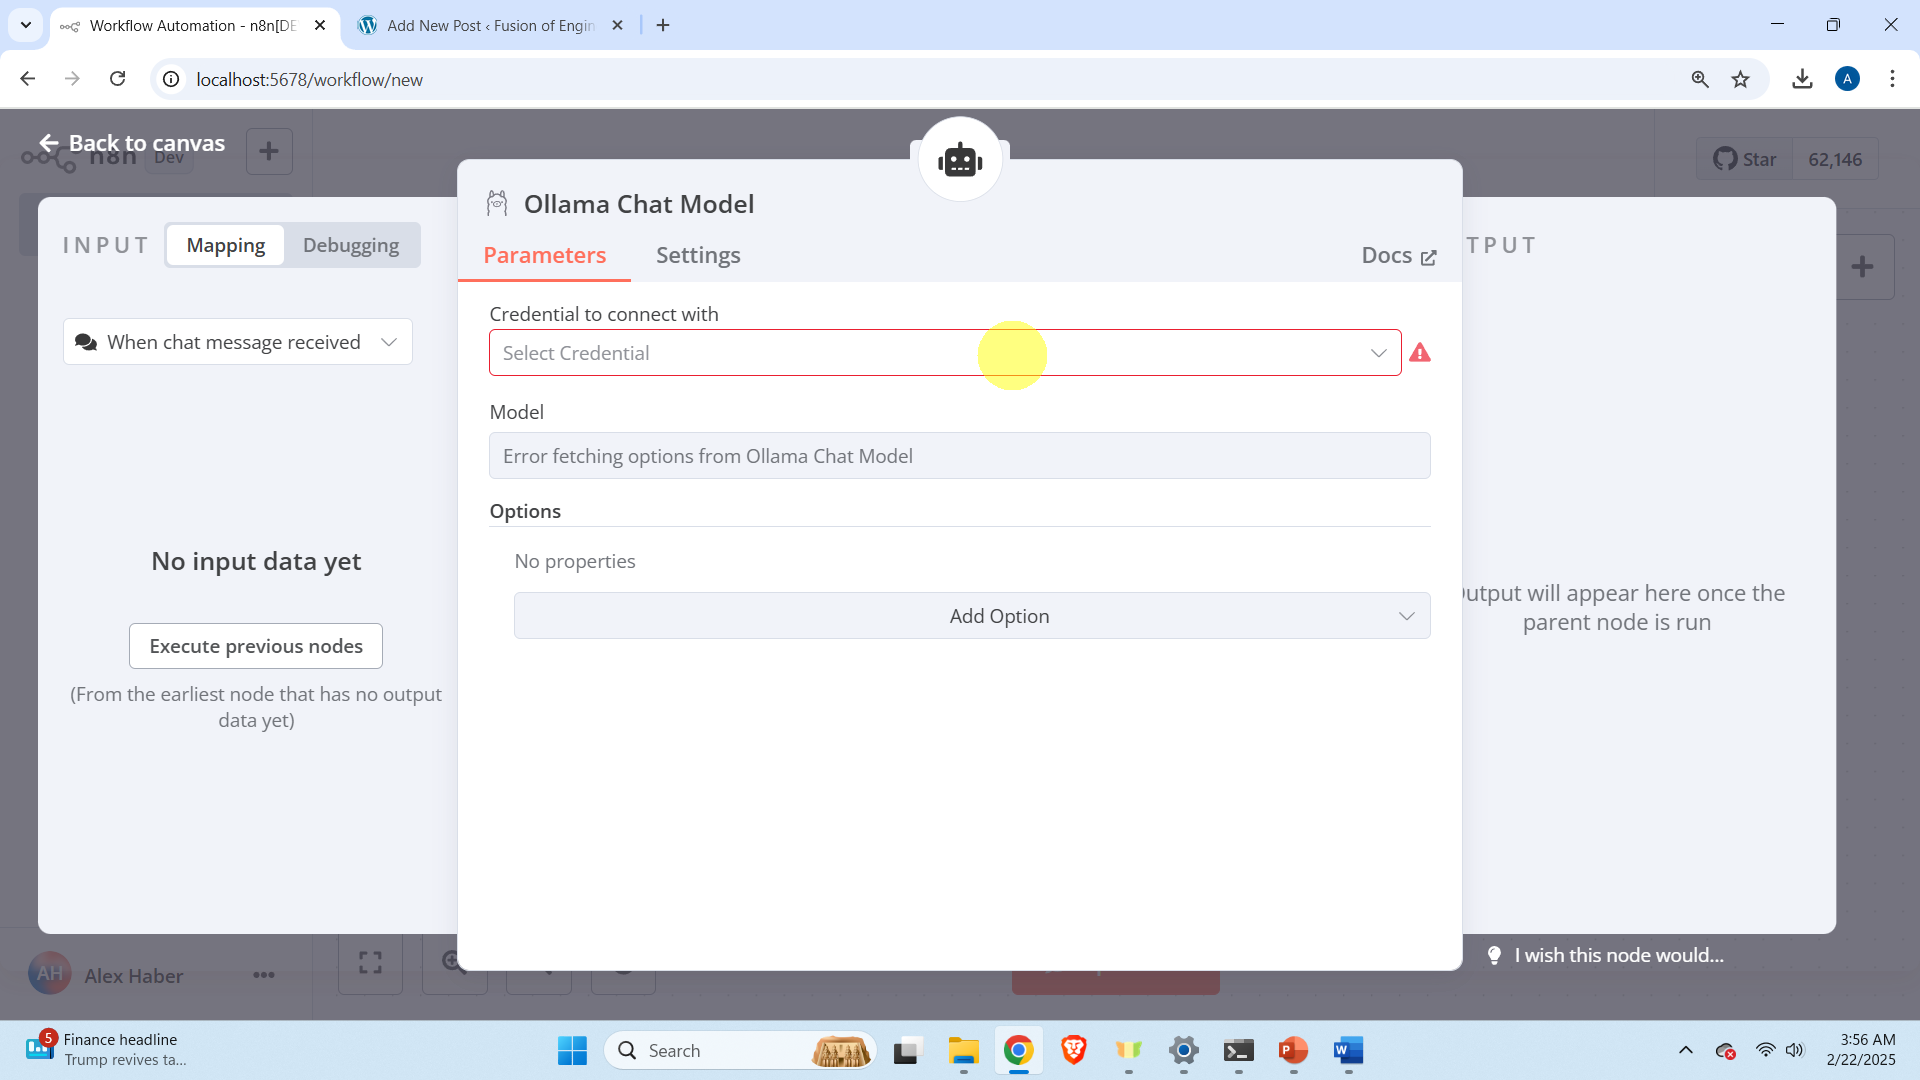
then click on “Create Credential”. Then erase the suggested local host “http://localhost:11434/“, and enter the correct local host “http://127.0.0.1:11434/“
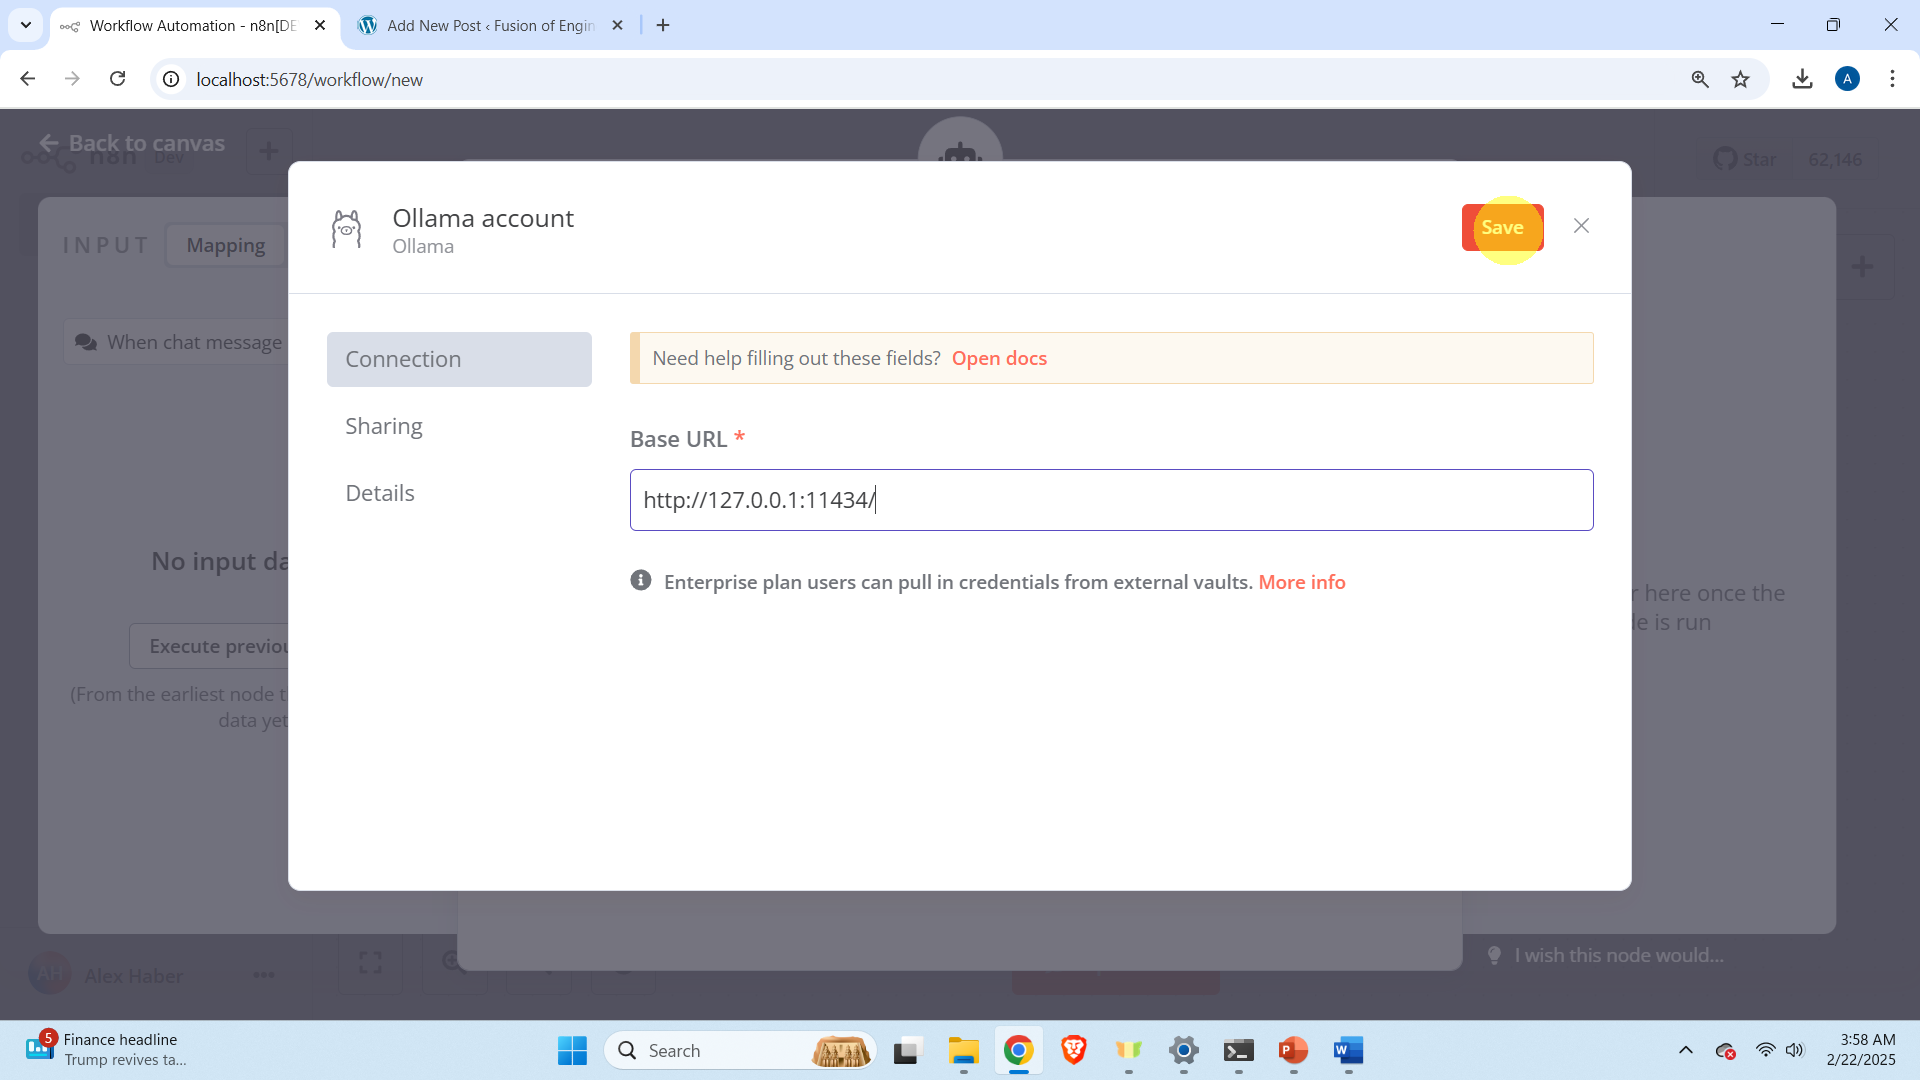
and then click on save. Then close the window, and in the Model section, make sure that you select the llama3.2:3b model. Then close the window by clicking on Back to canvas.

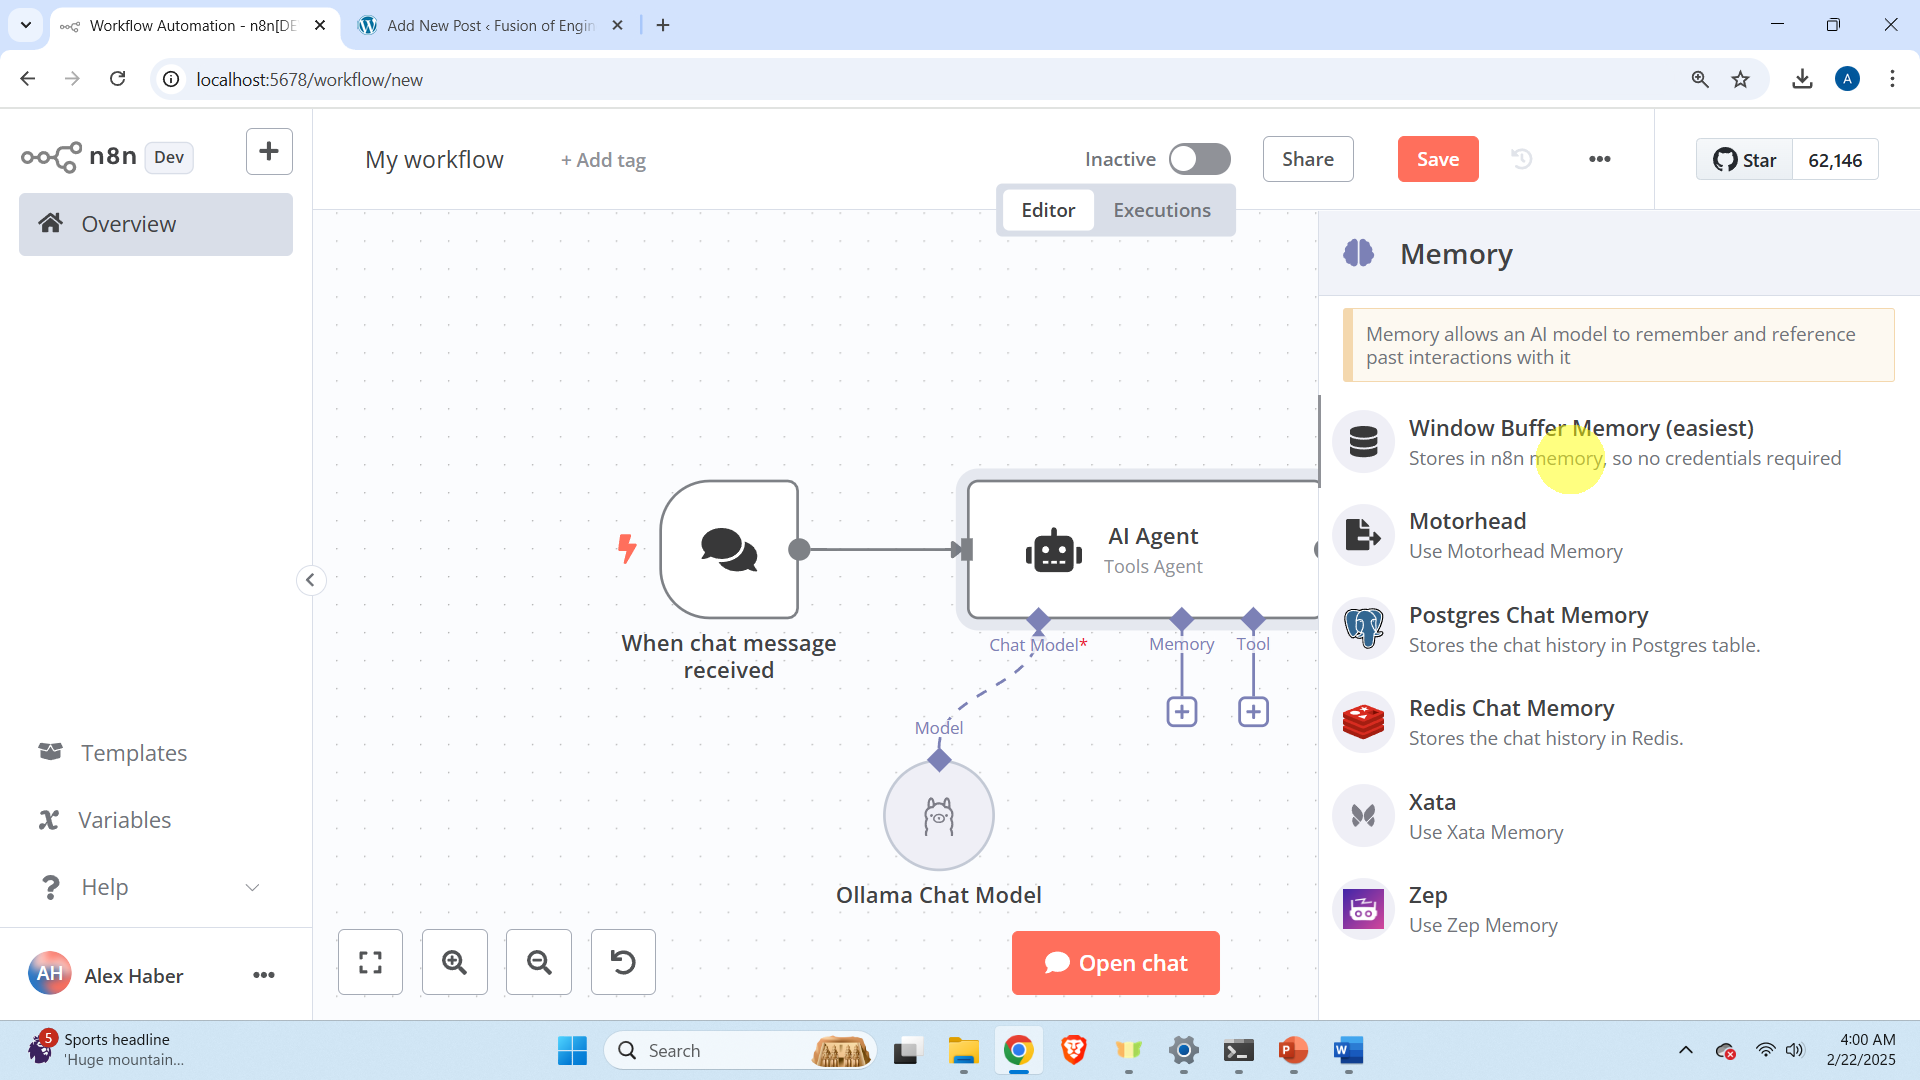
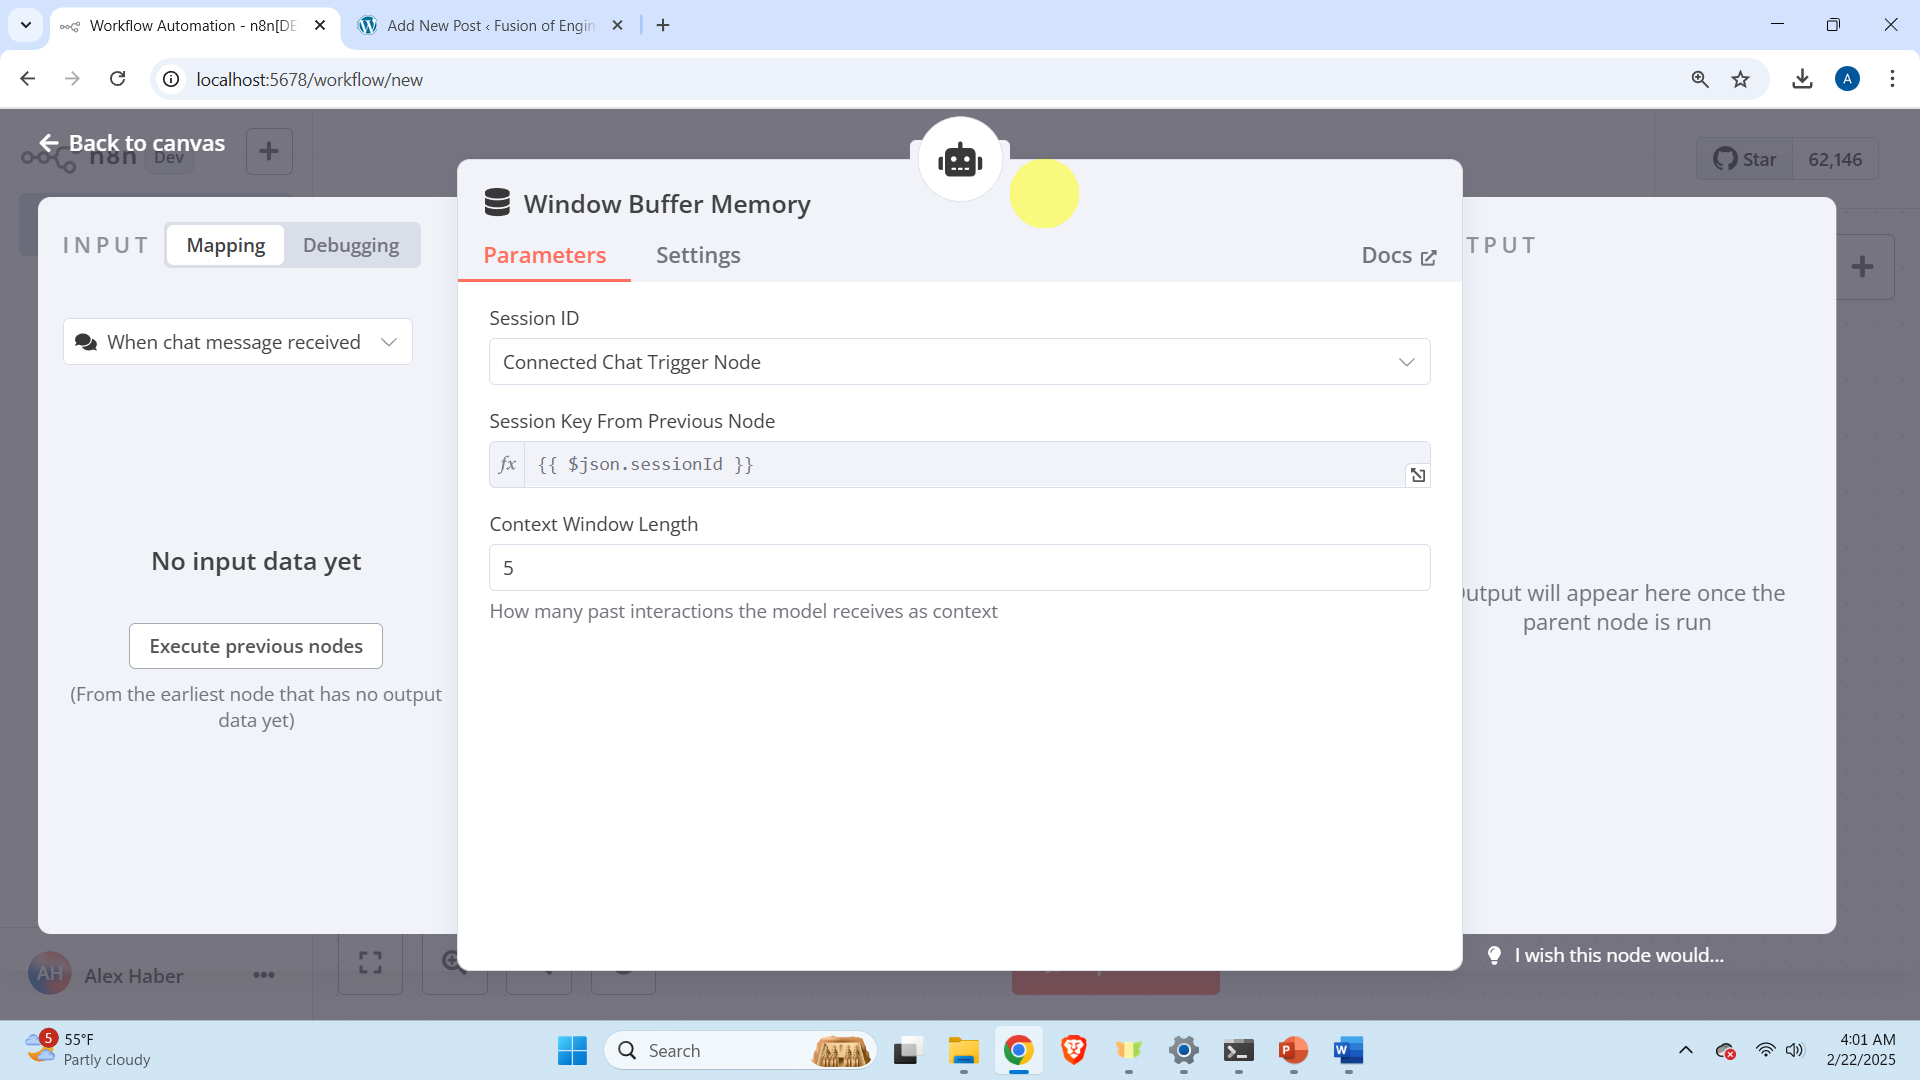
Then click on the “Memory” port of the “AI Agent”, and then in the menu click on “Window Buffer Memory (easiest)”. This will add the memorize capability to the agent.
after that click on “Back to canvas” to keep the default options.
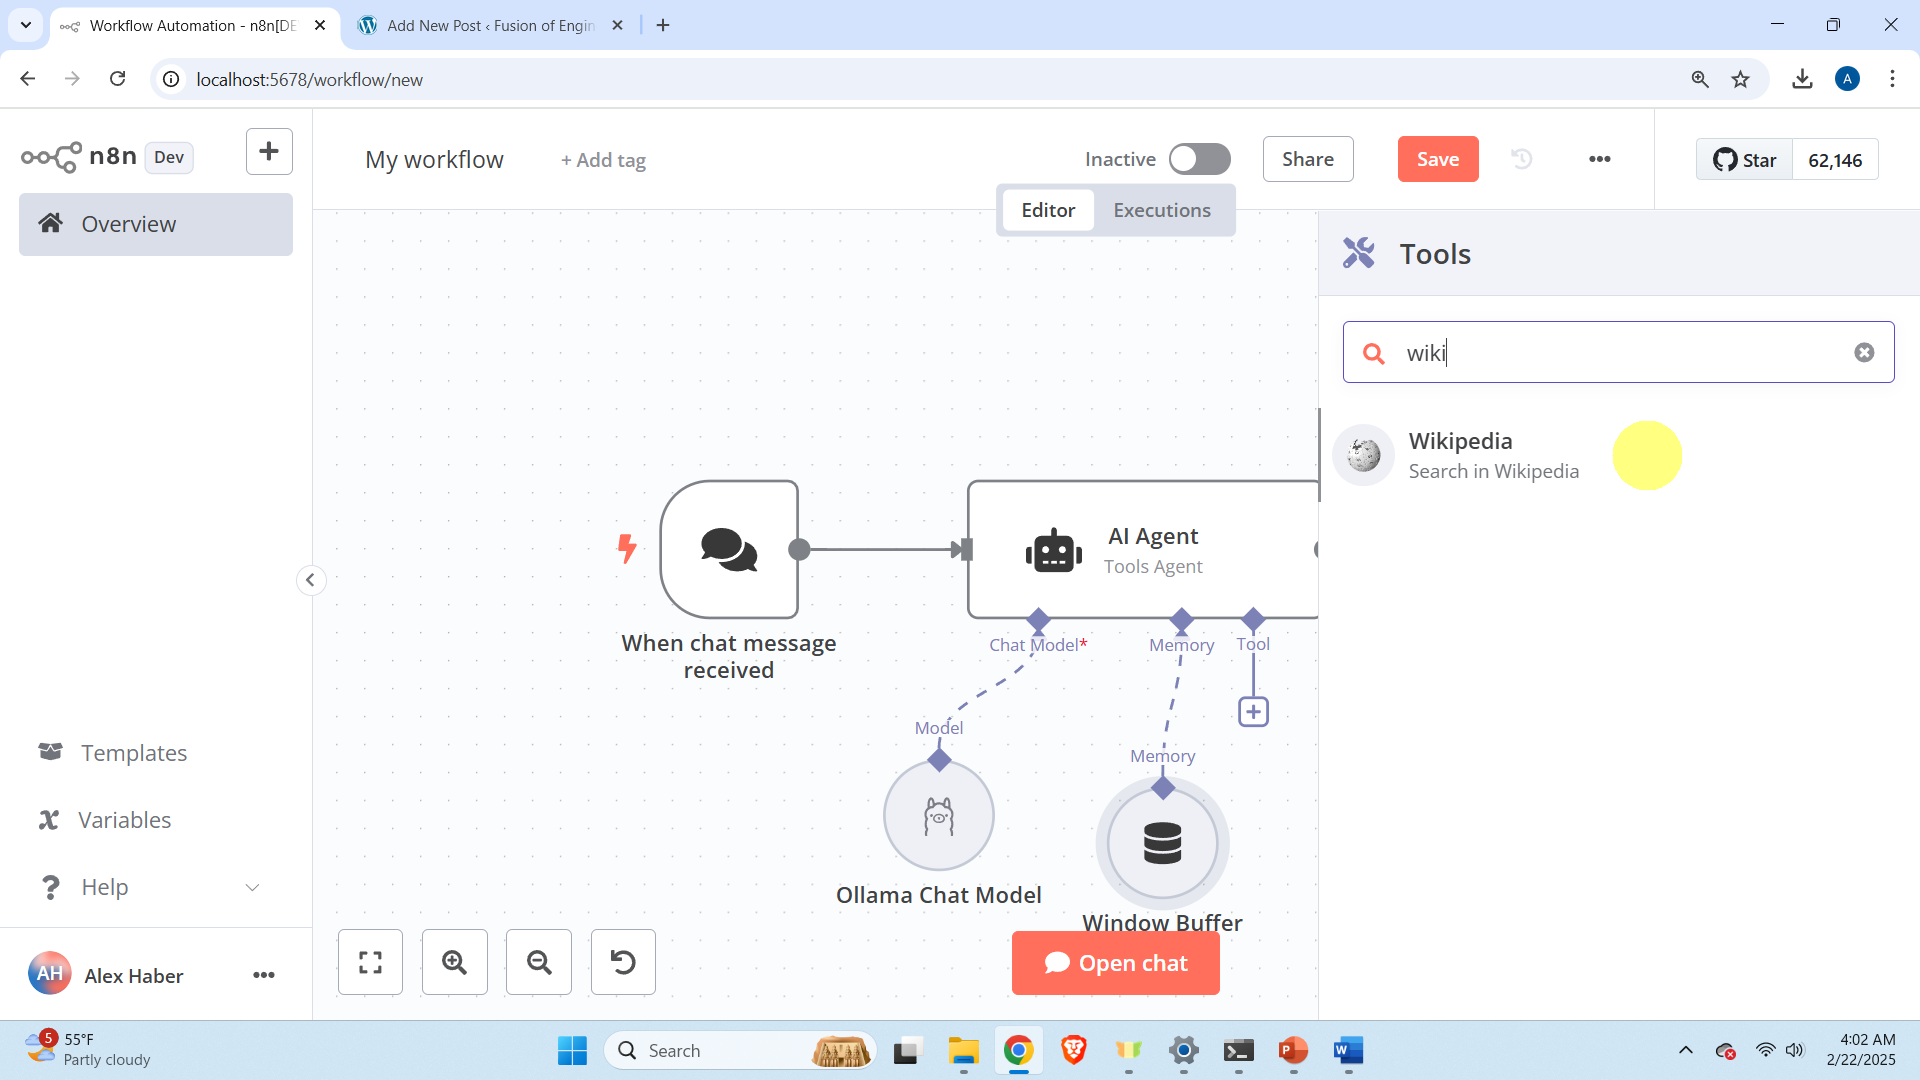
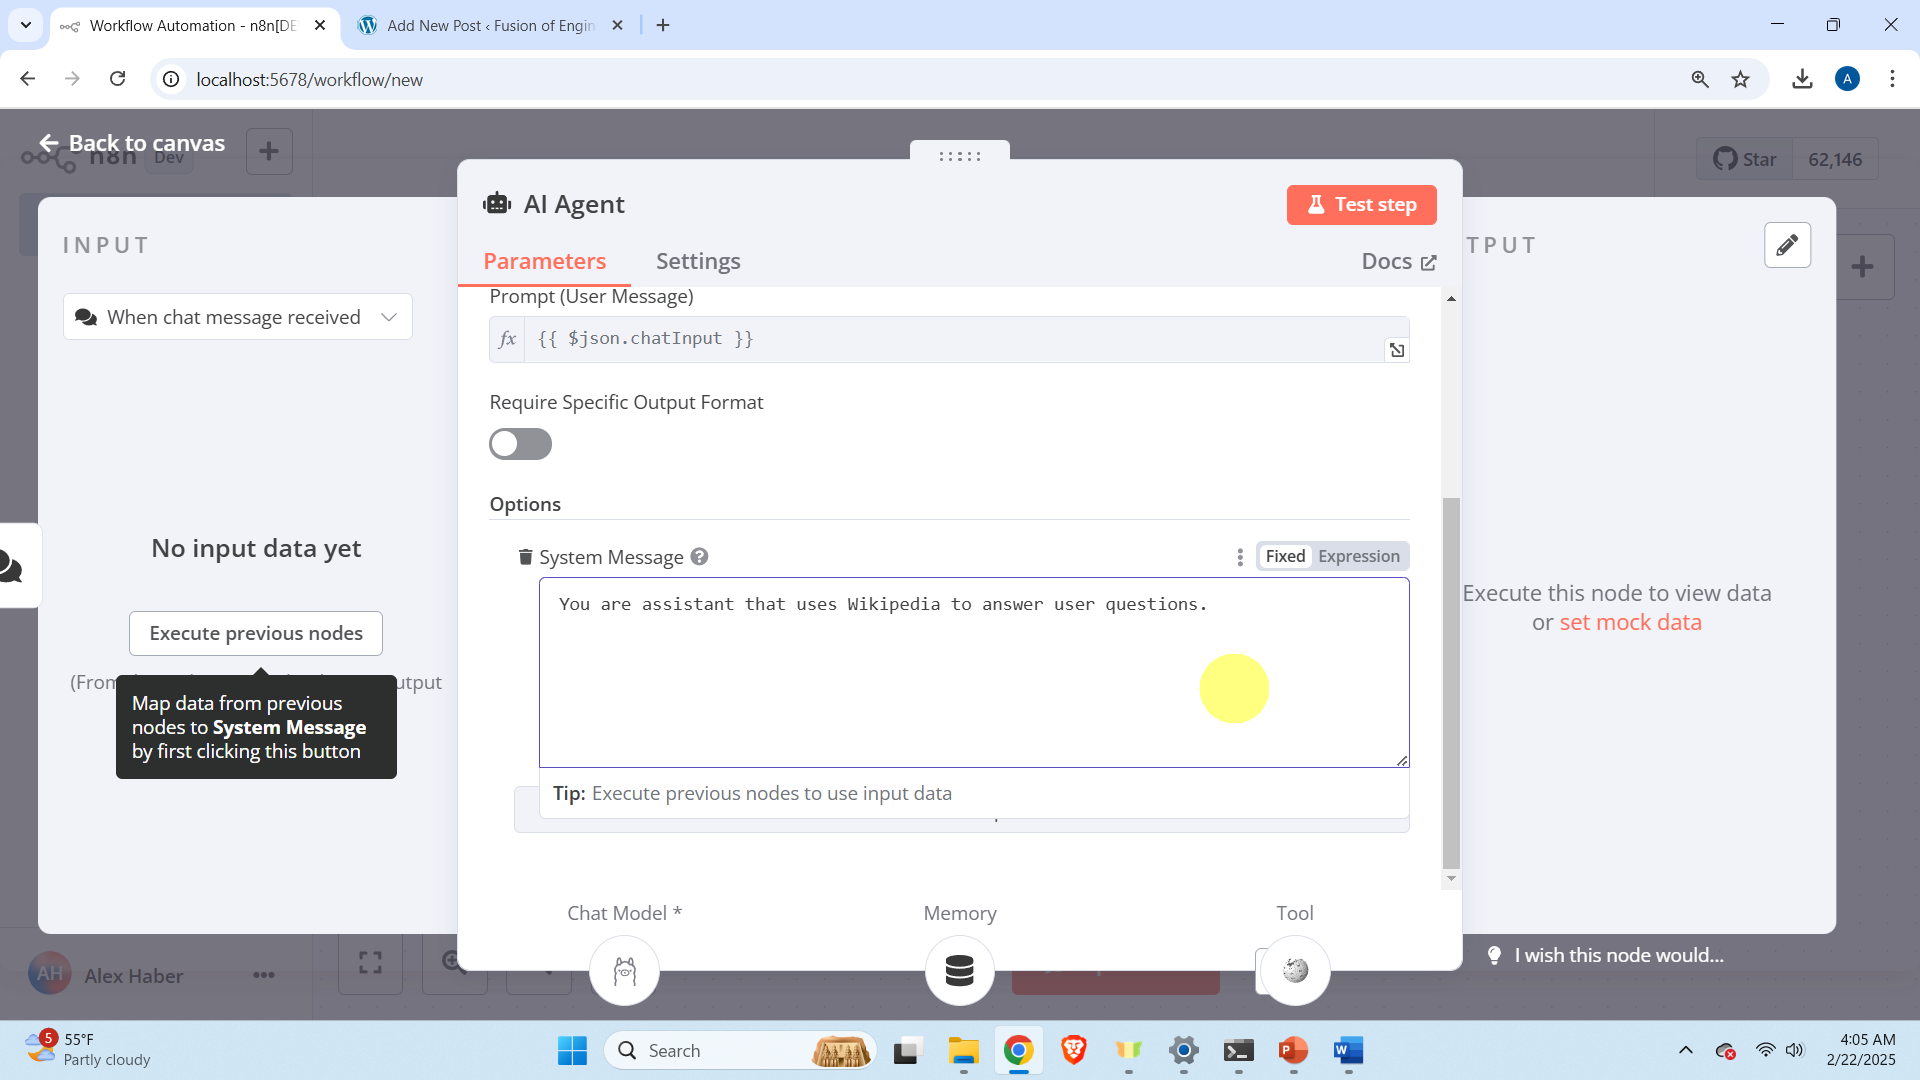
Then, click on “Tool” port the AI agent, and search for Wikipedia, and click on Wikipedia. Then close the Wikipedia tool window (keep the default settings).
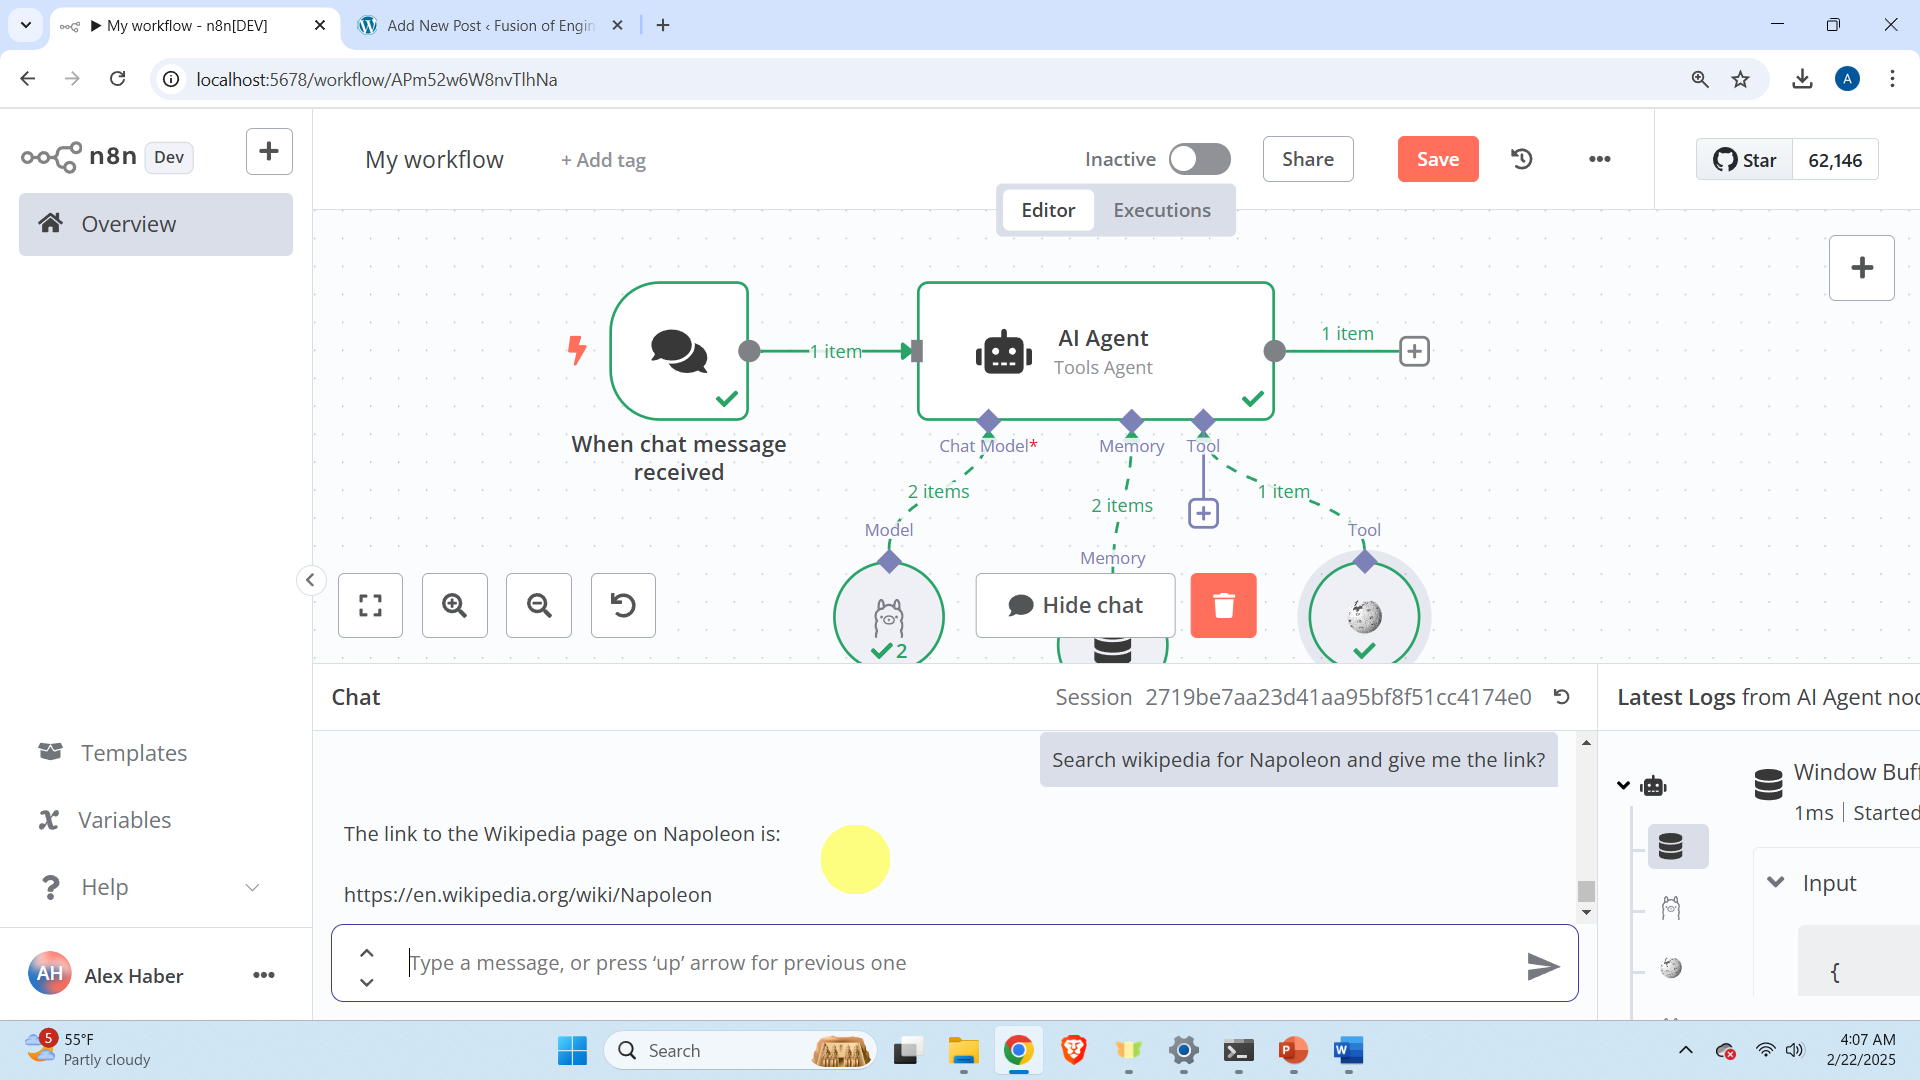
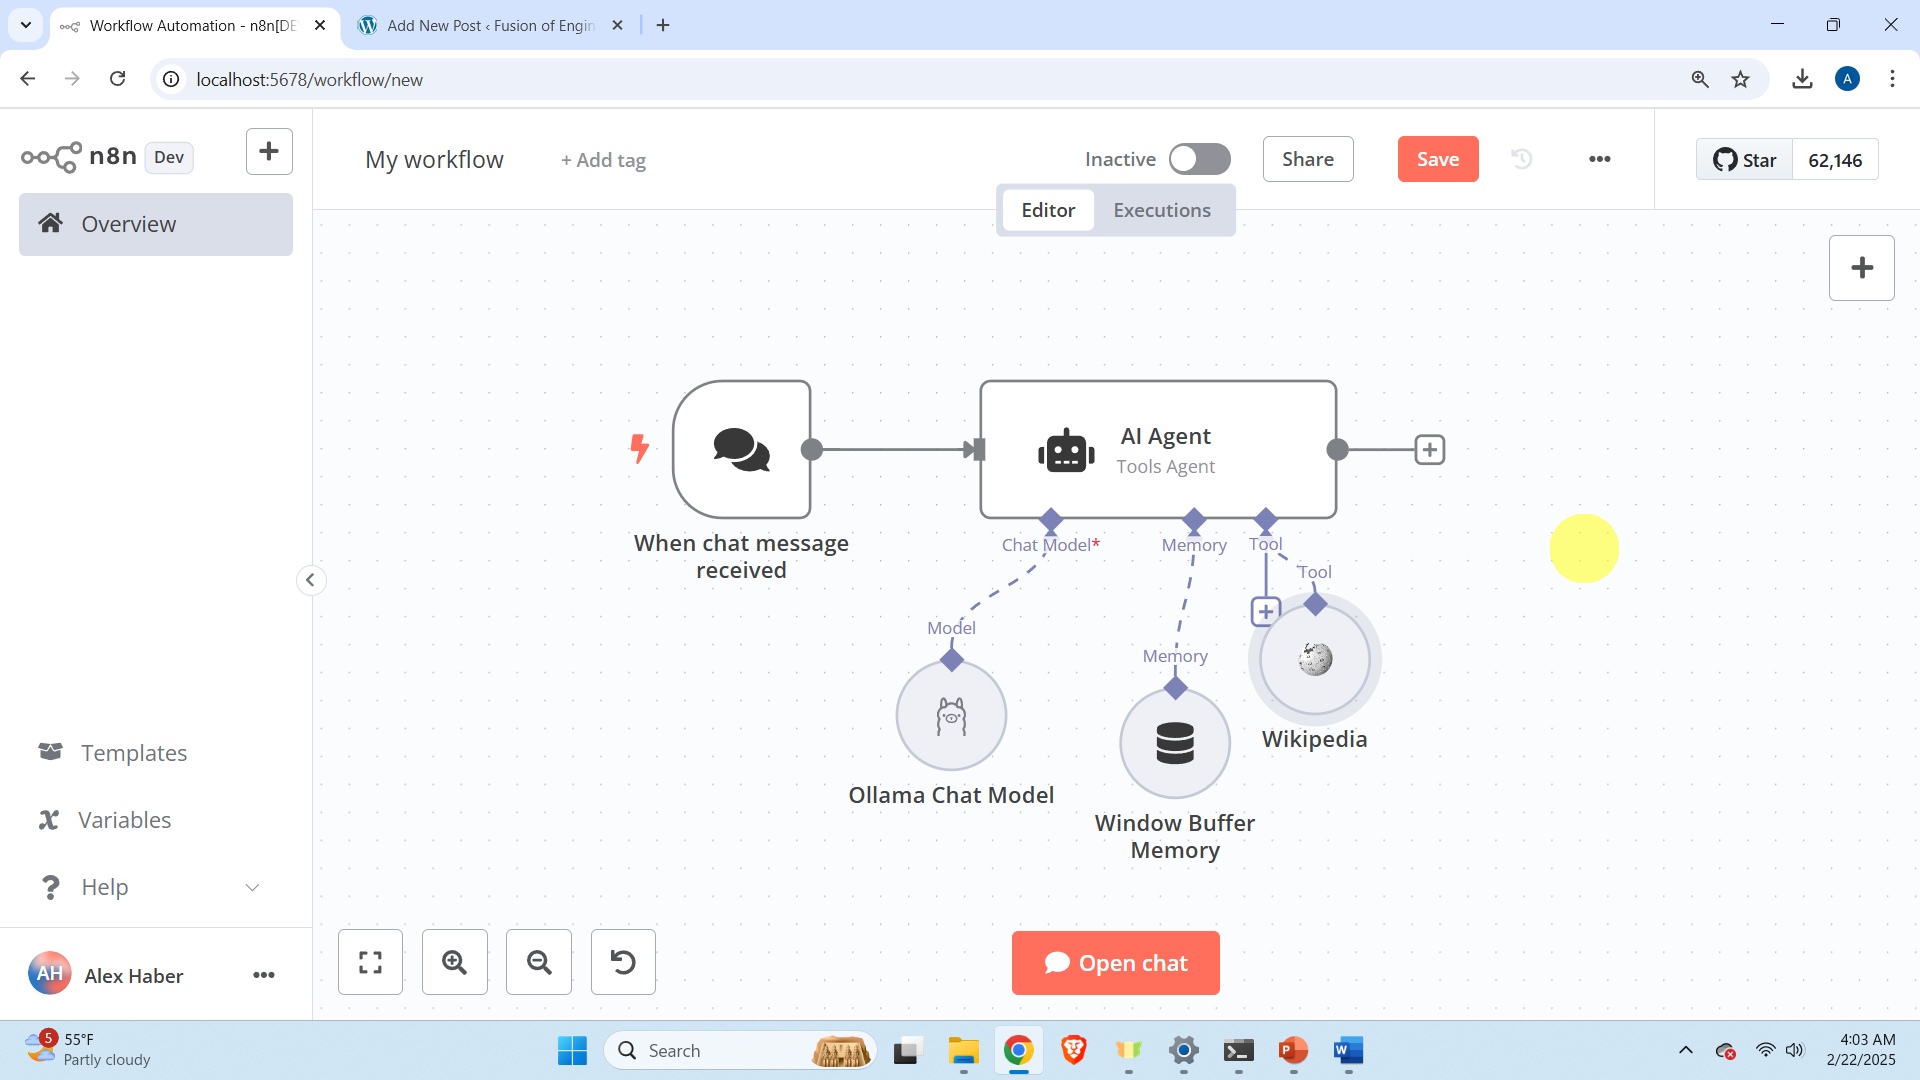
Finally, your agent workflow should look like this
As a final adjustment, click on AI Agent, then click on “Add Option”

then on System Message
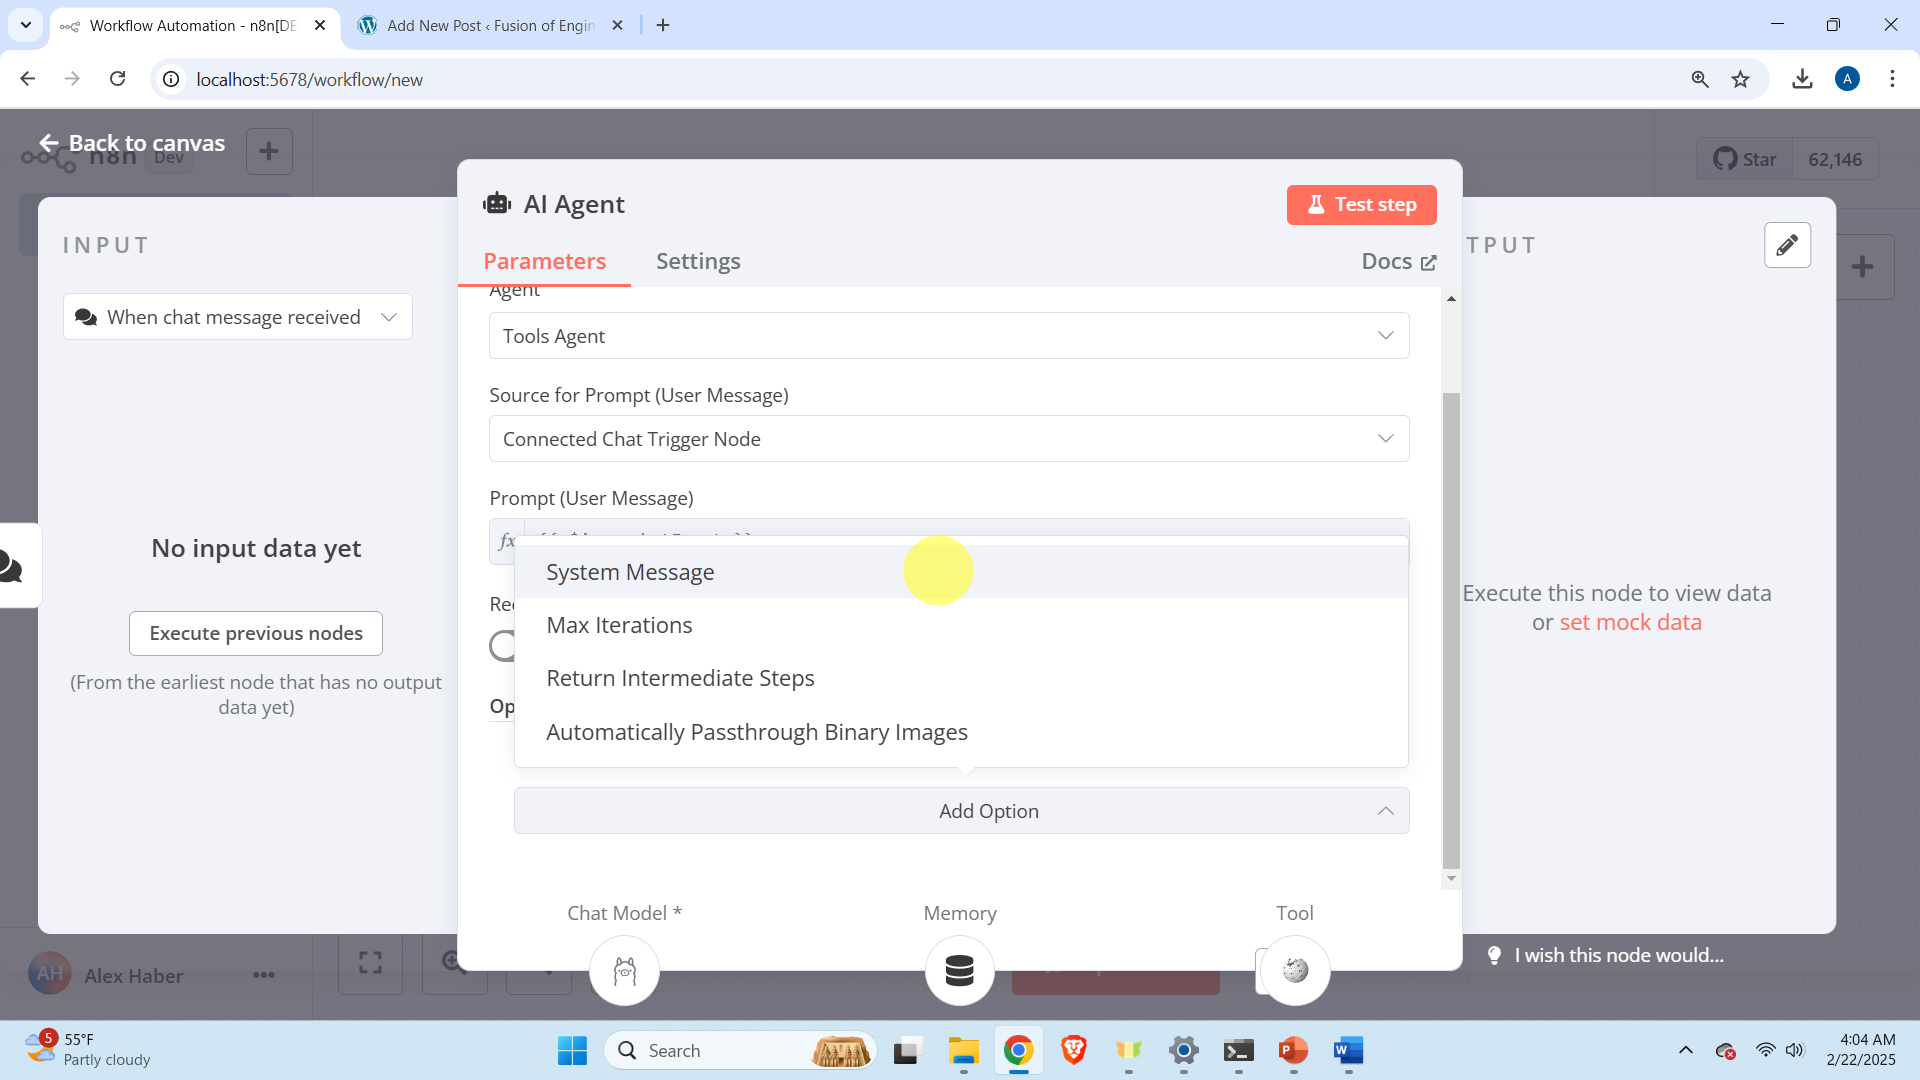
and in the block menu type this “You are assistant that uses Wikipedia to answer user questions.”
Close the agent window. Click on “Open chat”

and start asking questions in the chat window shown below.