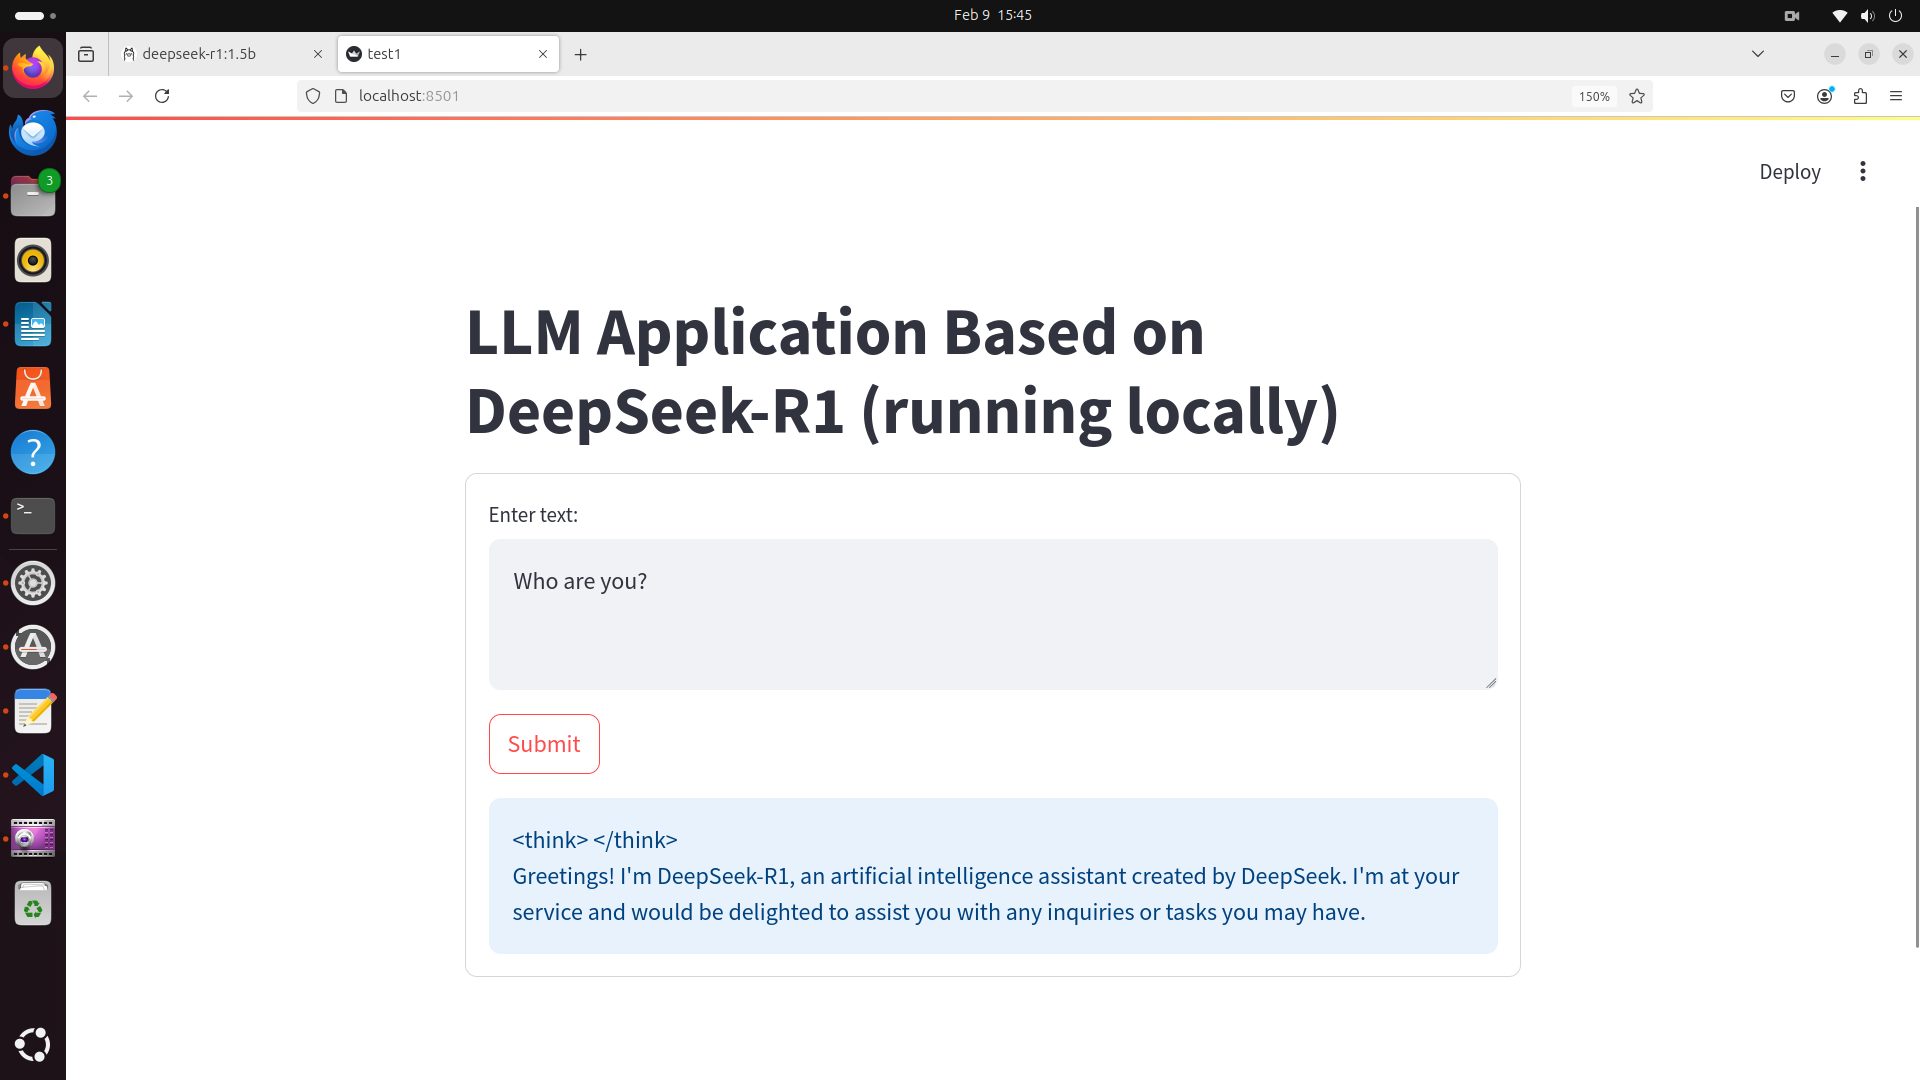
In this tutorial, we explain how to install locally and securely distilled DeepSeek-R1 large language model on Raspberry Pi 5 and Linux Ubuntu, and how to write a simple application that will run the model in a graphics user interface that you can see in the figure below.

This is a streamlit graphics user interface that is running in a web browser. That is, the model is running in the background and the graphics user interface is just used to interact with the model. Streamlit is a Python library that quickly generates graphics user interfaces for Python applications. It is important to keep in mind that this model is being executed completely locally. That is, we are just using Raspberry Pi 5 and its CPU to run the model.
The YouTube tutorial is given here:
Installation Instructions
Our Raspberry Pi 5 has the following configuration:
- 8 GB RAM
- 512 GB NVMe SSD disk
- Linux Ubuntu 24.04

The first step is to update and upgrade all the packages, and to install curl
sudo apt update && sudo apt upgrade
sudo apt install curl
curl --version
The next step is to allow inbound connections to the 11434 port such that Ollama can run locally:
sudo apt install ufw
sudo ufw allow 11434/tcp
The next step is to install Ollama
curl -fsSL https://ollama.com/install.sh | shTo verify that Ollama is running, in the terminal type
ollamaand if Ollama is installed, you should get the generic reply. Another approach to verify the installation, open a web browser and enter this address:
http://localhost:11434/
The next step is to download the model. We will download a distilled model deepseek-r1:1.5b. To download this model, type this in the terminal
ollama pull deepseek-r1:1.5bAfter the model is downloaded, verify that the model exists on the system
ollama list deepseek-r1:1.5bTo run the model, you need to type this
ollama run deepseek-r1:1.5bTest the model and see if it is working properly. To exit the Ollama interface press CTRL+d.
The next step is to create a workspace folder, Python virtual environment, and activate the Python virtual environment:
cd ~
mkdir testApp
cd testApp

sudo apt install python3.12-venv
python3 -m venv env1
source env1/bin/activate
Next, we need to install Ollama and Streamlit libraries:
pip install ollama
pip install streamlit
Finally, we need to write a Python code for the graphics user interface. The Python code is given below. Save this file as test1.py.
# -*- coding: utf-8 -*-
"""
Demonstration on how to create a Large Language Model (LLM) Web Application Using

Streamlit, Ollama, DeepSeek-R1 and Python

Author: Aleksandar Haber

"""

import streamlit as st
import ollama
# set the model
desiredModel='deepseek-r1:1.5b'


st.title("LLM Application Based on DeepSeek-R1 (running locally)")

def generate_response(questionToAsk):

    response = ollama.chat(model=desiredModel, messages=[
        {
            'role': 'user',
            'content': questionToAsk,
            },
        ])
    st.info(response['message']['content'])


with st.form("my_form"):
    text = st.text_area(
        "Enter text:",
        "Over here, ask a question and press the Submit button. ",
    )
    submitted = st.form_submit_button("Submit")
    if submitted:
        generate_response(text)
To run this code in the terminal type
streamlit run ~/testApp/test1.pyThis line will start the graphics user interface and run the model. For more details, see the YouTube tutorial given at the top of this page.