 by
by In this tutorial, we explain how to correctly install Ollama and Large Language Models (LLMs) by using Windows Subsystem for Linux (WSL). For those of you who are not familiar with WSL, WSL enables you to run a Linux Ubuntu distribution on the Windows Operating System. By using WSL, you can run a Linux Ubuntu distribution in a Windows terminal. This enables you to experiment with Linux Ubuntu application and development environment without actually installing Linux Ubuntu. This is especially important for people interested in machine learning and large language modeling since it is easier to install and run machine learning applications on Linux Ubuntu. This is mainly because most of the machine learning developers use Linux Ubuntu for developing machine learning applications. The YouTube tutorial explaining all the steps is given below.
In this tutorial, we will install Ollama and several AI models on the WSL. First, we need to install WSL. For that purpose open a command prompt in the administrator mode, and type the following command
wsl --install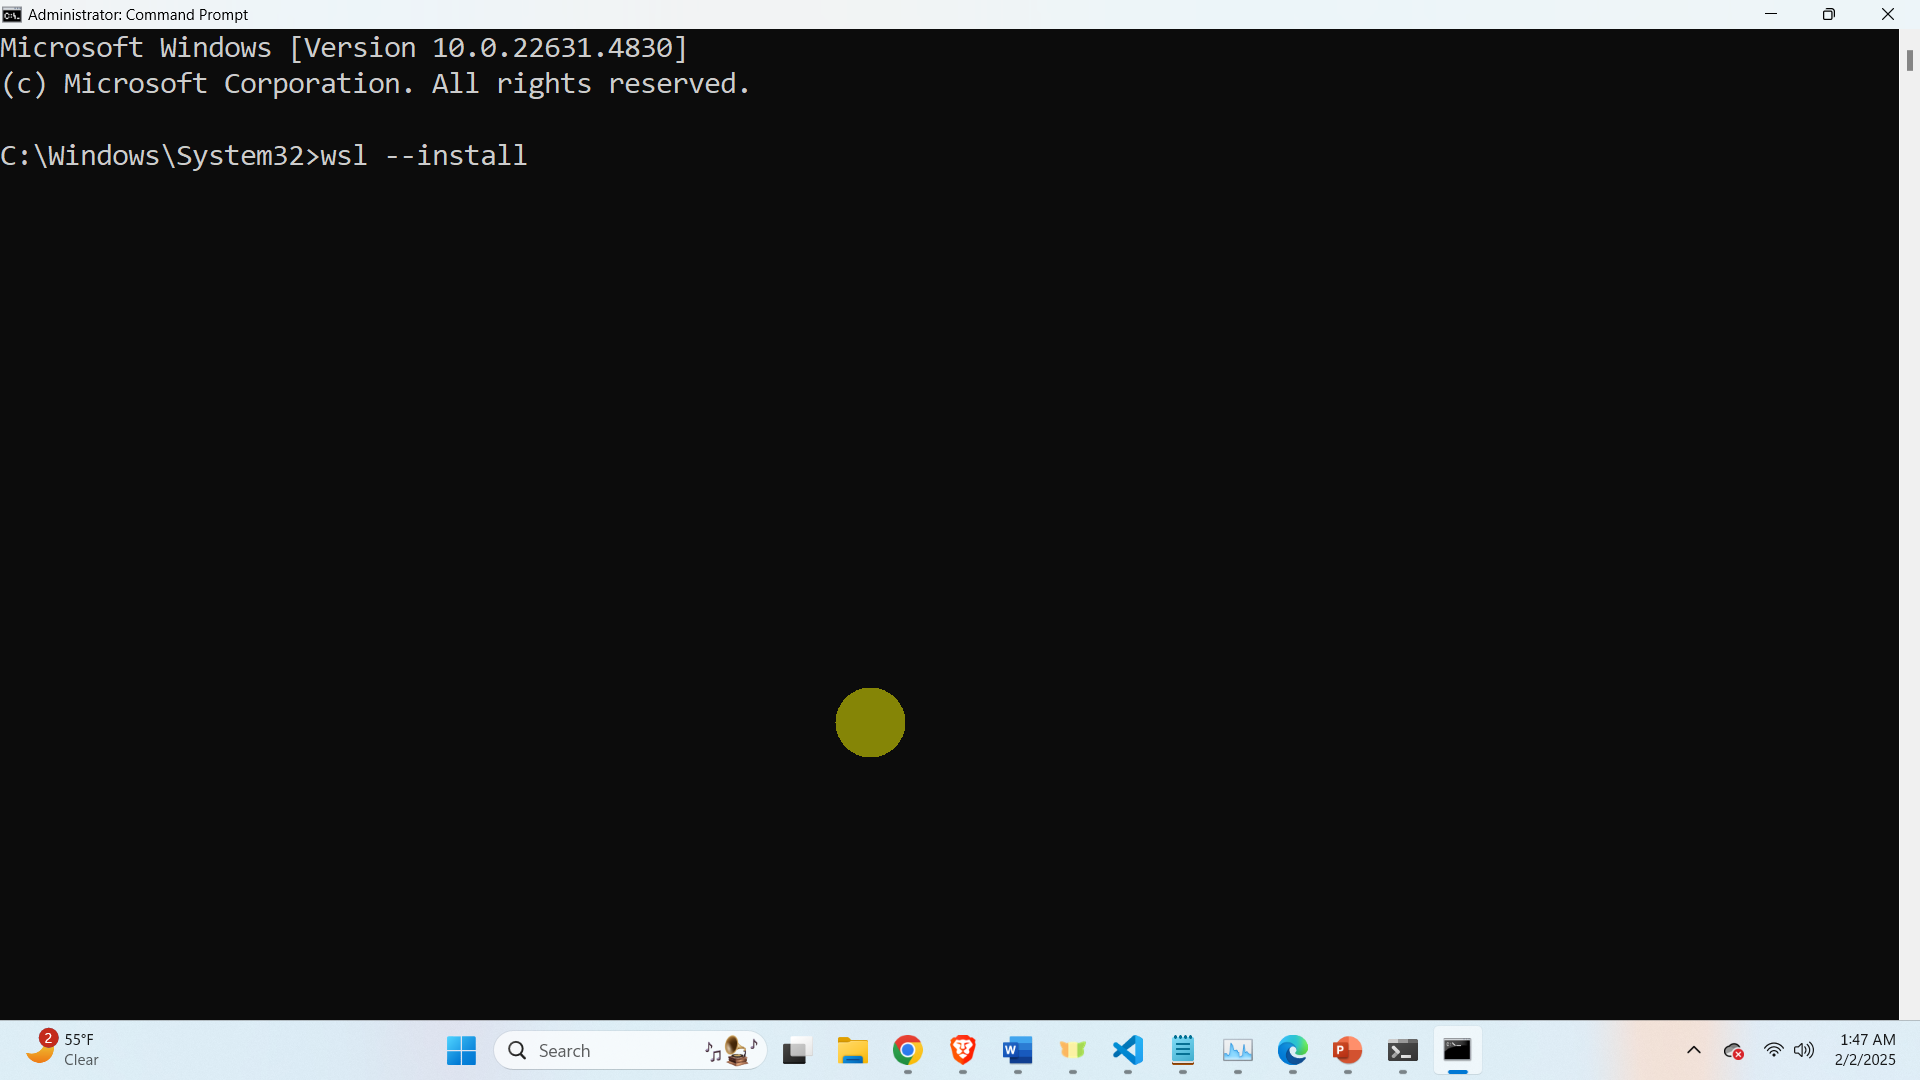
This command will install WSL as well as the default version of Linux Ubuntu which is 24.04. After this command is executed you will need to restart the computer in order to start Linux Ubuntu. After that you will need to setup your username and password in order to be able to use Linux Ubuntu in WSL.
The next step is to install Ollama. To do that, make sure that Ollama is not running on Windows (if you have previously installed Ollama on your Windows computer). To stop Ollama, click on the icon in the bottom right corner of your screen, and click on “Quit Ollama”

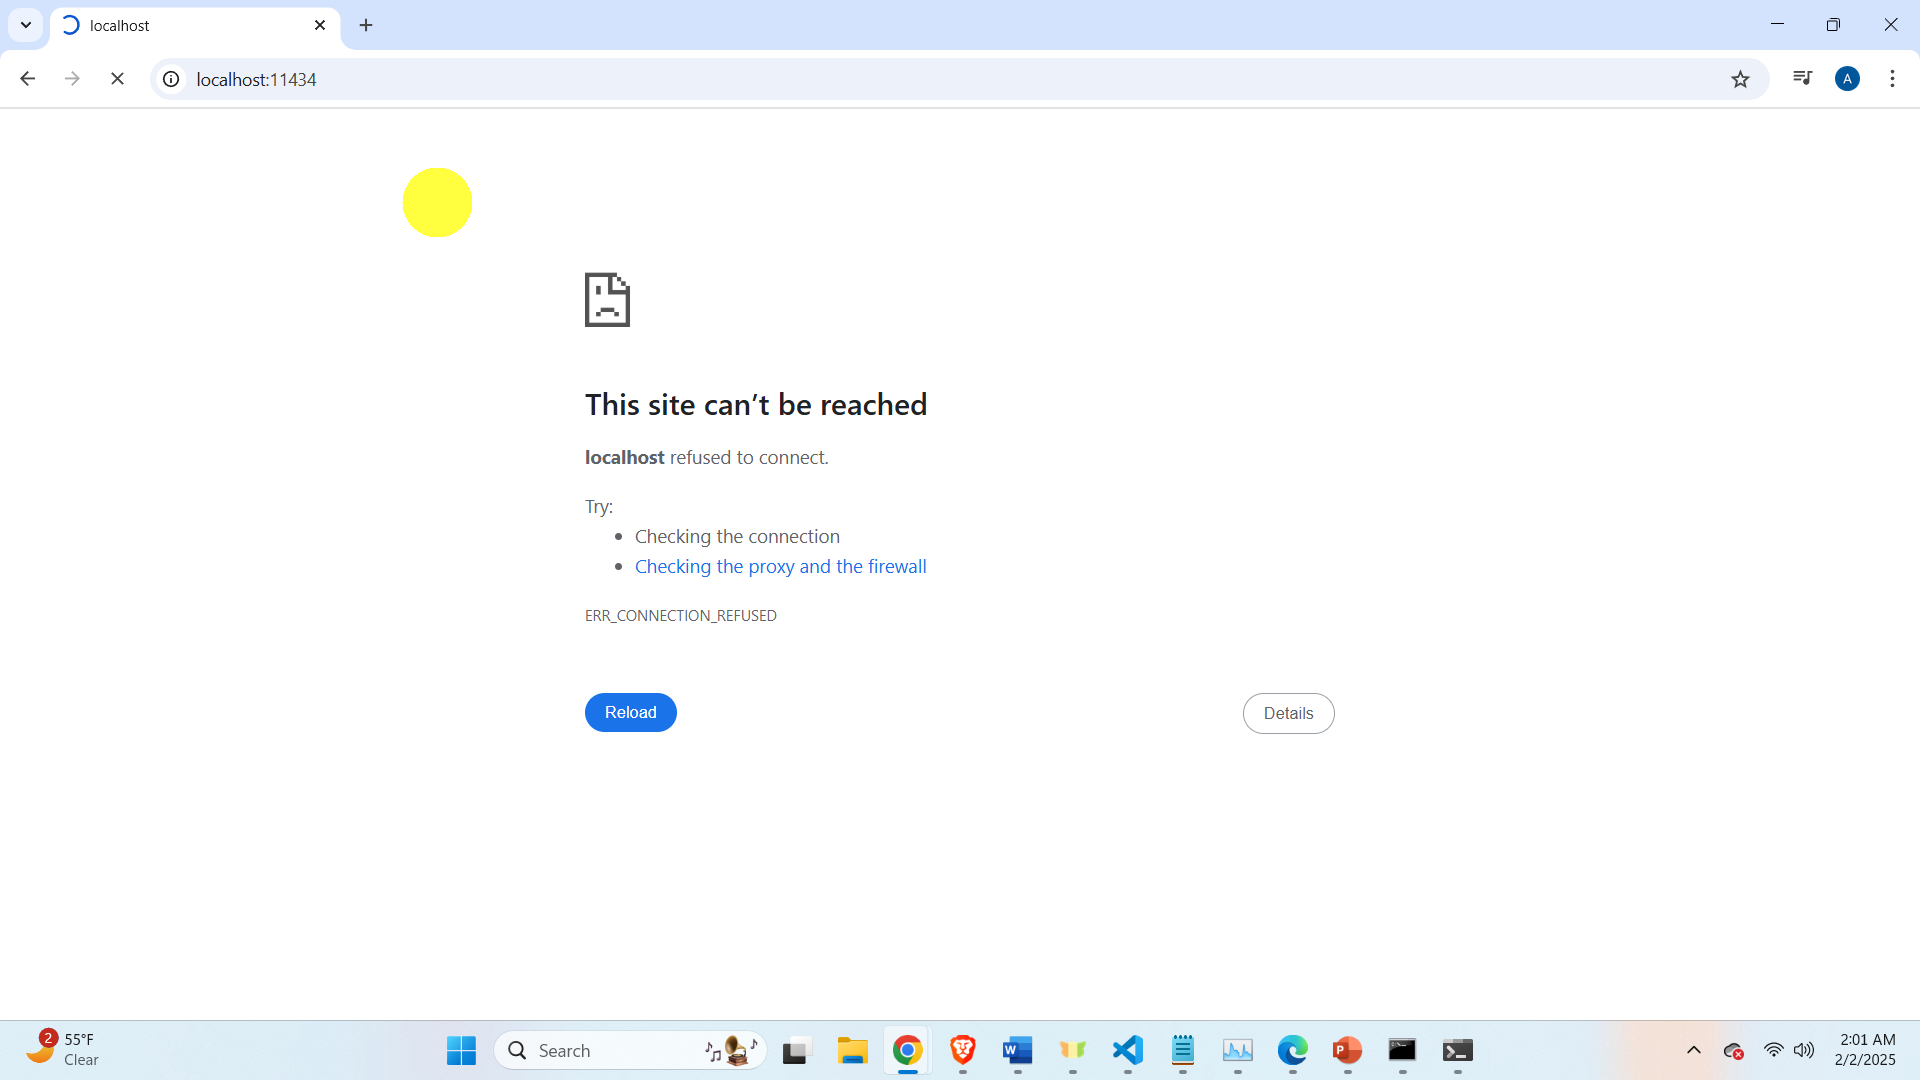
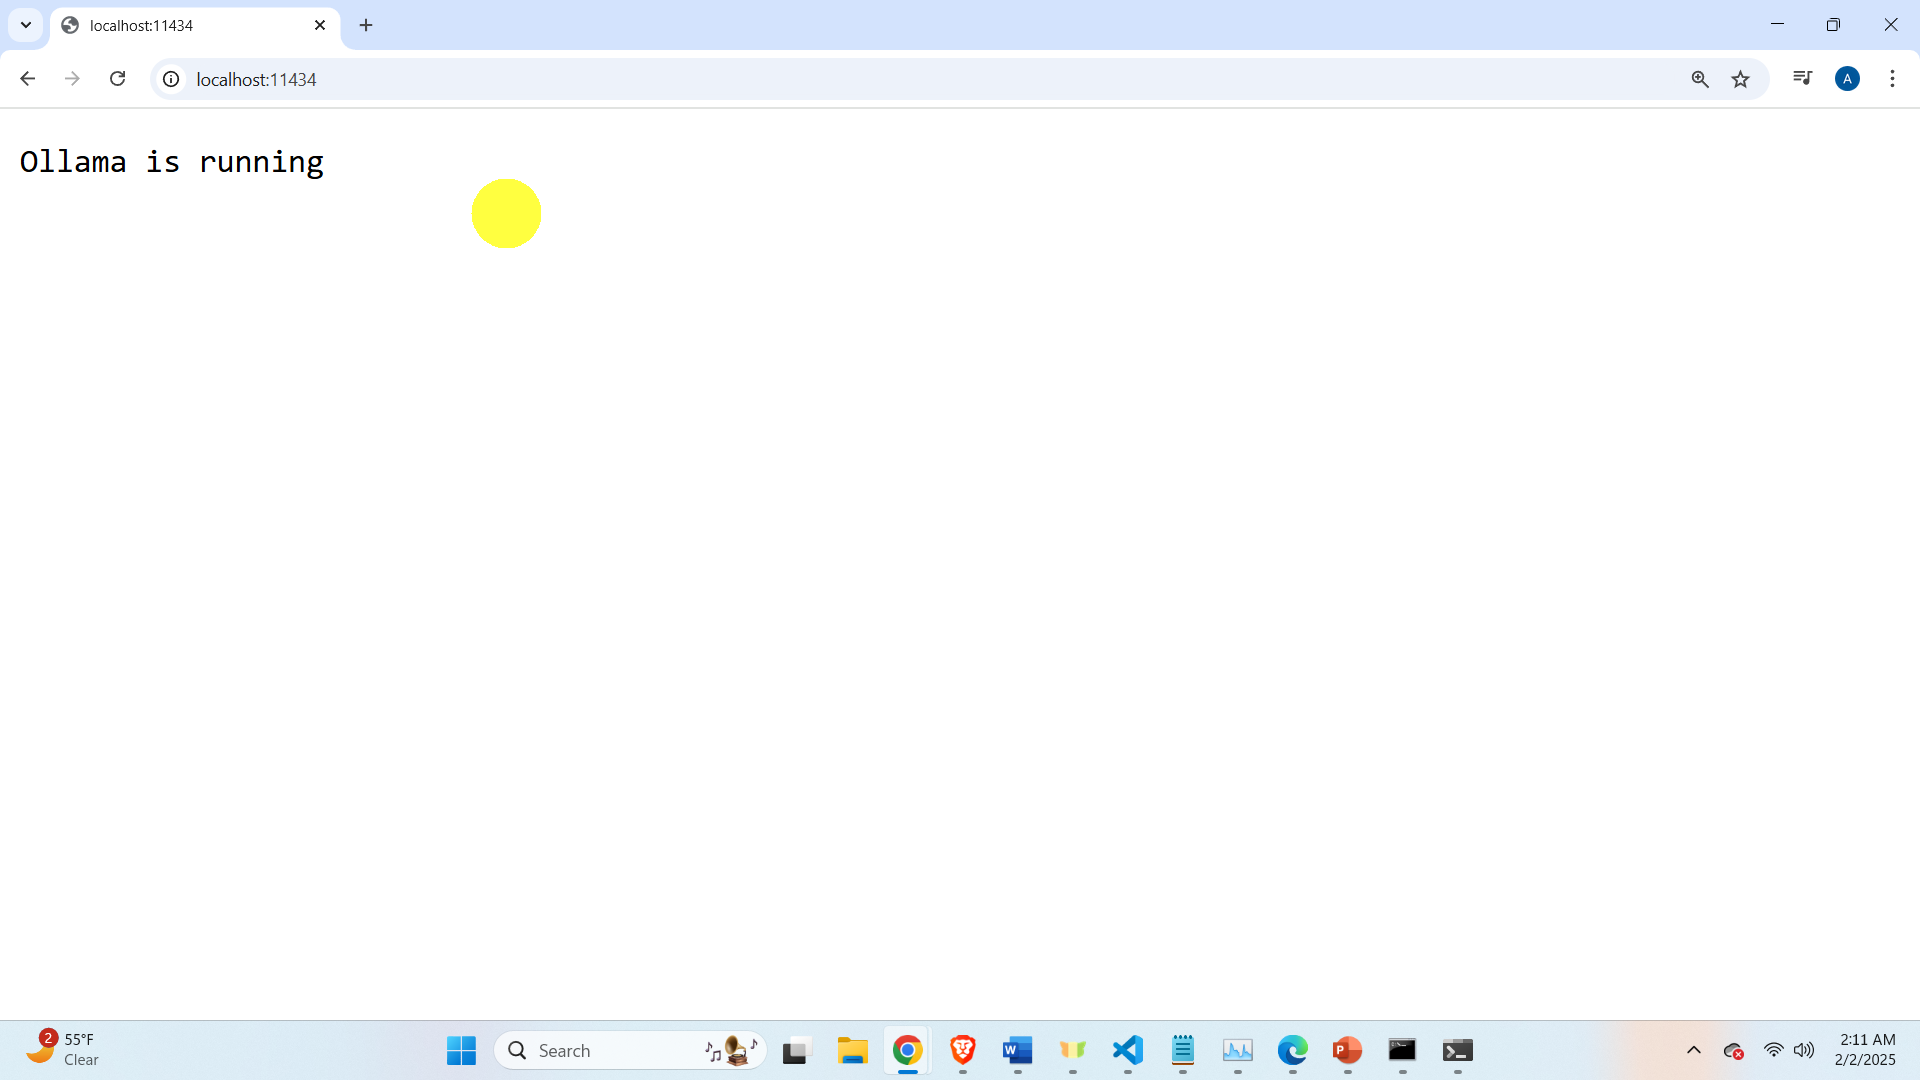
You would need to quit Ollama before installing Ollama on WSL. This is mainly because only a single instance of Ollama can run at the same time. To make sure that Ollama is not running, on your web browser, enter the following address:
http://localhost:11434/If Ollama is disabled, then the following error screen will appear
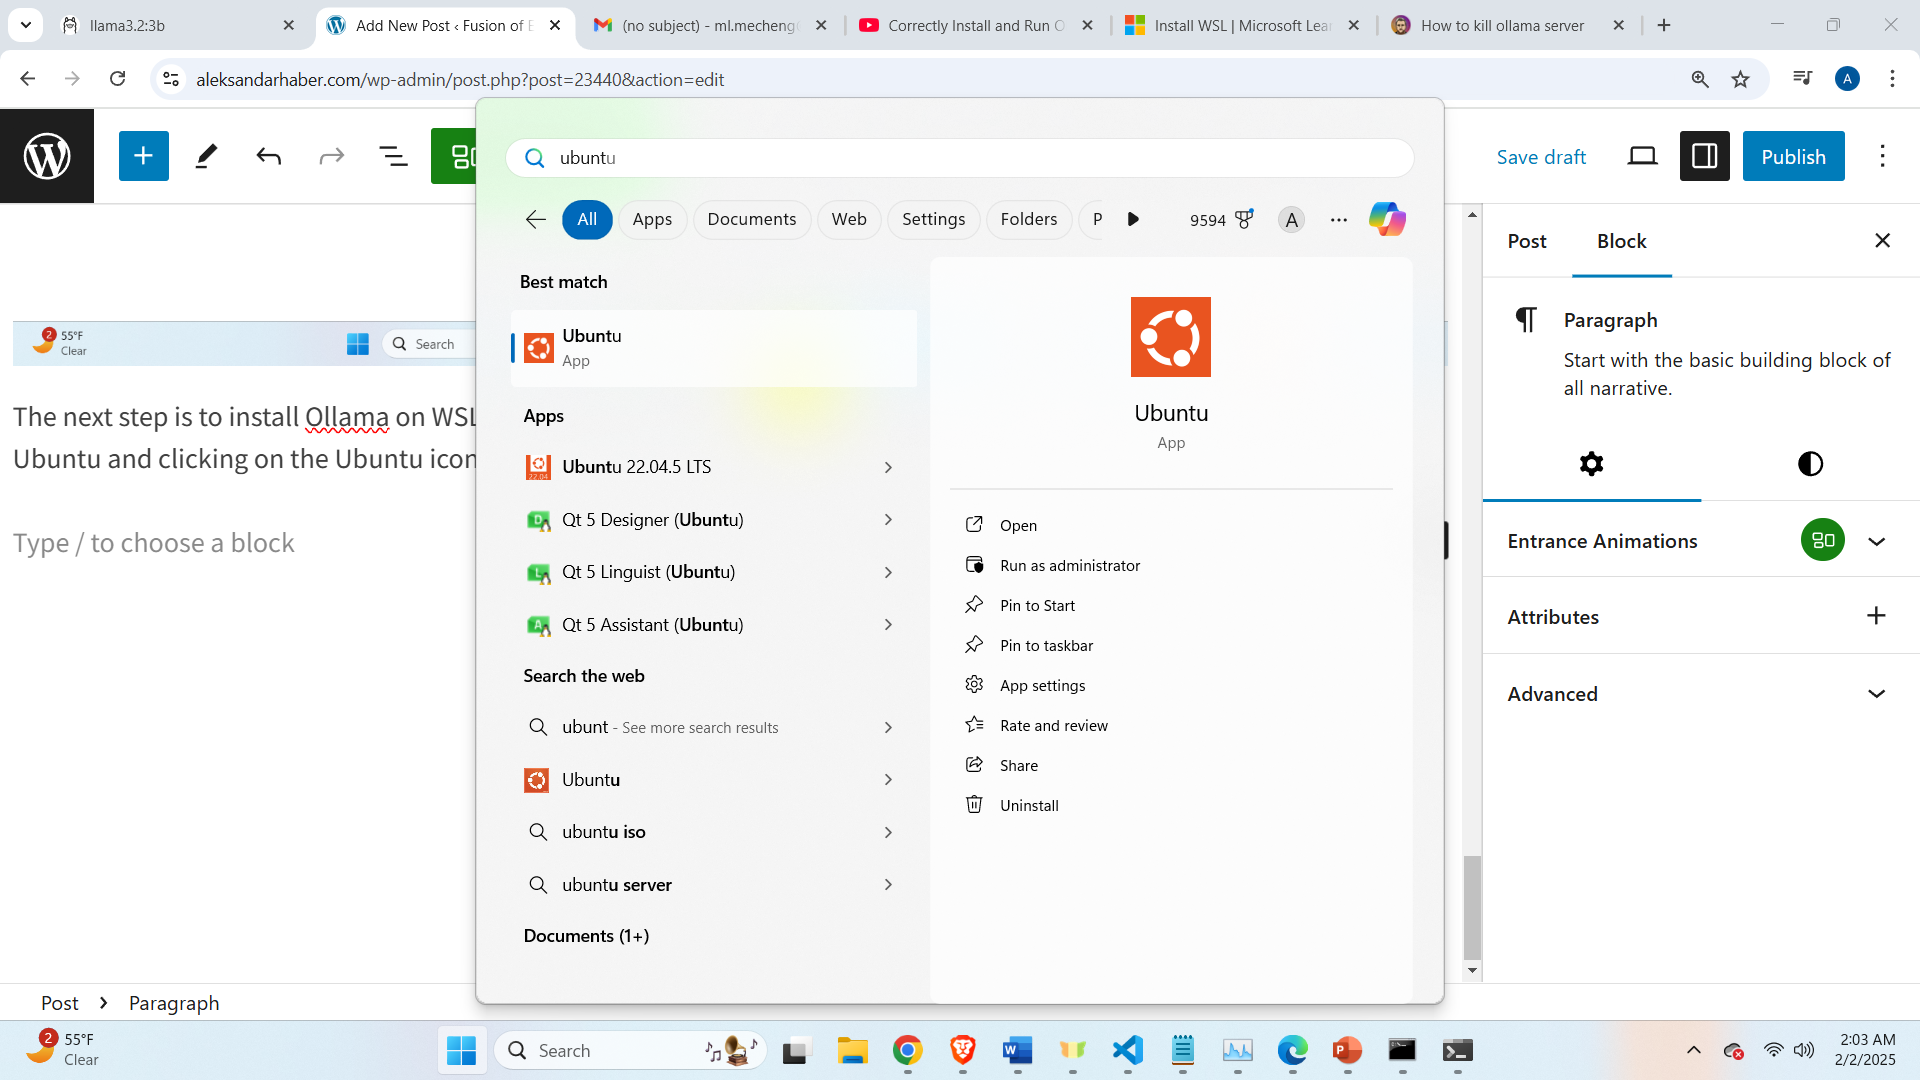
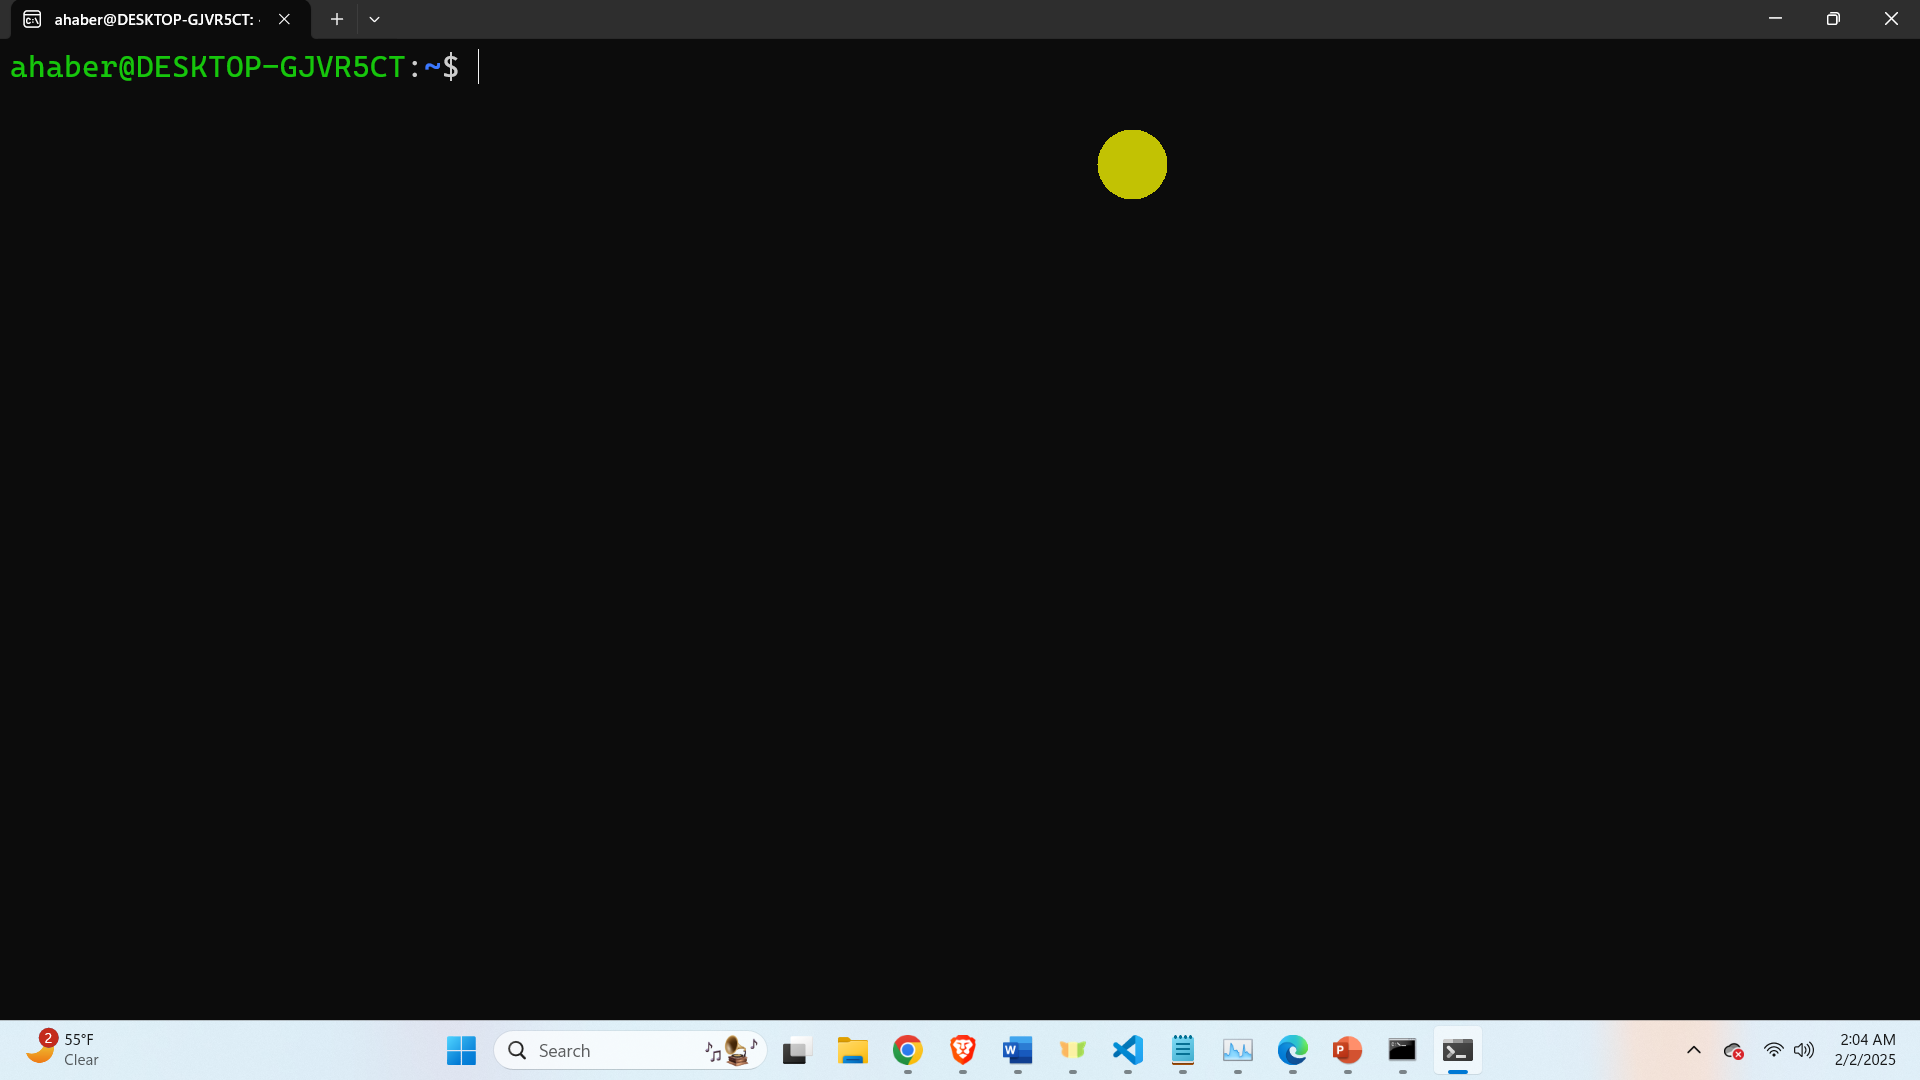
The next step is to install Ollama on WSL. To do that, start a WSL Ubuntu Session by clicking on Start, and searching for Ubuntu and clicking on the Ubuntu icon
Then, you need to install curl. To install Curl, type
sudo apt update && sudo apt upgrade
sudo apt install curl
curl --version
Then, you need to allow inbound connections to the appropriate Ollama internal port:
sudo apt install ufw
sudo ufw allow 11434/tcp
Then, we can install Ollama by typing
curl -fsSL https://ollama.com/install.sh | shTo test that Ollama is working, open a web browser and go to the address
http://localhost:11434/The output should look like this.
After installing Ollama, let us test Ollama by downloading and running the model. Go to the Ollama website, and search for a model. For example, search for Llama3.2
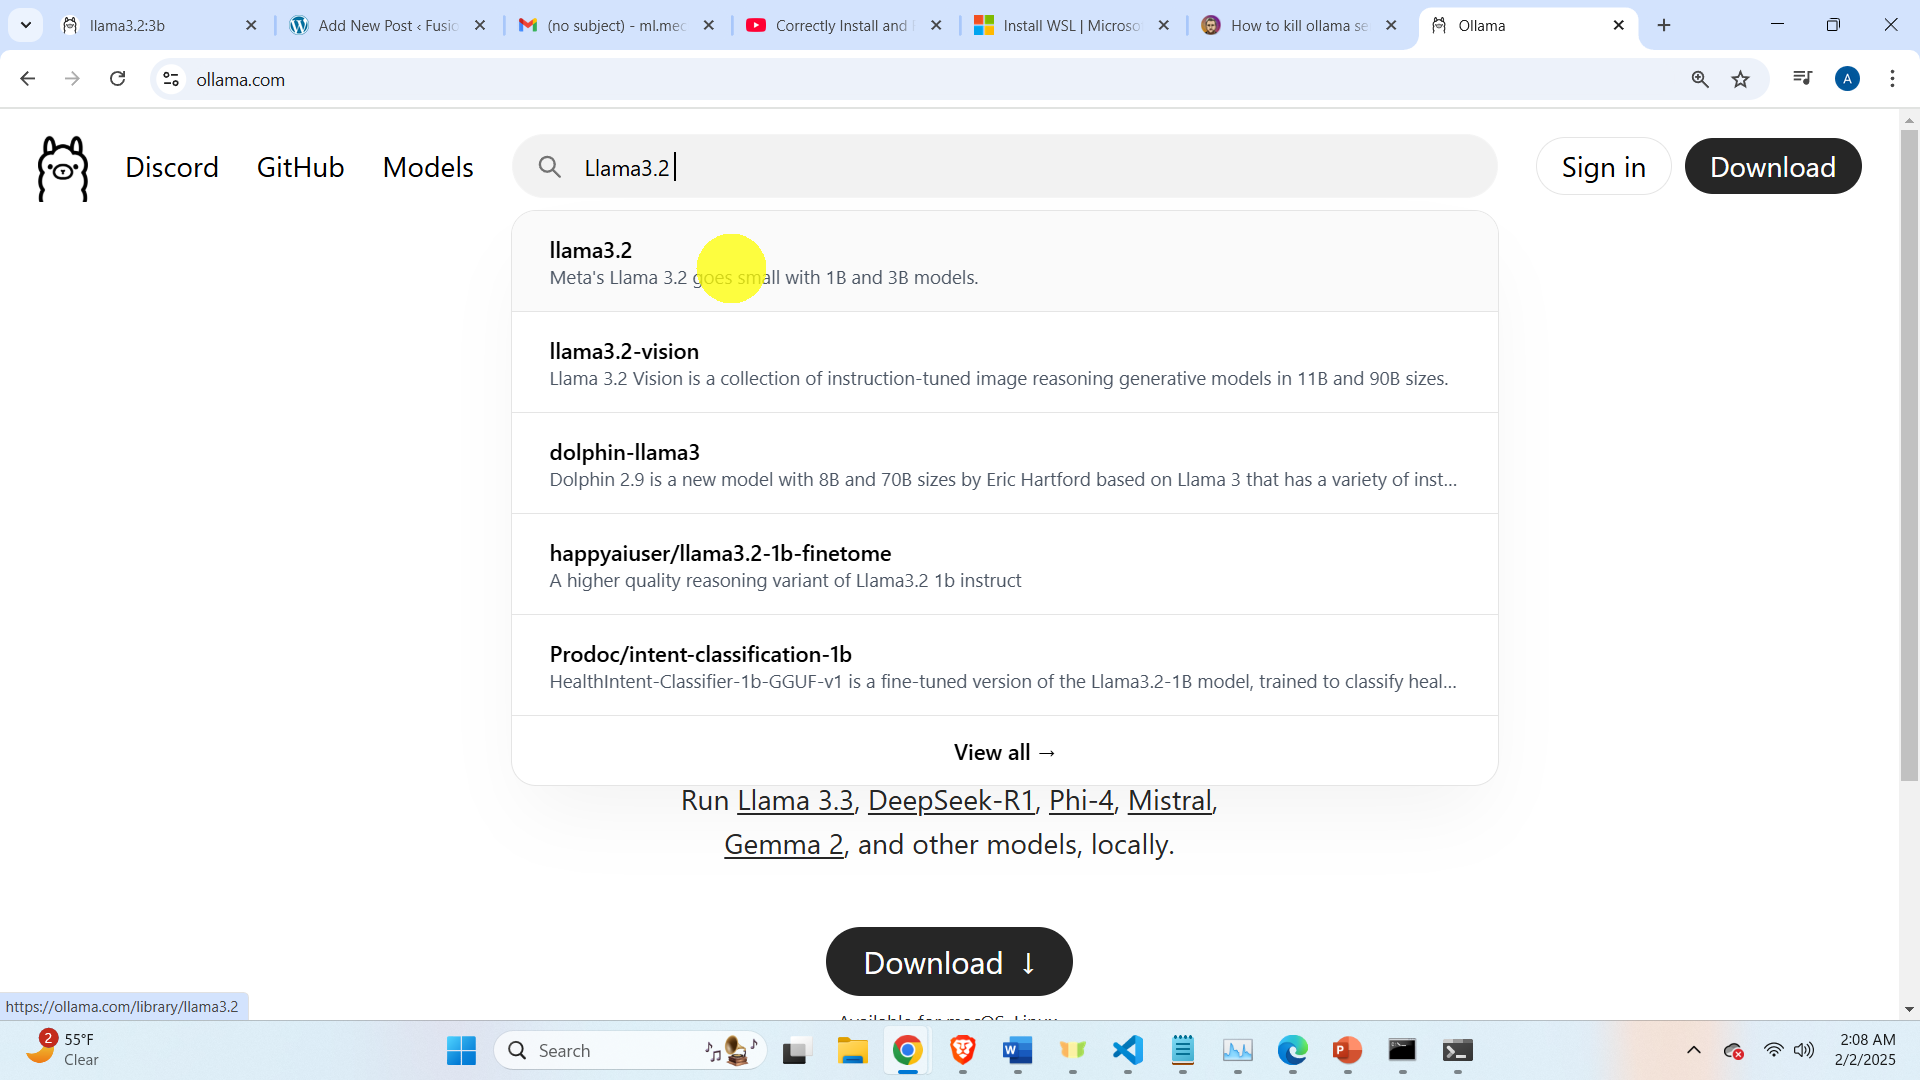
Then to download and run this model, simply type in the Linux Ubuntu terminal:
ollama run llama3.2:3bThis should start the model. The exit the model, simply type CTRL+D
Then, you will notice that after you exit WSL, Ollama will still run. To fix this issue, go back to the Ubuntu WSL, and stop Ollama by typing these commands
systemctl stop ollama.serviceTo disable Ollama, type this
systemctl disable ollama.service
To confirm its status, type this
systemctl status ollama.service
To check the status, you can also try this
ps aux | grep ollama
pgrep ollama
Finally, to check the GPU processes, you need to type this
sudo apt install gpustat
gpustat --show-cmd --show-pid
To start Ollama once again, type this
sudo systemctl daemon-reload
sudo systemctl enable ollama
sudo systemctl start ollama
ollama serve
sudo systemctl status ollama