by
by In this tutorial, we explain how to install DeepScaleR-1.5B with Graphics User Interface (GUI) created in Open WebUI. DeepScaleR-1.5B is one of the best small Large Language Models (LLMs) for solving advanced mathematics problems. This model is a fine tuned version of the distilled DeepSeek-R1-Distilled-Qwen-1.5B model. The set for fine tuning consists of 40,000 advanced mathematics problems that are used to train students for the International Mathematics Olympiad. As such, this model is very useful for engineers, researchers, and students interested in advanced mathematics and calculus. For more details about the DeepScaleR-1.5B see the tutorial given here. In this tutorial, we use the Windows 11 operating system. However, you can also use the Windows 10 operating system.
The YouTube tutorial with the installation instruction is given below.
Installation Instructions for DeepScaleR-1.5B
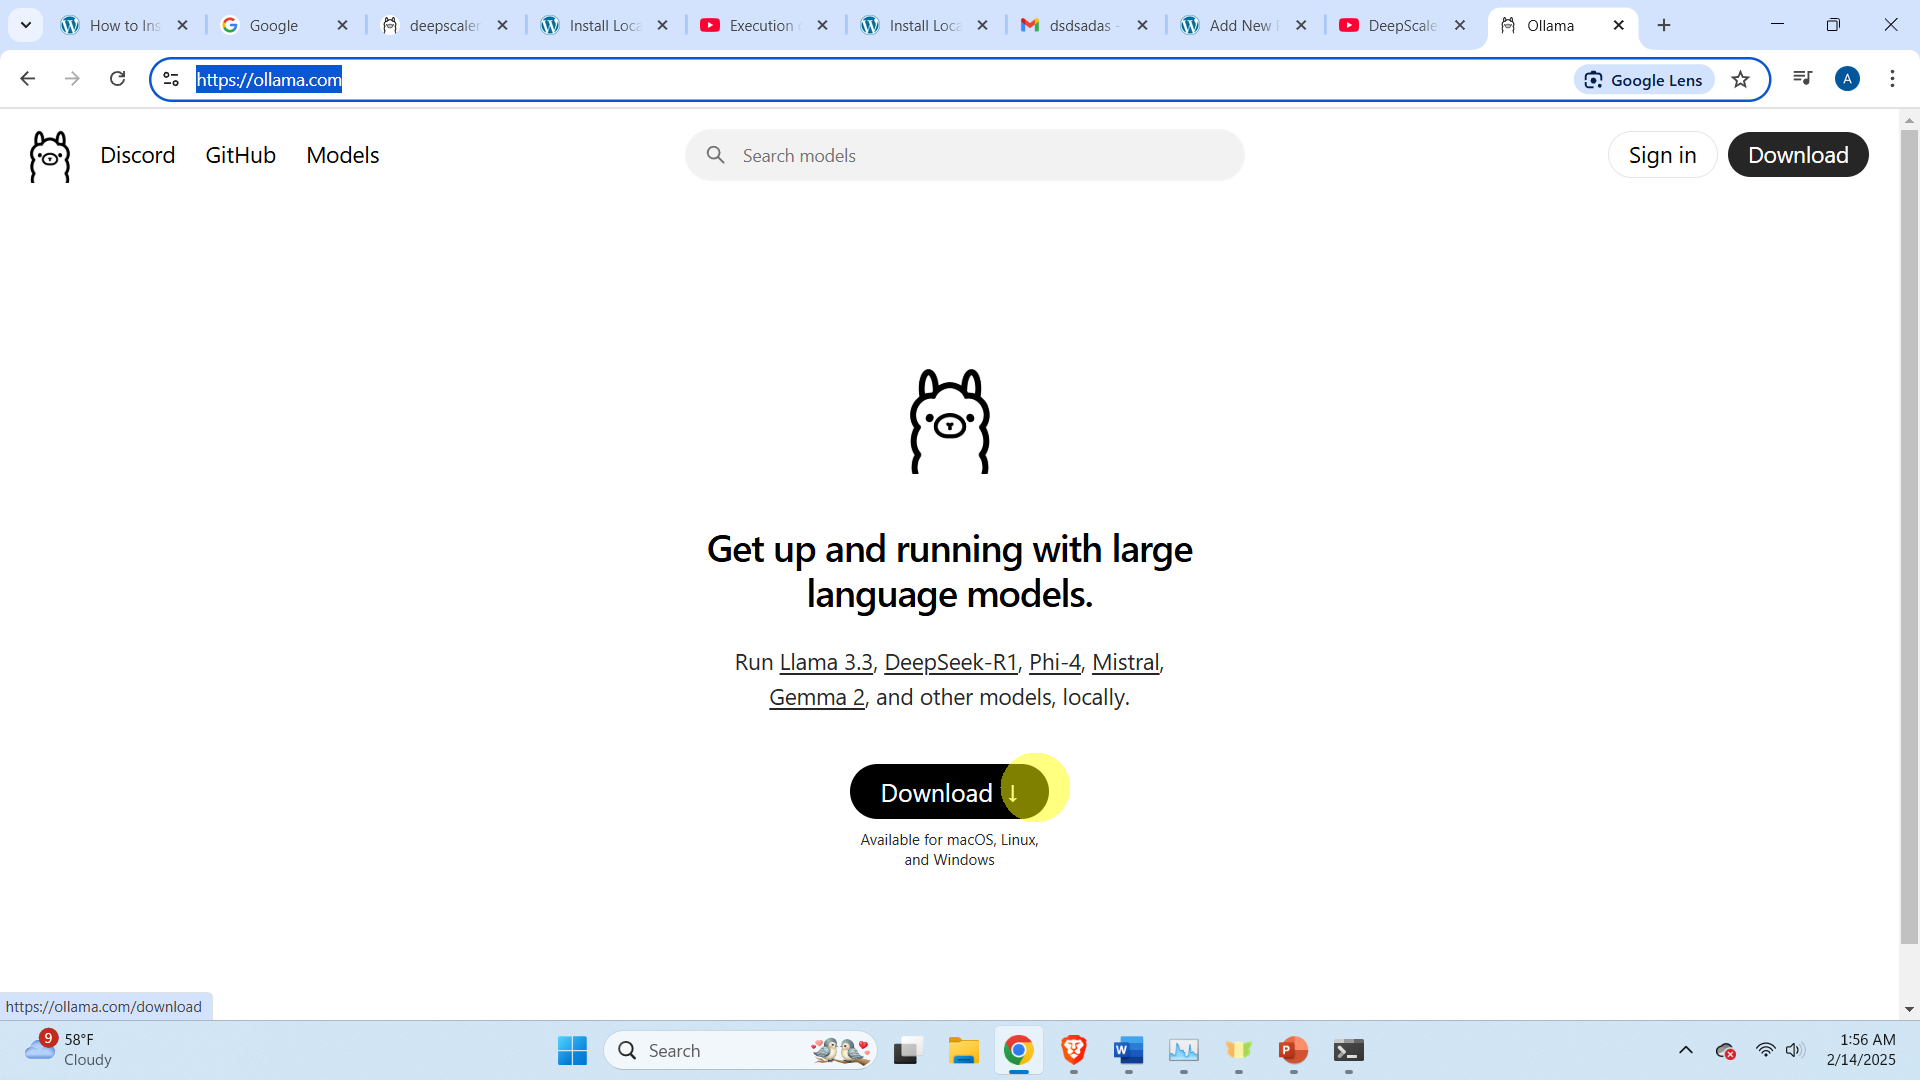
First, you need to install Ollama. To install Ollama, go to the Ollama website (click here) and click on download to download the installation file. After you download the installation file run it, and Ollama will be installed.
After installing Ollama, you need to install the model. Fort that purpose, open a Windows Command Prompt, and type:
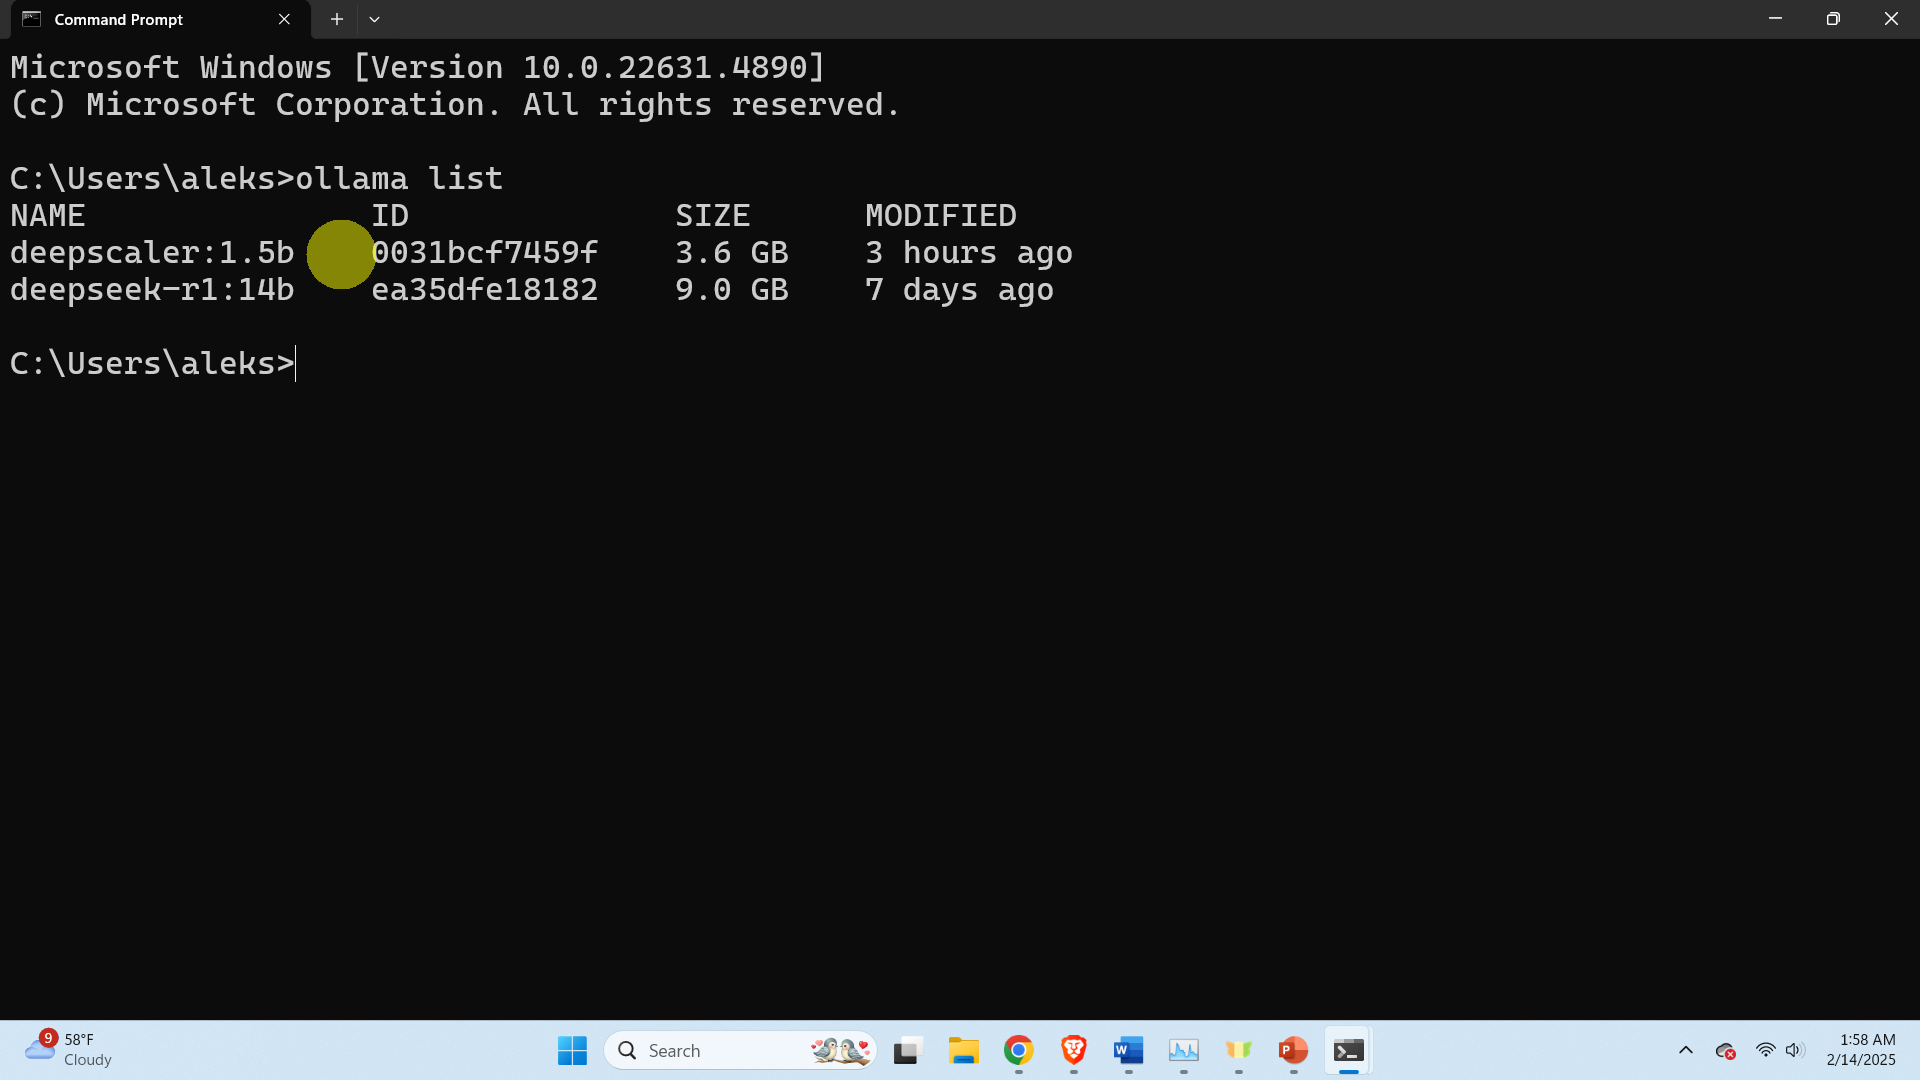
ollama pull deepscalerThis will download the model. After the model is downloaded, you can type this to check that the model exist
ollama list
To test the model, you can type this
ollama run deepscaler:1.5b This will run the model (for more details see the YouTube tutorial). Next, you need to install
- Microsoft Visual Studio C++. To download this program go to this link and download the installation file for the community edition and install it.
- NVIDIA CUDA Toolkit. To install NVIDIA CUDA Toolkit, click here, and follow the installation instructions.
Next, we want to run the model in a graphics user interface. To do that, we first need to create a workspace folder, and then to create a Python virtual environment. This is performed as follows in the Windows Command Prompt:
cd\
mkdir testModel
cd testModel
python -m venv env1
env1\Scripts\activate.bat
Then we need to install Open WebUI and to start Open WebUI. We do it like this
pip install open-webui
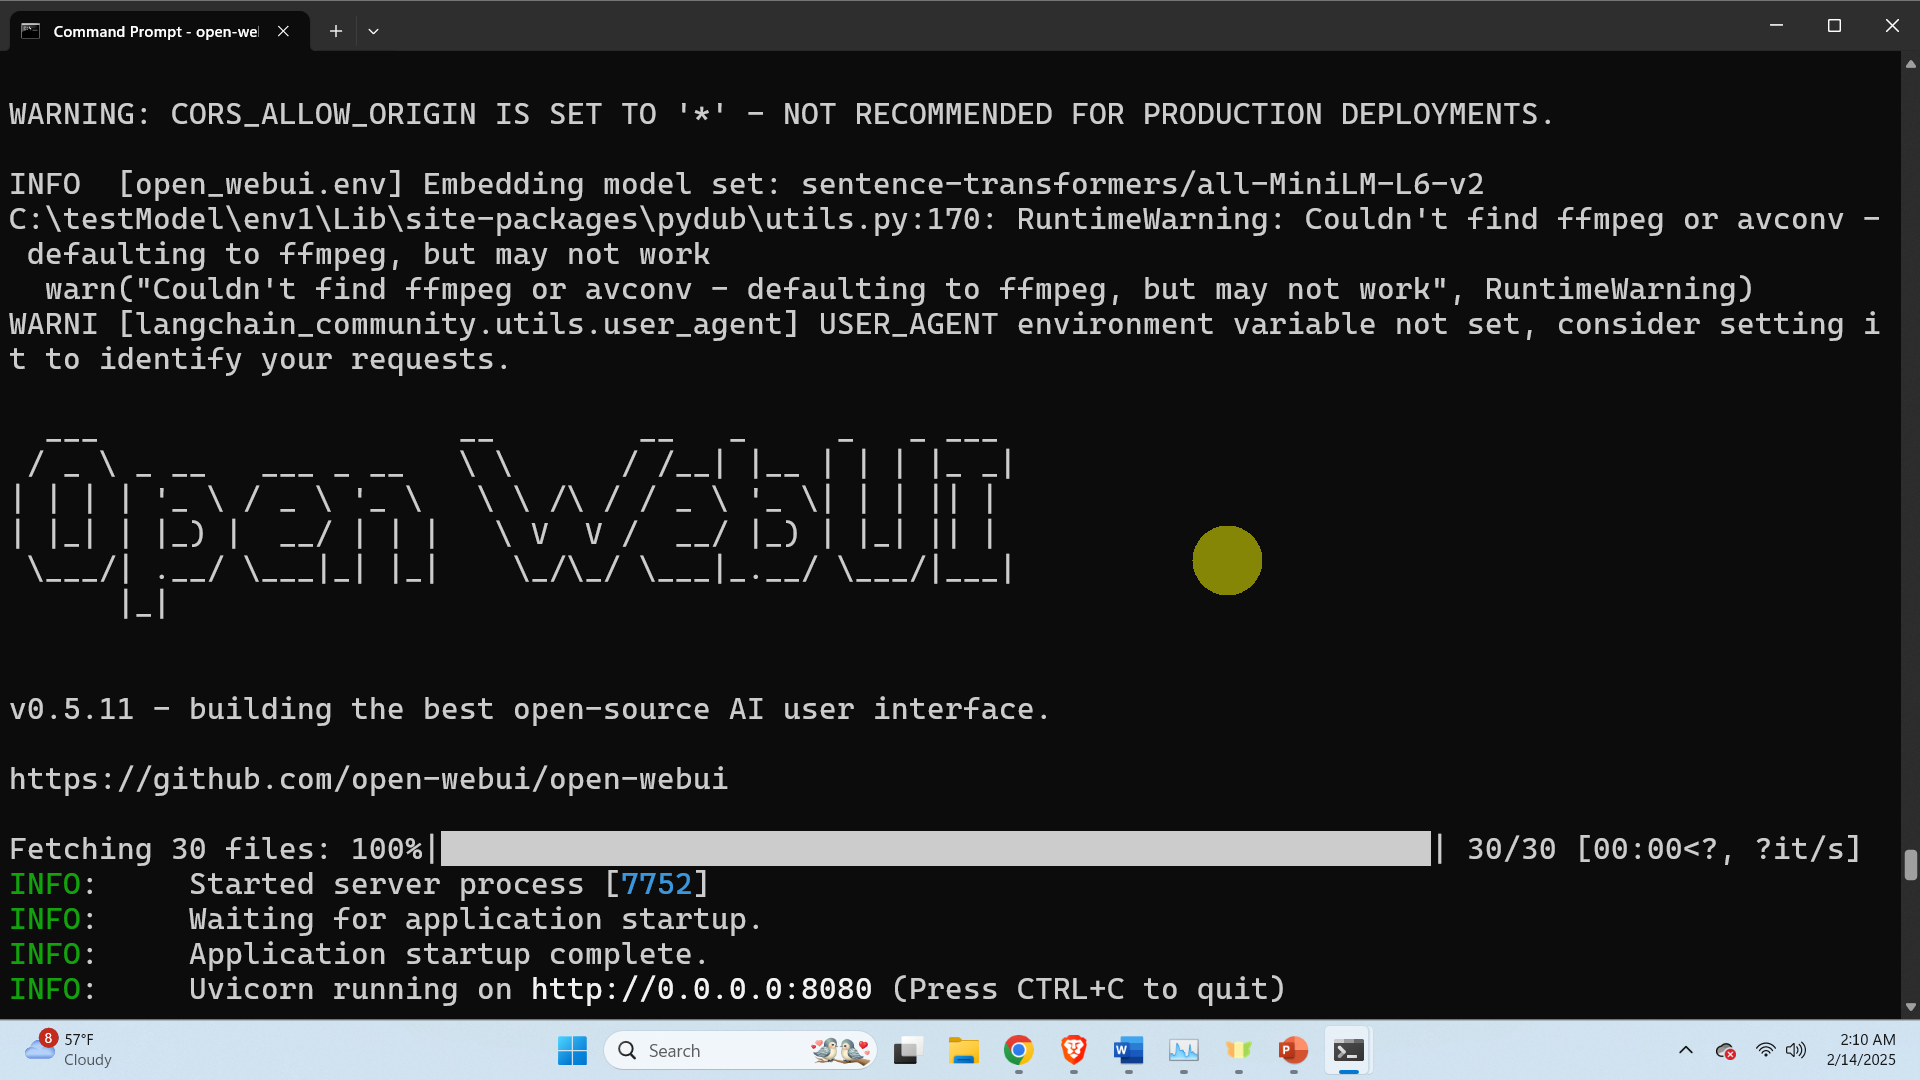
open-webui serve
After the last command is executed, the screen shown below will appear
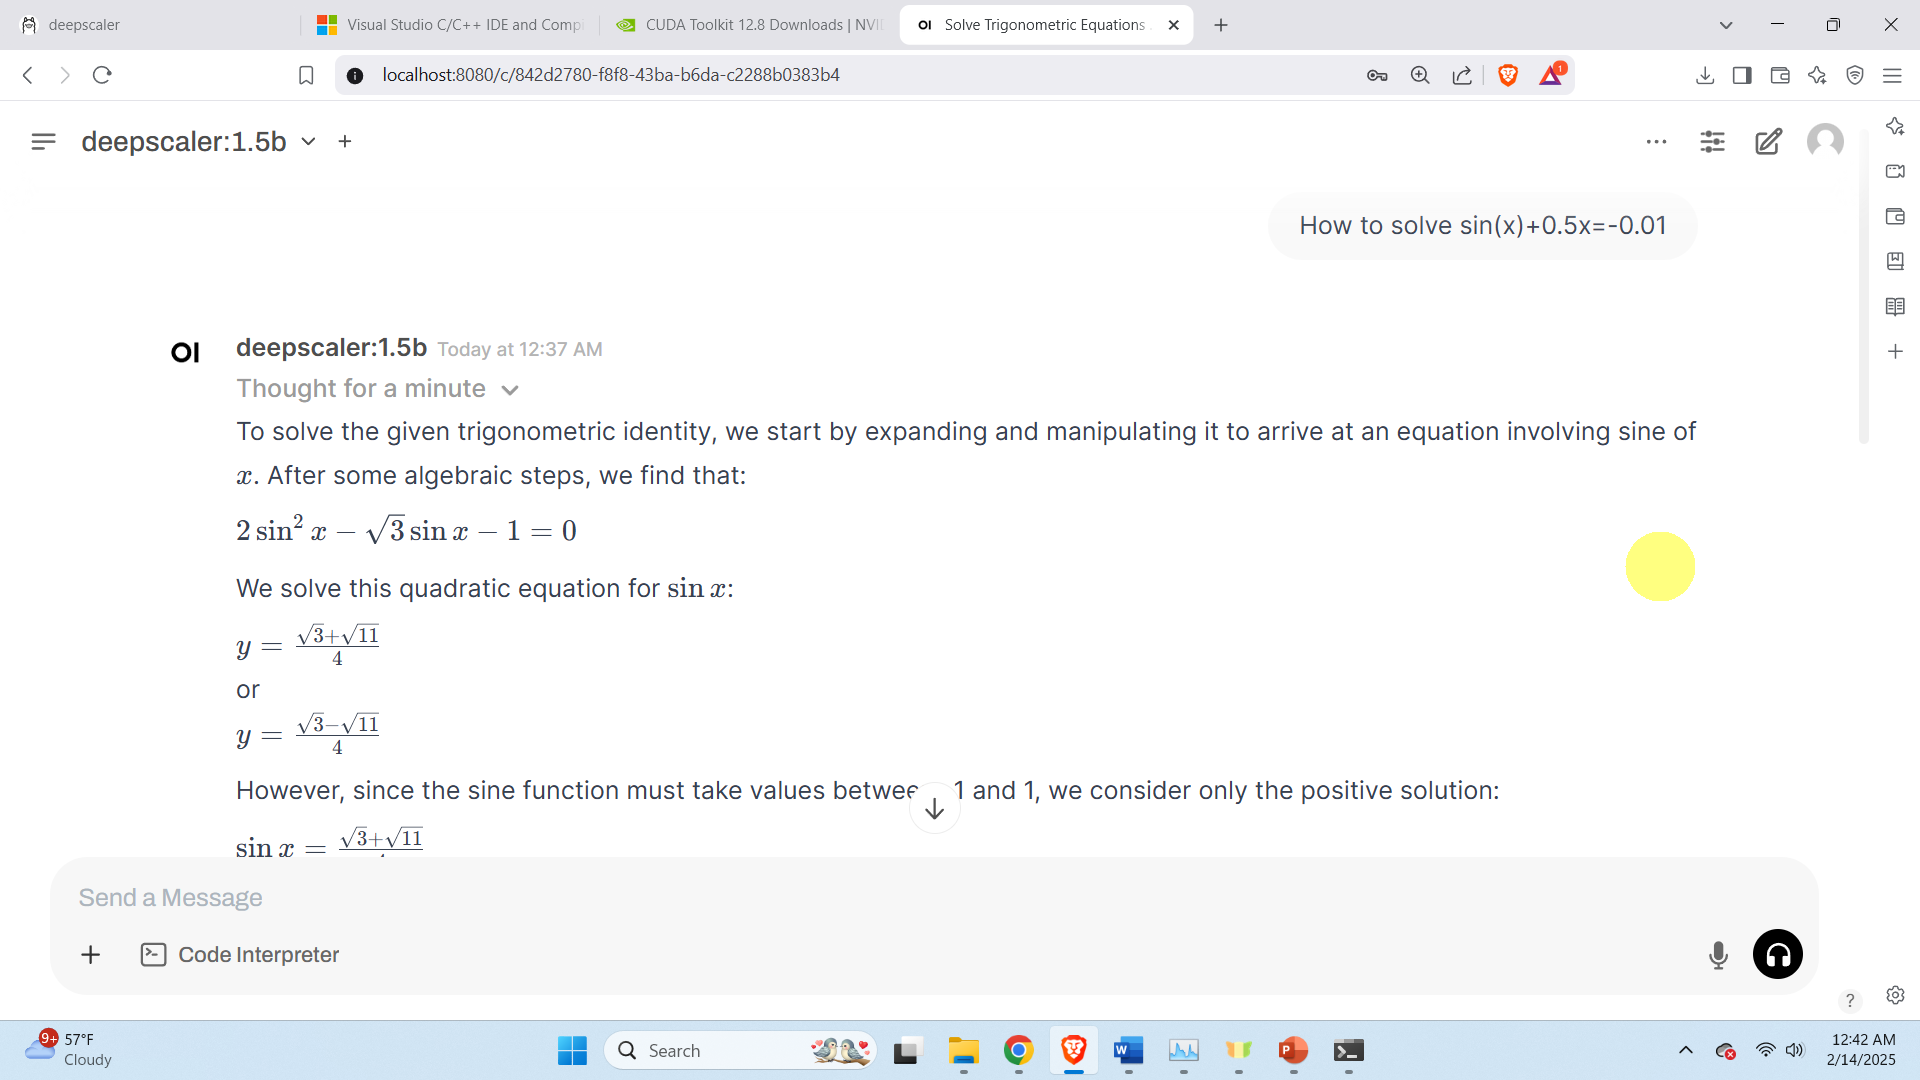
To start the graphics user interface (GUI), open a web browser, and type the following address
http://localhost:8080For more details on how to start the model see the YouTube tutorial. The GUI is shown in the figure below.