 by
by Blender is an open-source and free program for creating 3D graphics and animation. It is a very powerful animation tool and recently there is a trend to couple Blender with machine learning algorithms and AI models to speed up the design process. This is the power of open-source software. In the age of AI, it is easy to couple open-source software with AI tools. If you want to learn more about Blender, there are a number of tutorials on this channel on how to use Blender.
There are several ways to install Blender on Linux Ubuntu:
- Download the compressed folder, unpack it, adjust a few things, and use it (we use this approach).
- Install from the package manager
- Install from snap
We are going to use the first approach simply because it enables you to have several versions of Blender on the system and enables you to have more control of Blender installation files and folders.
The YouTube tutorial is given below.
Installation Instructions
The first step is to download Blender from the official website. Go to the Blender download website
https://www.blender.org/download/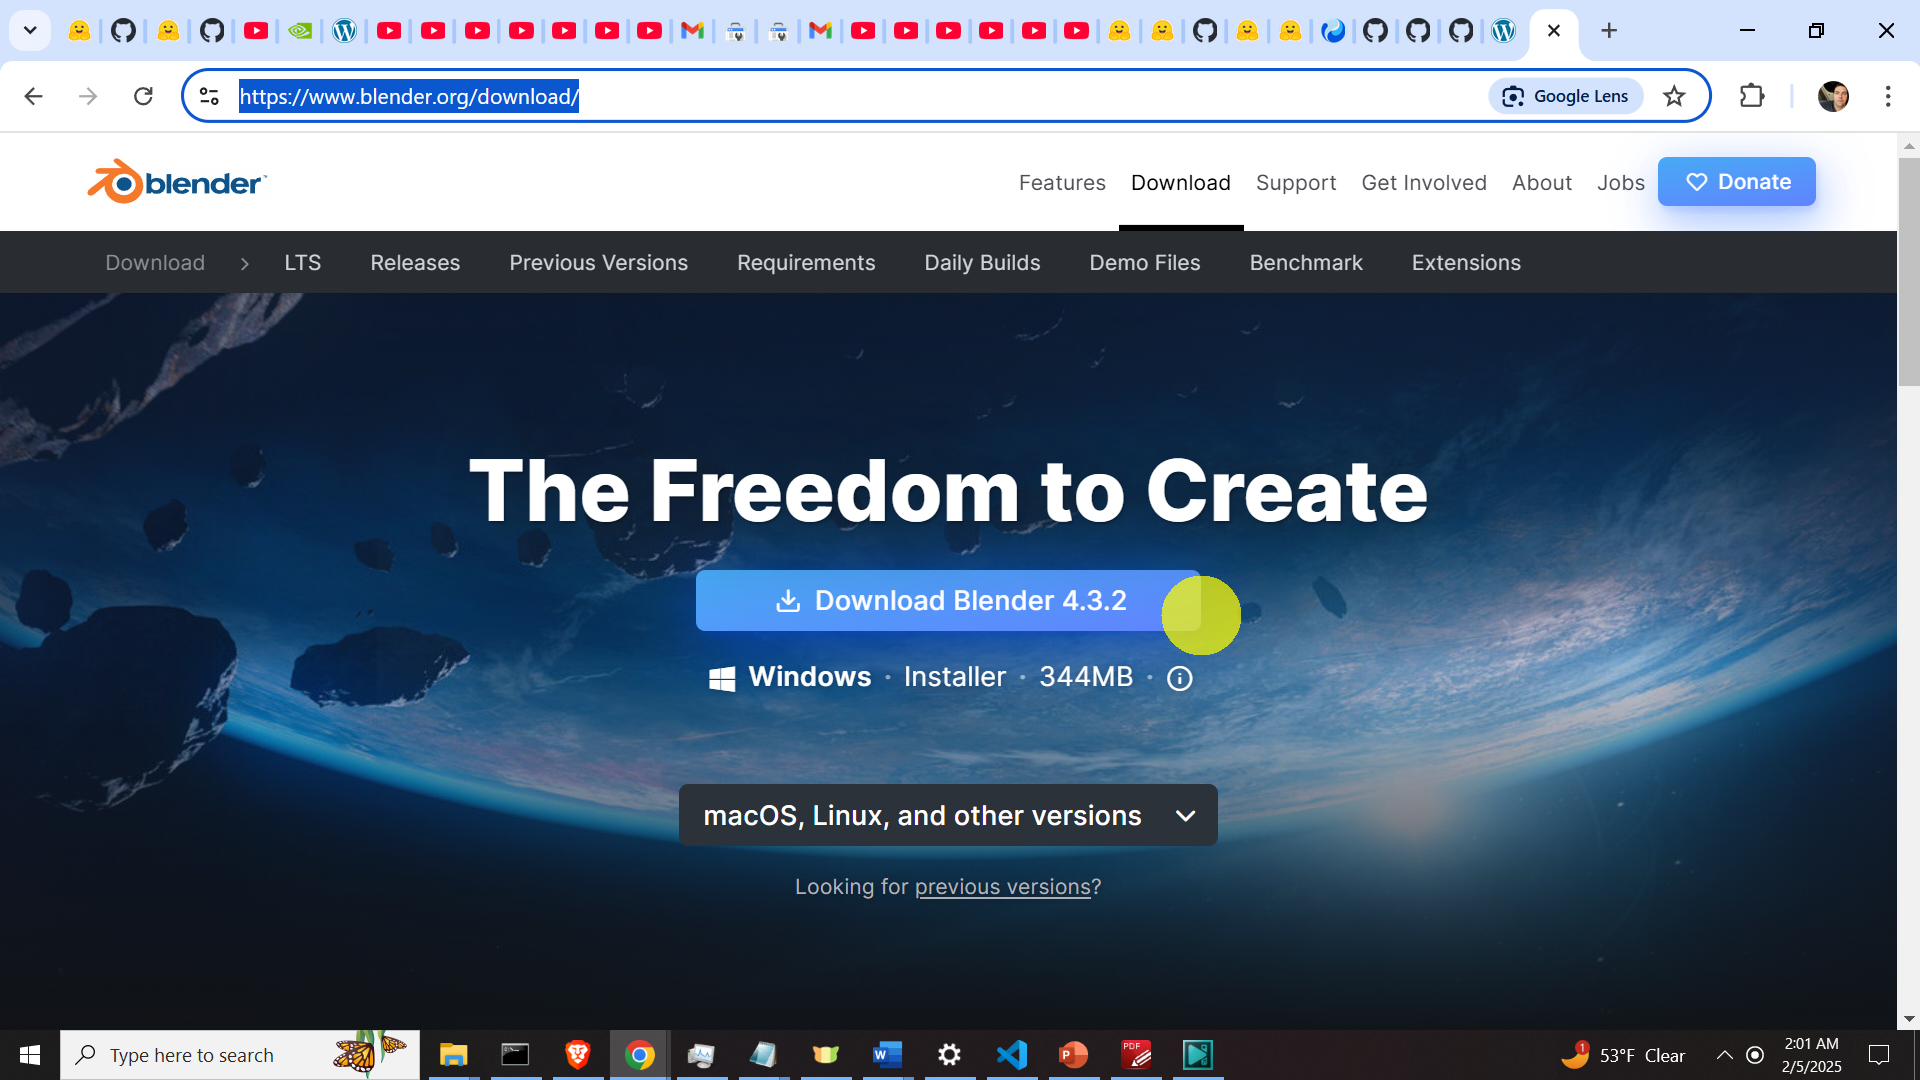
and download the Blender tar archive file. In our case, the name of the file is
blender-4.3.2-linux-x64.tar.xzHowever, in your case, the name of the file (version numbers) might be different. The next step is to extract this file. Open a terminal and navigate to the download folder (usually the download folder path is ~/Downloads):
cd ~
cd Downloads
then extract the file (adjust this command for your exact file name)
tar xvf blender-4.3.2-linux-x64.tar.xzThe Blender will be extracted in the folder whose name is similar to this name
blender-4.3.2-linux-x64 Next, let us create a folder in the home folder and call it software
cd ~
mkdir software
Then, let us move the extracted Blender folder to the new folder by executing this command
mv ~/Downloads/blender-4.3.2-linux-x64 ~/softwareTo run Blender you need to type this
cd ~/software/blender-4.3.2-linux-x64
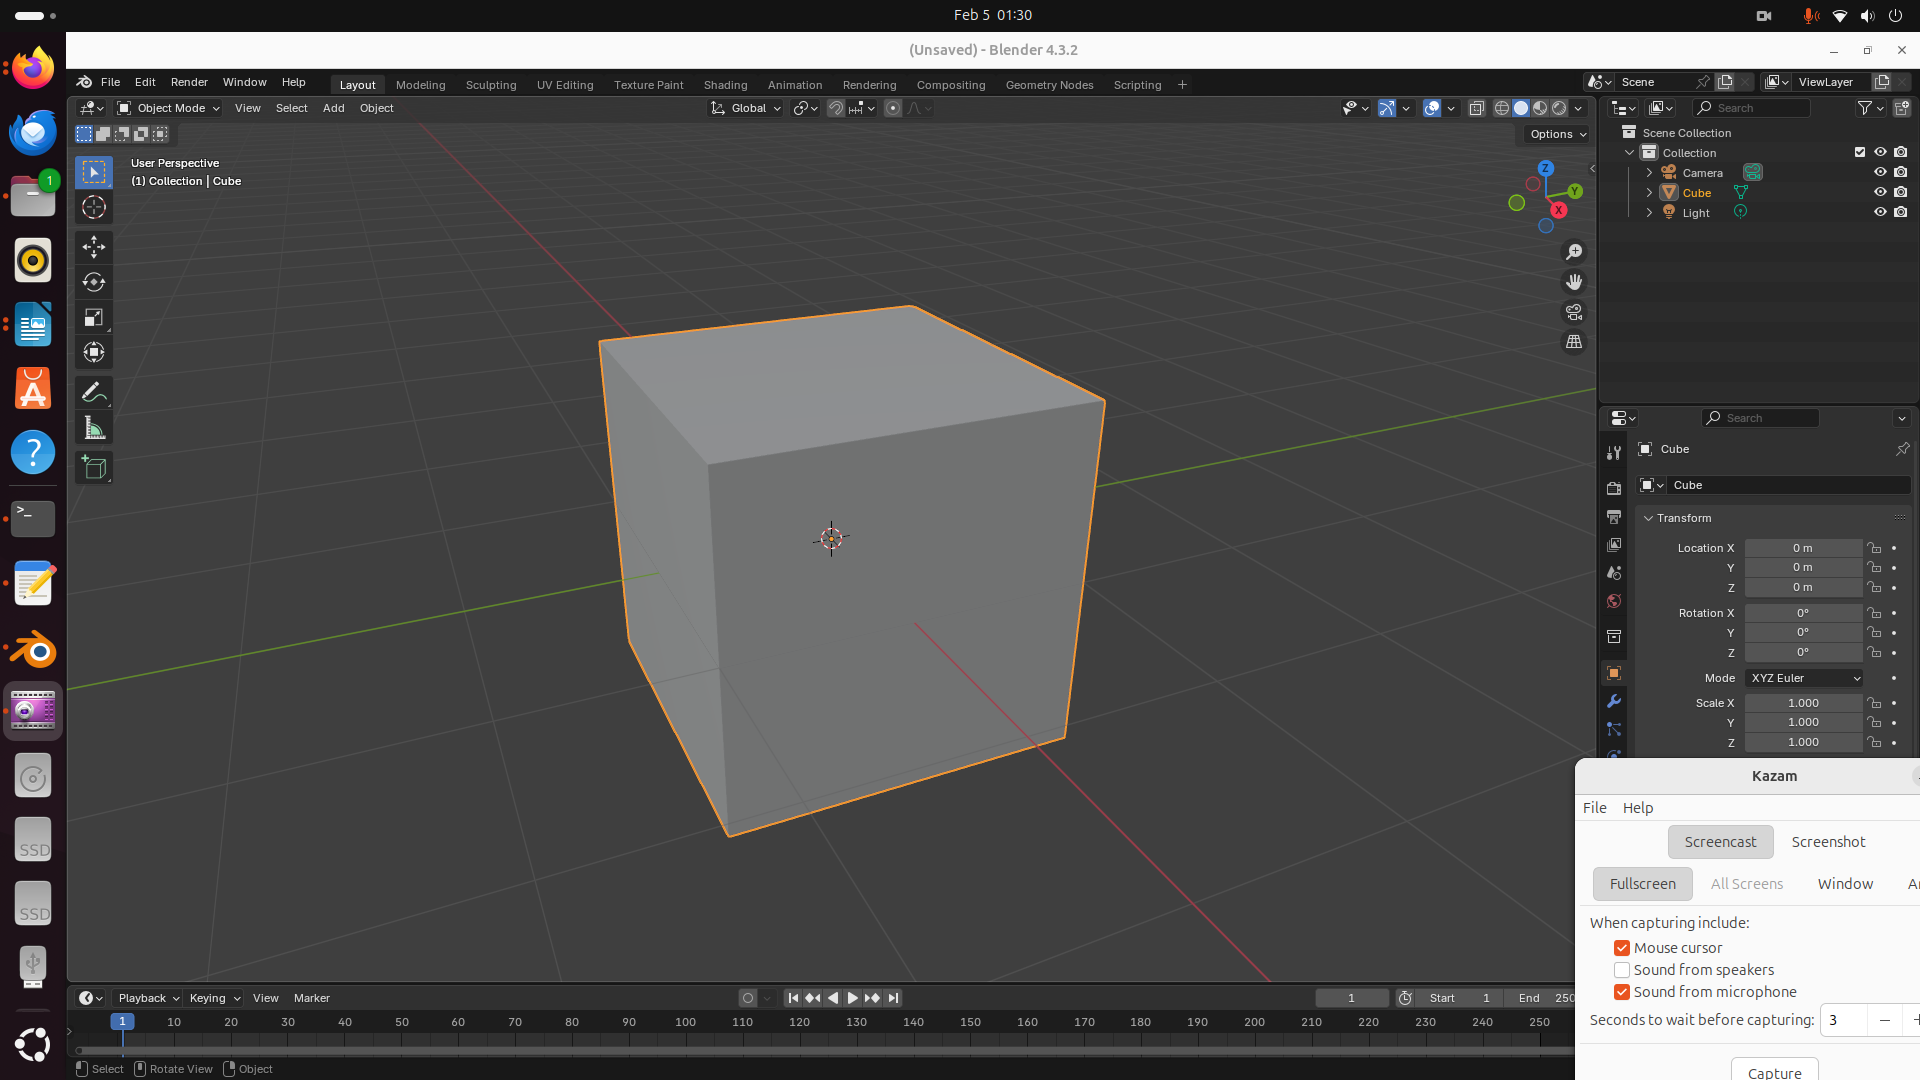
./blenderThis will start Blender.
However, you would like to add a shortcut such that you can start Blender from the Linux Desktop ( by clicking on the Show Apps button in the lower left corner of Linux Ubuntu desktop and searching for Blender). To do that, we need to navigate to this folder
cd ~/.local/share/applicationsand in this folder create a file called blender.desktop. To do that type this
sudo nano blender.desktopThe content of the file is
[Desktop Entry]
Name=Blender
Exec=/home/ahaber/software/blender-4.3.2-linux-x64/blender %f
Icon=/home/ahaber/software/blender-4.3.2-linux-x64/blender.svg
Terminal=false
Type=Application
PrefersNonDefaultGPU=true
X-KDE-RunOnDiscreteGpu=true
Categories=Graphics;3DGraphics;
MimeType=application/x-blender;
StartupWMClass=Blender
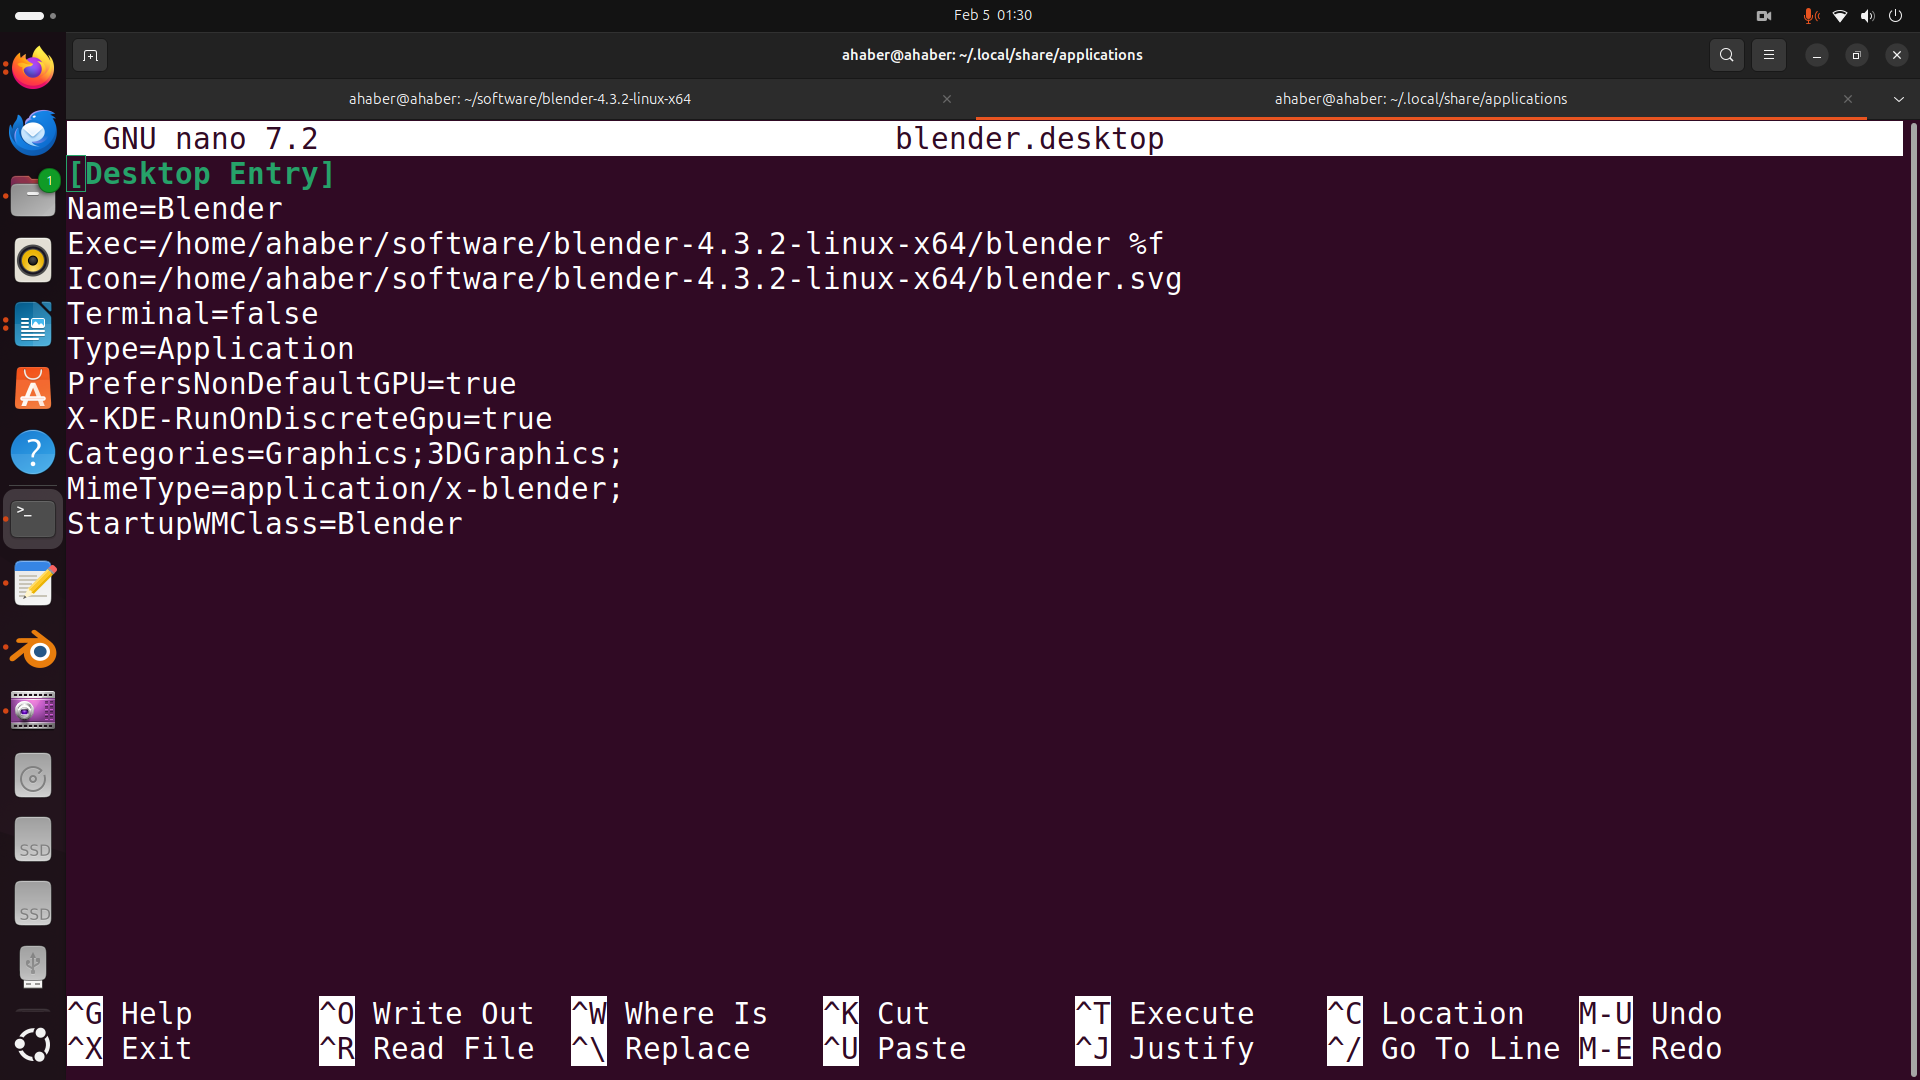
Save the file. This file will create a shortcut such that we can click on the shortcut to run Blender. In your case, you need to adjust the path to the exact Blender folder (lines Exec= and Icon=). Note that the icon is an SVG file in the Blender folder. This icon should appear when you search for Blender from the Linux Desktop. If you click on the icon, it will start Blender. Additionally, you can add the Blender folder to the system path in order to be able to start it from the terminal. For more details see the YouTube tutorial.