by
by In this tutorial, I will explain how to properly install and run Flux 1 text-to-image model in ComfyUI and Windows. Flux 1 is arguably one of the most powerful text-to-image models that you can run on a local machine. In particular, in this tutorial, I explain how to install and run the Flux 1 schnell version, however, everything explained in this video tutorial can be used in the case of Flux 1 dev models. The YouTube tutorial accompanying this webpage is given below.
But before I start with explanations, I need to mention the following. The main advantage of running Flux 1 models as well as other models in ComfyUI is that you do not need to know how to code. You can simply implement a model and generate nice results by using block diagrams shown over here. Even a child can implement the models and play with them. However, also created tutorials on how to install and run Flux 1 models in Python in Windows and Linux. These tutorials are for more advanced users. The tutorials are given below.
Summary of the Installation Procedure
Here is a brief summary of the installation procedure:
- Install ComfyUI
- Download all the Flux1 files (safetensors, VAE, etc) and copy them to the appropriate ComfyUI folders
- Setup the ComfyUI workflow
- Run the model
I am running the model on 2-year old desktop computer with an Intel multicore processor, and with 48 GB RAM. The GPU is NVIDIA 3090 with 24 GB VRAM.
Note that it is advised to have at least 32 GB RAM. However, you can also run the model with lower precision models on computer with less RAM. I did not test the installation on GPUs that are less powerful than NVIDIA 3090 and that have less VRAM.
Step 1: Install ComfyUI
Go to the official release GitHub page
https://github.com/comfyanonymous/ComfyUI/releases
and download the most recent version of ComfyUI. The file is a 7-zip archive file. You will also need 7-zip to extract the file. Consequently, download and install 7zip:
Unzip the ComfyUI file, and copy the extracted folder somewhere. For example, create a codes folder in your C or D drives and copy the extracted folder there.
Step 2: Download t5xxl_fp16.safetensors or clip_l.safetensors and copy them to the correct folders
You need to go to this link
https://huggingface.co/comfyanonymous/flux_text_encoders/tree/main
and to download the necessary files. If you have more than 32GB RAM it is recommended to download
t5xxl_fp16.safetensors and clip_l.safetensors
After downloading these files, copy them to ComfyUI/models/clip/ directory. That is to the folder you extracted and copied. Inside you should see another folder called ComfyUI and inside of that folder models, and inside of models you will see clip directory. You should copy these files in the clip directory. On the other hand, if you have less than 32GB it is recommended to download
t5xxl_fp8_e4m3fn.safetensors and clip_l.safetensors
and copy them to the folder ComfyUI/models/clip/ directory
Step 3: Download VAE
Download the file called ae.safetensors from
https://huggingface.co/black-forest-labs/FLUX.1-schnell/blob/main/ae.safetensors
and copy the file to the folder: ComfyUI/models/vae/
Step 4: Download Flux Schnell model weights
Go to this website
https://huggingface.co/black-forest-labs/FLUX.1-schnell/blob/main/flux1-schnell.safetensors
and download the file flux1-schnell.safetensors. After downloading it, the file should be copied to ComfyUI/models/unet/.
Step 5: Open ComfyUI and automatically configure the workflow
Open ComfyUI, by clicking on the file “run_nvidia_gpu.bat” in the base folder of ComfyUI. This should start ComfyUI’s GUI in your web browser. Then go to
https://comfyanonymous.github.io/ComfyUI_examples/flux
and find the photo in the section Flux 1 schnell. Then simply drag and drop this photo in the ComfyUI GUI in another web browser that automatically started ComfyUI. Then, by dripping this photo in the ComfyUI GUI, you will automatically set the model parameters. Then, you will see that there is already a text in the text prompt. You just need to click on Queue Prompt to execute the model and to generate the test image.
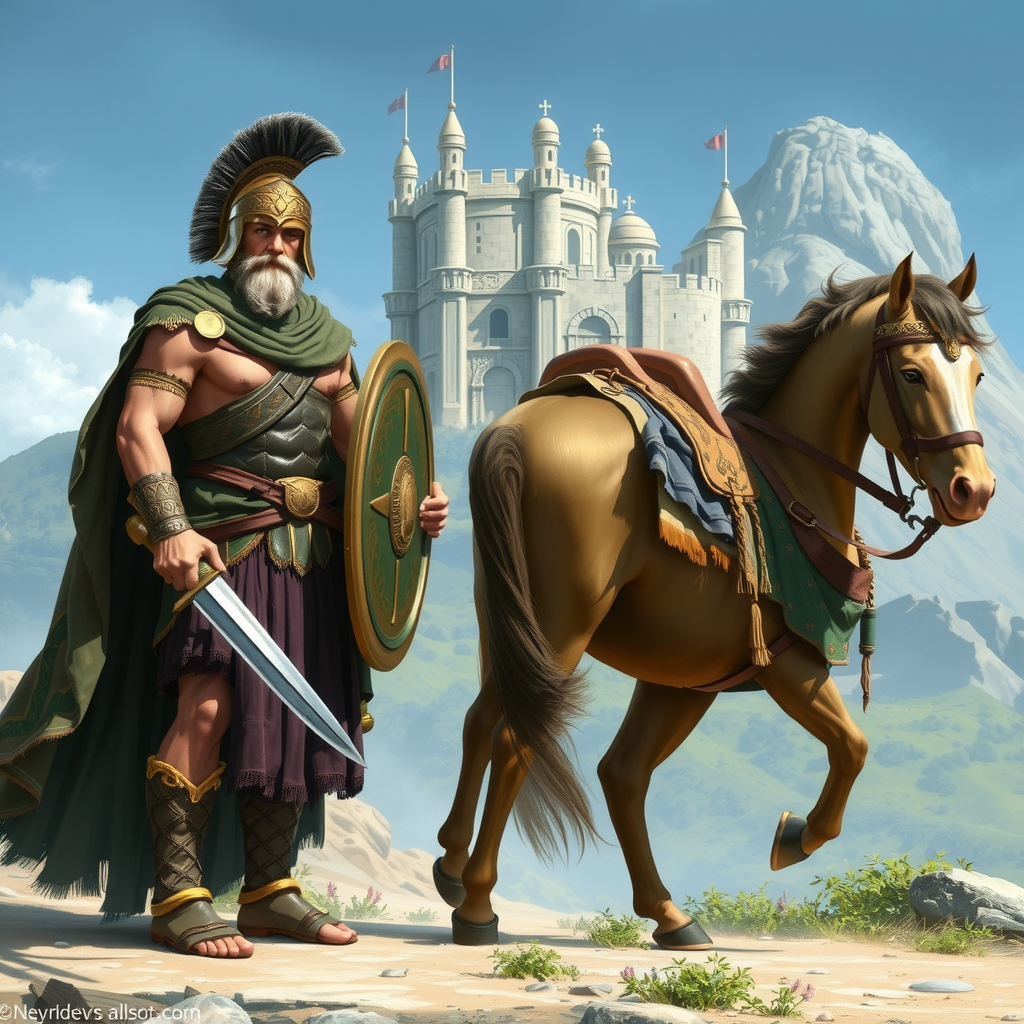
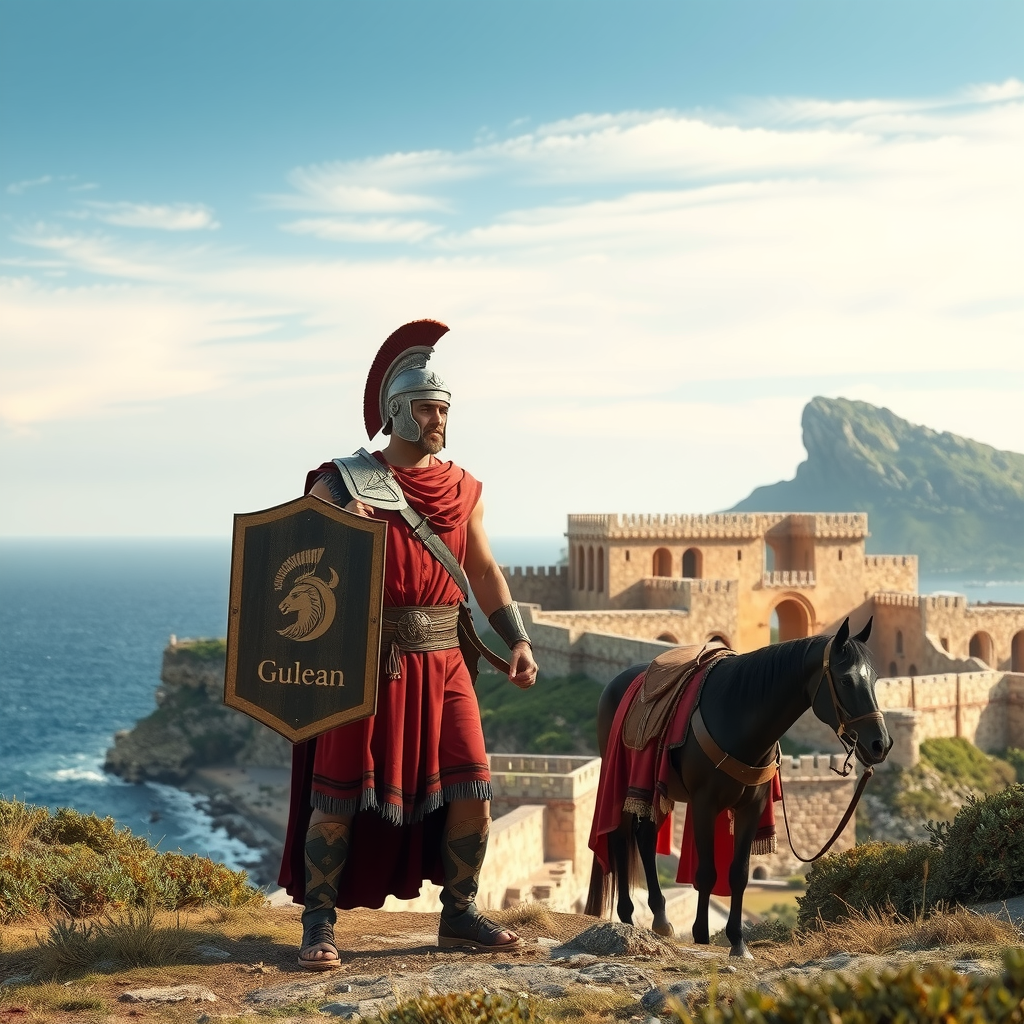
After that, you can start executing and running your own text prompts. For example, enter the following text in the CLIP Text Encode (prompt) and click on Queue Prompt to run the flow and to generate an image. The text is:
An ancient Greek warrior is standing with a shield and a sword. Next to the Greek warrior, there is a horse. In the background there is an ancient castle from the old Greek times and there is a mountain and sea.After you execute the model, you will see the photos that look like this: